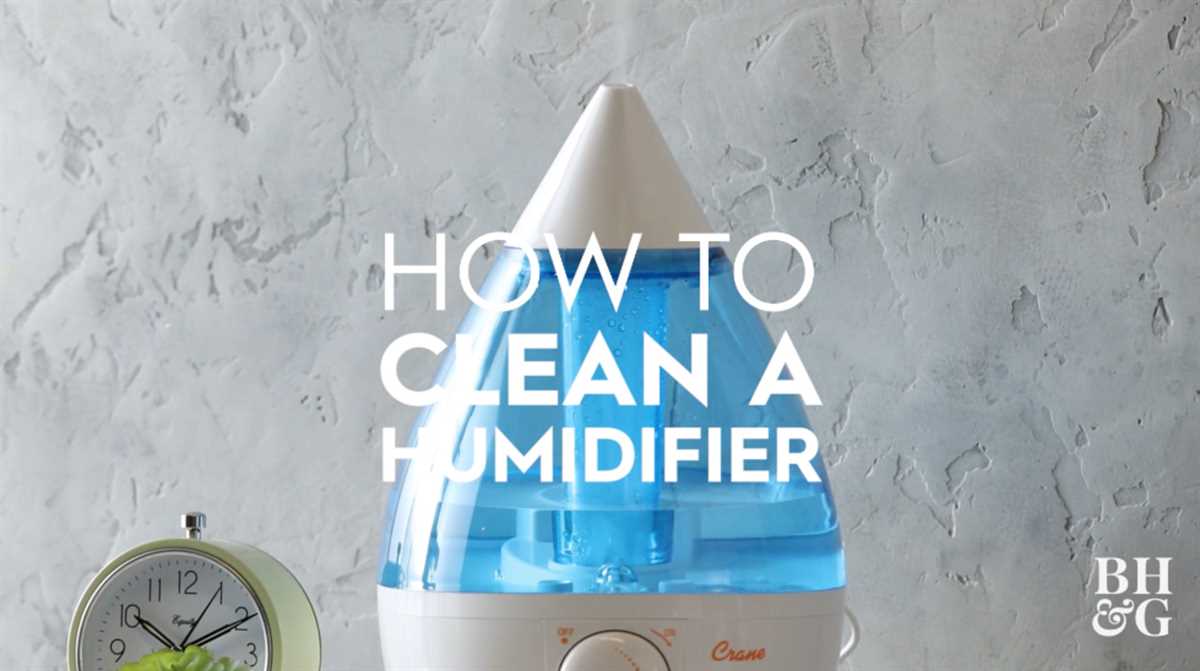


A humidifier is a valuable tool for improving indoor air quality and maintaining a comfortable environment. However, regular cleaning is essential to ensure its optimal performance and prevent the buildup of harmful contaminants. In this comprehensive guide, we will walk you through the steps to clean your humidifier effectively and keep it running smoothly.
Why is it important to clean your humidifier?
When you use a humidifier, it creates a moist environment that can promote the growth of mold, bacteria, and other microorganisms. Over time, these contaminants can accumulate in the humidifier, compromising its functionality and, more importantly, posing a risk to your health.
Regular cleaning is crucial to prevent the dispersal of these contaminants into the air you breathe and to maintain the effectiveness of your humidifier.
Step 1: Unplug and disassemble the humidifier
Before cleaning your humidifier, make sure it is turned off and unplugged from the power source. Gently remove any attachments, such as the water tank, filter, and nozzle, following the manufacturer’s instructions. Take note of how the parts are assembled for easy reassembly later on.
The Importance of Cleaning a Humidifier
A humidifier is a valuable appliance that helps maintain optimal humidity levels in your home, which is important for your health and comfort. However, it is essential to clean your humidifier regularly to ensure it continues to work effectively and to prevent the growth of harmful bacteria and mold.
Why is regular cleaning important?
- Prevents the spread of bacteria and mold: When you use a humidifier, it releases moisture into the air. If the water in your humidifier is not clean, it can become a breeding ground for bacteria and mold. These microorganisms can then be released into the air, which can cause respiratory problems and other health issues.
- Improves performance: Over time, mineral deposits and other impurities can build up in your humidifier, affecting its performance. Regular cleaning helps remove these deposits and ensures that your humidifier is working at its best, providing you with optimal humidity levels.
- Extends the lifespan of your humidifier: Cleaning your humidifier regularly helps prevent the build-up of mineral deposits and other residues that can clog the unit. By keeping it clean, you can extend the lifespan of your humidifier, saving you money in the long run.
How often should you clean your humidifier?
The frequency of cleaning your humidifier depends on how often you use it. However, it is recommended to clean your humidifier at least once a week to ensure its optimal performance. If you notice any buildup of minerals or impurities, clean it more frequently.
How to clean a humidifier
Cleaning your humidifier is a relatively simple process. Here is a step-by-step guide:
- Turn off and unplug the humidifier: Make sure the humidifier is turned off and unplugged before you start cleaning.
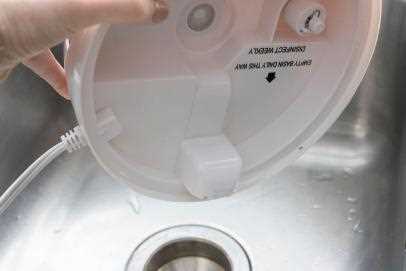
- Empty the tank and base: Remove the water tank and empty any remaining water. Remove the base and empty any water and residue.
- Disassemble the components: If possible, disassemble the humidifier components according to the manufacturer’s instructions.
- Clean with mild soap and water: Wash the tank, base, and other removable parts with mild soap and warm water. Use a brush or sponge to scrub away any built-up deposits.
- Rinse thoroughly: Rinse all the components thoroughly with clean water to remove any soap residue.
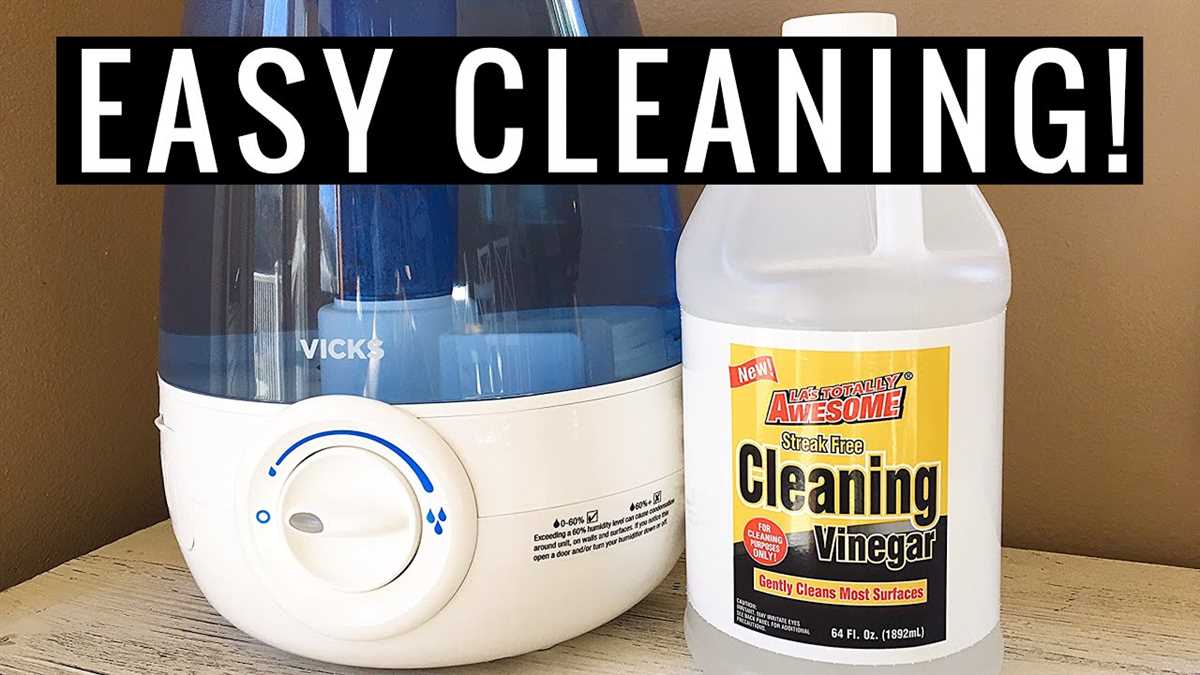
- Remove mineral deposits: If there are stubborn mineral deposits, use a mixture of vinegar and water to soak the components for about 30 minutes. Then, scrub away the deposits with a soft brush.
- Dry all components: After cleaning, make sure to dry all the components thoroughly before reassembling and using the humidifier.
- Replace filters if necessary: If your humidifier has filters, check if they need to be replaced or cleaned. Follow the manufacturer’s instructions for proper maintenance.
Conclusion
Cleaning your humidifier regularly is crucial for maintaining its performance and ensuring the air you breathe is clean and healthy. By following a simple cleaning routine, you can enjoy the benefits of your humidifier for years to come while promoting a comfortable and healthy environment in your home.
Why Cleaning a Humidifier is Essential

A humidifier is a device that adds moisture to the air, improving the humidity in indoor spaces. It is commonly used during dry seasons or in dry climates to alleviate symptoms caused by dry air, such as dry skin, dry throat, and congestion. However, it is essential to clean your humidifier regularly to ensure optimal performance and prevent the growth of bacteria, mold, and other harmful microorganisms.
The Importance of Cleaning
There are several reasons why cleaning a humidifier is essential:
- Maintains Air Quality: Regular cleaning prevents the buildup of bacteria, mold, and mineral deposits in the humidifier, ensuring that only clean and healthy moisture is released into the air.
- Prevents Health Issues: Dirty humidifiers can harbor and disperse harmful microorganisms, which can lead to respiratory problems, allergies, and infections. Cleaning your humidifier regularly helps reduce the risk of these health issues.
- Extends Lifespan: Proper maintenance, including regular cleaning, can prolong the lifespan of your humidifier. By removing mineral deposits and other impurities, you can prevent damage to the components and ensure efficient operation.
How Often Should You Clean Your Humidifier?
The frequency of cleaning depends on the type of humidifier and the manufacturer’s instructions. However, as a general guideline:
- Daily Maintenance: Empty and rinse the water tank daily to remove any mineral deposits or residue.
- Weekly Cleaning: Disassemble the humidifier and clean all the components with mild soap and water, then rinse thoroughly.
- Monthly Maintenance: Deep clean the humidifier by following the manufacturer’s instructions, which may involve soaking certain parts in vinegar or bleach solutions to remove stubborn deposits.
Tips for Cleaning a Humidifier
Here are some tips to ensure effective and safe cleaning of your humidifier:
- Always Unplug: Before cleaning your humidifier, make sure to unplug it from the power source to prevent any accidents.
- Follow Manufacturer’s Instructions: Different humidifiers may have specific cleaning instructions. Be sure to read and follow the manufacturer’s guidelines to avoid damaging the device.
- Use Clean Water: When refilling the water tank, always use clean, distilled water to prevent mineral buildup and impurities.
- Regularly Replace Filters: If your humidifier has a filter, be sure to replace it as recommended to maintain optimal airflow and humidity output.
By following these cleaning guidelines and tips, you can keep your humidifier running smoothly, ensuring clean and healthy air in your home or office.
Step-by-Step Guide to Cleaning a Humidifier
Regular cleaning of your humidifier is essential to ensure optimal performance and prevent the growth of bacteria and mold. Follow this step-by-step guide to clean your humidifier properly:
Step 1: Unplug and Empty the Humidifier
- Before cleaning, make sure to turn off and unplug the humidifier from the power source.
- Carefully remove the water tank from the base of the humidifier.
- Empty any remaining water from the tank and the base.
Step 2: Disassemble the Humidifier
- Separate the different components of the humidifier, such as the water tank, water tray, and mist nozzle.
- Consult the manufacturer’s instructions to ensure you disassemble the humidifier correctly.
Step 3: Clean the Water Tank
- Fill the water tank with white vinegar or a mixture of water and vinegar.
- Add a tablespoon of bleach for every gallon of water in the tank, if recommended by the manufacturer.
- Let the solution sit in the tank for about 30 minutes to loosen mineral deposits and kill bacteria.
- Scrub the tank with a soft brush to remove any residue and rinse it thoroughly with clean water.
Step 4: Clean the Water Tray and Mist Nozzle
- Using a mixture of mild dish soap and warm water, clean the water tray and mist nozzle.
- Scrub away any mineral deposits or mold using a soft brush or toothbrush.
- Rinse the components thoroughly with clean water to remove any soap residue.
Step 5: Clean the Base
- Wipe the base of the humidifier with a damp cloth to remove any dust or dirt.
- For stubborn stains, use a mild detergent or vinegar solution.
- Ensure the base is completely dry before reassembling the humidifier.
Step 6: Reassemble and Refill the Humidifier
- Once all the components are clean and dry, reassemble the humidifier according to the manufacturer’s instructions.
- Fill the water tank with clean water, ensuring not to exceed the maximum fill line.
- Place the tank back onto the base and securely attach all the components.
Step 7: Run the Humidifier
- Plug the humidifier back into the power source.
- Set the desired humidity level and let the humidifier run for a few hours to ensure everything is working properly.
- Monitor the humidity levels and refill the tank as needed.
By following these step-by-step instructions, you can keep your humidifier clean and functioning optimally, promoting a healthier and more comfortable indoor environment.
Recommended Cleaning Products for Humidifiers
When it comes to cleaning your humidifier, using the right cleaning products can make a big difference. Here are some recommended cleaning products that can help you achieve optimal performance from your humidifier:
1. White Vinegar
White vinegar is a versatile and affordable cleaning solution that is suitable for cleaning almost all parts of your humidifier. It is effective in removing mineral deposits, mold, and bacteria.
2. Hydrogen Peroxide
Hydrogen peroxide is another effective cleaning agent for humidifiers. It can help eliminate bacteria, mold, and viruses. Make sure to dilute it properly as per the instructions and avoid using it on sensitive parts of your humidifier.
3. Citric Acid
Citric acid is a natural cleaning agent that can effectively remove mineral buildup on humidifier parts. It is particularly useful for descaling the water tank and the misting tray.
4. Distilled Water
Using distilled water in your humidifier can help minimize mineral buildup and reduce the need for frequent cleaning. Distilled water is free from minerals and impurities, which can prolong the life of your humidifier and ensure optimal performance.
5. Humidifier Cleaning Tablets
There are specially formulated cleaning tablets available in the market that can simplify the cleaning process. These tablets often have antimicrobial properties and can effectively remove mineral deposits and debris.
6. Humidifier Cleaning Brushes

Investing in a set of humidifier cleaning brushes can make it easier to clean hard-to-reach areas, such as the misting nozzle and the water tank. These brushes are designed to remove residue and buildup without causing damage to the humidifier.
It is important to carefully follow the manufacturer’s instructions and recommendations when using any cleaning products for your specific humidifier model. Regular cleaning and maintenance using these recommended products will help ensure that your humidifier functions optimally and delivers clean, comfortable air to your living space.
Common Mistakes to Avoid while Cleaning a Humidifier
Regular cleaning and maintenance of your humidifier is crucial to ensure optimal performance and to prevent the growth of mold and bacteria. However, there are some common mistakes that people often make while cleaning their humidifiers, which can undermine their efforts. Here are some mistakes to avoid:
1. Neglecting to Read the Manufacturer’s Instructions
Each humidifier model has specific instructions for cleaning and maintenance. It’s important to read the manufacturer’s instructions manual before cleaning your humidifier to ensure that you are following the correct procedure. Neglecting to do so could result in damage or improper cleaning.
2. Cleaning with Harsh Chemicals
Using harsh chemicals, such as bleach or ammonia, to clean your humidifier can damage the device and potentially harm your health. Avoid using these chemicals and opt for mild, non-toxic cleaning solutions recommended by the manufacturer.
3. Not Emptying and Refilling the Water Tank Daily
It is important to empty and refill the water tank of your humidifier daily. Stagnant water can harbor bacteria and mold, which can contaminate the air you breathe. Additionally, emptying and refilling the tank daily helps to prevent mineral buildup.
4. Neglecting Regular Filter Changes
The filter in your humidifier can become clogged with mineral deposits and impurities over time. Neglecting to change the filter regularly can decrease the effectiveness of your humidifier and result in poor air quality. Follow the manufacturer’s instructions on when and how to change the filter.
5. Failing to Clean the Humidifier Regularly
Cleaning your humidifier regularly is essential for preventing the growth of mold and bacteria. Failing to do so can result in the release of harmful contaminants into the air. Clean the water tank, tray, and other detachable parts at least once a week, or as recommended by the manufacturer.
6. Forgetting to Disinfect
Disinfecting your humidifier is an important step that many people forget. After cleaning, use a solution of one part vinegar to 10 parts water to disinfect the removable parts. Let the solution sit for at least 15 minutes before rinsing thoroughly.
7. Not Drying the Humidifier Properly
After cleaning and disinfecting, it is crucial to allow your humidifier to dry completely before reassembling and using it. Failure to do so can result in the growth of mold and bacteria. Leave all parts out to air dry or use a clean cloth to dry them thoroughly before reassembling.
By avoiding these common mistakes and following proper cleaning and maintenance procedures, you can ensure that your humidifier operates efficiently, promoting healthier indoor air quality and optimal performance.
Maintaining Optimal Performance: Cleaning Schedule for Humidifiers

Regular Cleaning
Regular cleaning of your humidifier is essential to ensure optimal performance and prevent the buildup of bacteria, mold, and mineral deposits. It is recommended to clean your humidifier at least once a week or more frequently if you live in an area with hard water.
Here is a step-by-step guide for regular cleaning:
- Unplug the humidifier and remove the water tank.
- Empty any remaining water from the tank and discard it.
- Dismantle the removable parts of the humidifier, such as the cap, nozzle, and filter.
- Wash these parts with warm water and mild soap, using a brush or sponge to remove any residue.
- Rinse the parts thoroughly with clean water to remove any soap residue.
- Dry the parts completely before reassembling the humidifier.
- Fill the tank with clean water and replace it on the base of the humidifier.
- Plug in the humidifier and set it to your desired humidity level.
Deep Cleaning
In addition to regular cleaning, it is recommended to perform a deep cleaning of your humidifier once a month to remove stubborn mineral deposits and bacteria buildup.
Here is a step-by-step guide for deep cleaning:
- Follow steps 1 to 3 from the regular cleaning guide to dismantle the humidifier.
- Prepare a cleaning solution by mixing equal parts of white vinegar and water in the water tank.
- Place the water tank back on the base of the humidifier and let the solution sit for at least 30 minutes to dissolve the mineral deposits.
- After the solution has soaked, scrub the interior surfaces of the humidifier with a brush to remove any remaining deposits.
- Empty the tank and rinse it thoroughly with clean water.
- Fill the tank with clean water and replace it on the base of the humidifier.
- Plug in the humidifier and set it to your desired humidity level.
Additional Tips
- Always refer to the manufacturer’s instructions for specific cleaning recommendations for your humidifier.
- Use distilled or demineralized water instead of tap water to reduce the buildup of mineral deposits.
- Consider using a humidifier cleaner or descaler for more stubborn mineral deposits.
- Regularly check and replace the filter of your humidifier according to the manufacturer’s instructions.
- Keep the area around the humidifier clean and free of dust to prevent it from being circulated into the air.
- Monitor the humidity levels in your home and adjust the settings on your humidifier accordingly.
Conclusion
By following a regular cleaning schedule and adopting good maintenance practices, you can ensure that your humidifier continues to operate at its best, providing you with the benefits of optimal performance and comfortable indoor air.
FAQ
Why is it important to clean a humidifier?
It is important to clean a humidifier because over time, mineral deposits, mold, and bacteria can build up inside the humidifier, which can negatively affect air quality and potentially cause health issues. Regular cleaning helps maintain optimal performance and ensures that the humidifier is providing clean, moisture-rich air.
How often should I clean my humidifier?
The frequency of cleaning depends on several factors such as the type of humidifier and the water quality in your area. However, it is generally recommended to clean the humidifier at least once every one to two weeks. If you notice any signs of mold or mildew, you should clean it immediately.
What is the best way to clean a humidifier?
The best way to clean a humidifier is to start by unplugging it and emptying any remaining water. Then, disassemble the humidifier and clean each component with a mixture of water and white vinegar or a mild detergent. Rinse thoroughly and allow the parts to air dry before reassembling. It is also important to wipe down the exterior of the humidifier regularly to remove any dust or dirt.
Can I use bleach to clean my humidifier?
While bleach can be effective at killing bacteria and mold, it is not recommended for cleaning a humidifier. Bleach is a harsh chemical that can be difficult to rinse off completely, and the residue left behind can potentially be harmful if inhaled. It is safer to use water and vinegar or a mild detergent for cleaning the humidifier.


