


Gas hobs are a popular choice in many kitchens due to their efficiency and control over heat settings. However, over time, the burner caps can become dirty and greasy, affecting their performance and the overall aesthetic of your hob. Cleaning gas hob burner caps may seem like a daunting task, but with the right techniques and tools, you can restore them to their original condition.
Step 1: Safety first
Before you begin cleaning the burner caps, it is important to ensure the gas supply to the hob is turned off. This will prevent any accidents or gas leaks while you are working. Additionally, make sure the hob is cool to the touch to avoid burning yourself.
Step 2: Remove the burner caps
Most gas hob burner caps can be lifted off easily. Gently lift each cap and set them aside on a clean surface. Be careful not to drop them or scratch the surface of your hob. If the caps are stuck or require more force to remove, refer to your hob’s manual for specific instructions.
Step 3: Soak in warm, soapy water
Fill a sink or basin with warm water and add a few drops of dish soap. Place the burner caps in the soapy water and let them soak for about 15-20 minutes. This will help loosen any grime or grease on the surface.
Step 4: Scrub with a brush or sponge
After soaking, use a soft brush or sponge to gently scrub the burner caps. Pay extra attention to any stubborn stains or buildup. Avoid using abrasive materials or harsh chemicals that could damage the caps.
Step 5: Rinse and dry
Once the burner caps are clean, rinse them thoroughly with warm water to remove any leftover soap residue. Use a clean cloth or paper towel to pat them dry. Make sure to dry them completely before placing them back on the hob to prevent rusting.
Step 6: Reassemble and test
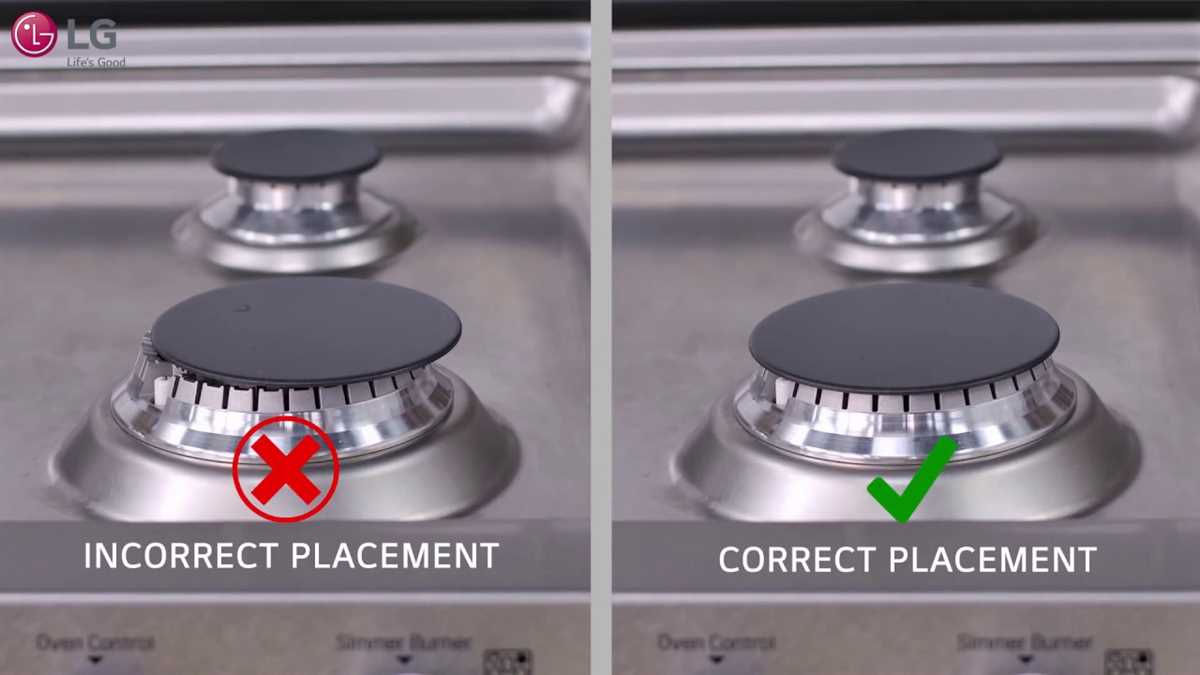
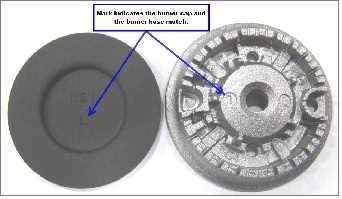
Finally, carefully place the burner caps back onto the hob in their correct positions. Double-check that they are securely in place before turning the gas supply back on. Test the hob by lighting the burners and adjusting the heat settings to confirm that everything is working properly.
Note: It is recommended to clean gas hob burner caps regularly to prevent excessive buildup and maintain their performance. Follow the manufacturer’s instructions for your specific hob model and avoid using abrasive cleaners that could damage the caps.
By following these step-by-step instructions, you can clean your gas hob burner caps like a pro and keep your kitchen looking pristine.
Step-by-Step Guide to Clean Gas Hob Burner Caps
Gather Your Supplies
Before starting the cleaning process, make sure you have all the necessary supplies:
- Dish soap or a mild detergent
- Warm water
- Soft cloth or sponge
- Baking soda
- White vinegar
- Old toothbrush
Remove Burner Caps
Start by turning off the gas supply and allowing the burners to cool down completely. Once cool, carefully remove the burner caps from the gas hob.
Wash with Dish Soap and Warm Water
Fill your sink or a basin with warm water and add a small amount of dish soap. Submerge the burner caps in the soapy water and let them soak for a few minutes. Then, use a soft cloth or sponge to gently scrub away any dirt or grime.
Remove Stubborn Stains with Baking Soda
If there are any stubborn stains or burnt-on residue on the burner caps, make a paste by mixing baking soda with a small amount of water. Apply the paste to the stains and let it sit for about 15-20 minutes. Then, use a soft cloth or sponge to scrub the stains until they are removed.
Clean with White Vinegar
To remove any remaining grease or odors, mix equal parts of white vinegar and warm water in a bowl or spray bottle. Spray or pour the solution onto the burner caps and let it sit for a few minutes. Then, use a soft cloth or sponge to wipe away the vinegar solution.
Rinse and Dry
After cleaning the burner caps, rinse them thoroughly with warm water to remove any soap, baking soda, or vinegar residue. Dry the burner caps completely with a clean cloth or allow them to air dry before placing them back onto the gas hob.
Additional Tips
- For tougher stains or baked-on residue, you can use a small brush or an old toothbrush to scrub the burner caps.
- Regularly cleaning your gas hob burner caps will help prevent buildup and keep them looking like new.
- Always make sure the burner caps are completely dry before reattaching them to the gas hob to avoid any potential gas leaks.
Conclusion
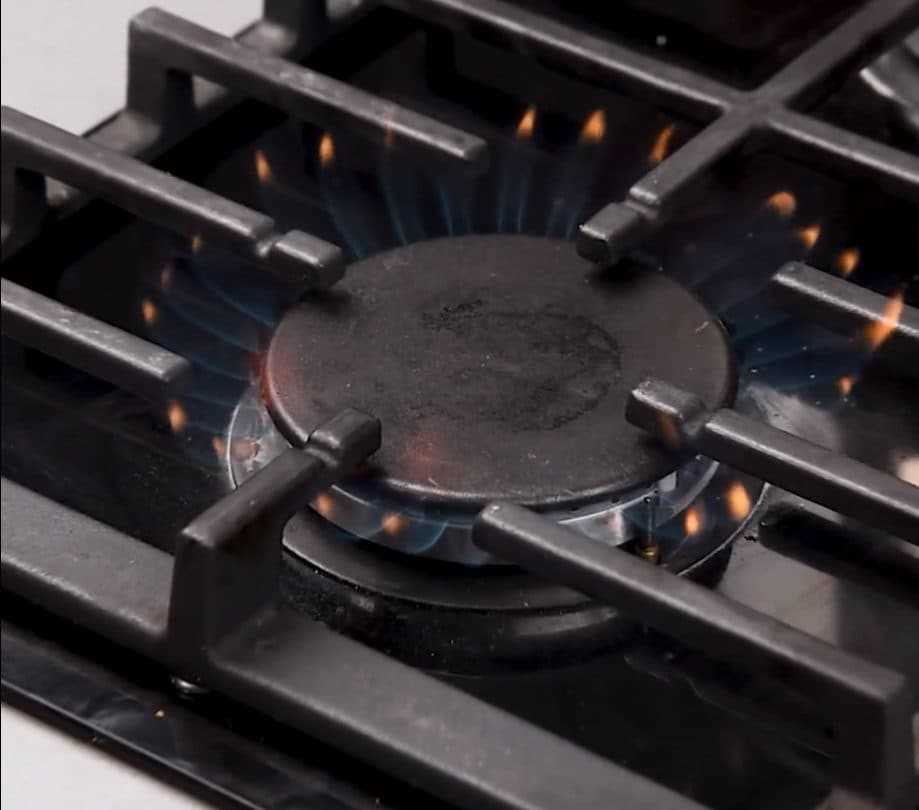
By following these step-by-step instructions, you can effectively clean your gas hob burner caps and keep them in pristine condition. Regular maintenance and cleaning will not only improve the appearance of your gas hob but also help it function optimally.
Prepare Your Cleaning Supplies
- Gloves
- Hot soapy water
- Dishwashing liquid
- Sponge or soft cloth
- Old toothbrush
- Vinegar
- Baking soda
- Paper towels
- Clean, dry cloth
Before you start cleaning your gas hob burner caps, make sure you have all the necessary supplies at hand. This will save you time and effort during the cleaning process.
Put on a pair of gloves to protect your hands from any potential mess or chemicals. Gloves also provide a better grip when handling the burner caps.
Next, fill a sink or basin with hot soapy water. Add a few drops of dishwashing liquid to create a soapy solution.
Grab a sponge or soft cloth that you can use to scrub the burner caps. Make sure it is dampened with the soapy water before you begin.
For hard-to-reach areas and stubborn stains, an old toothbrush can be handy. Keep it nearby so you can easily access it when needed.
In addition to the soapy water, you will also need vinegar and baking soda for deeper cleaning. These natural ingredients are effective in removing grease and grime from burner caps.
Keep some paper towels nearby to wipe off excess moisture and cleaning solutions. They can also be used to protect your countertops or surfaces from any spills or drips.
Finally, have a clean, dry cloth ready for the finishing touches. This will help to remove any remaining moisture and give your burner caps a polished look.
Remove the Burner Caps
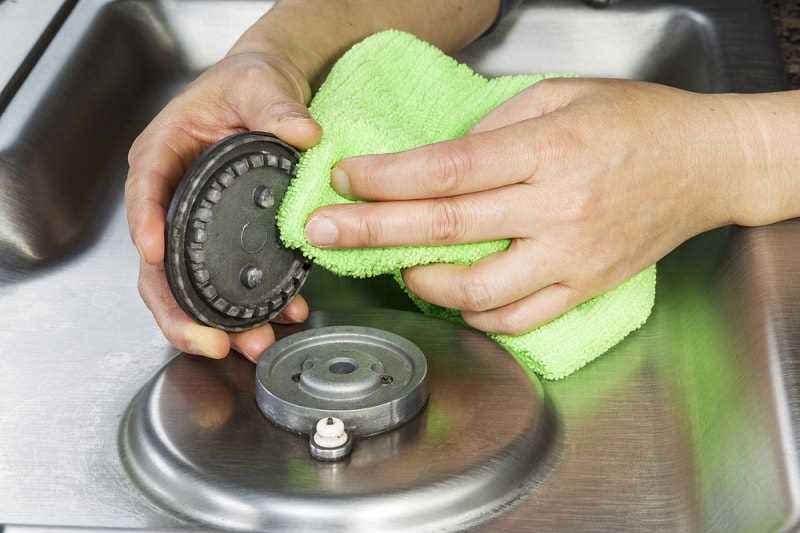
Before you start cleaning the burner caps, make sure that the gas hob is turned off and cooled down completely. Removing the burner caps is a simple process that requires a few basic steps:
- Lift the grates: Start by lifting the grates or burner covers that are placed on top of the burner caps. These grates help protect the burner caps from any spills or grease.
- Identify the burner caps: Each burner on the gas hob will have a corresponding burner cap. Identify the burner caps that you want to clean.
- Remove the burner caps: Gently lift and remove the burner caps from the gas hob. They might be hot, so be cautious and use kitchen gloves if necessary.
Once you have successfully removed the burner caps, you are ready to proceed with the cleaning process.
Soak the Burner Caps in Hot Soapy Water
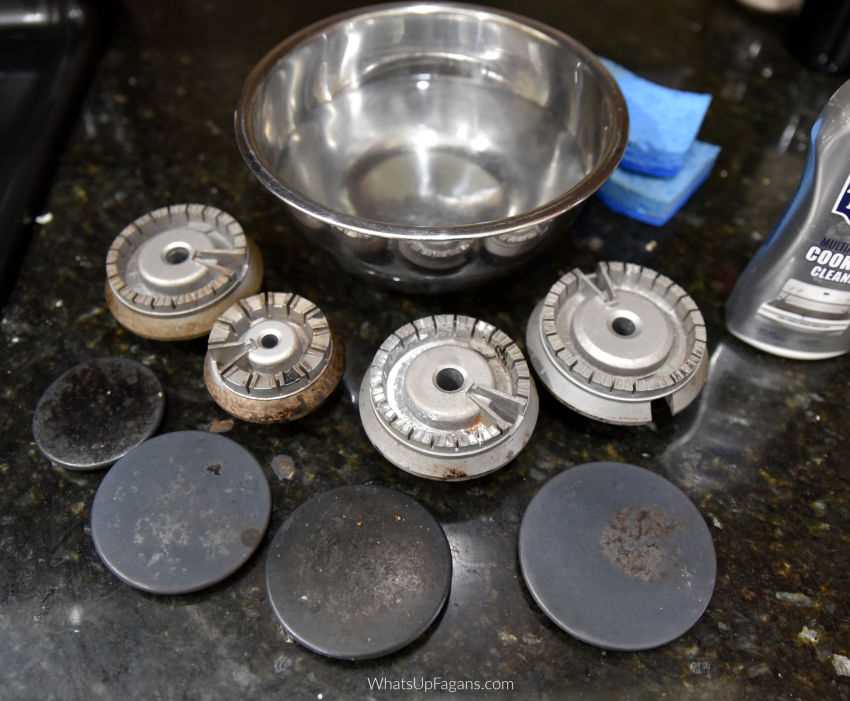
Before starting the cleaning process, it is important to remove the burner caps from the gas hob. These caps are usually made of metal or enamel and can accumulate grease and food residue over time. Soaking them in hot soapy water will help to loosen and dissolve the dirt, making it easier to clean.
Here are the steps to soak the burner caps in hot soapy water:
- Fill a sink or basin with hot water.
- Add a few drops of dish soap to the water. You can also use a mild detergent.
- Place the burner caps in the soapy water, making sure they are fully submerged.
- Let the burner caps soak for at least 30 minutes to an hour. This will allow the hot water and soap to work on loosening the dirt and grease.
- If the burner caps have stubborn stains or baked-on grease, you can add a tablespoon of baking soda to the soapy water. Baking soda is a natural cleaner and can help to remove tough stains.
While the burner caps are soaking, you can use this time to clean other parts of the gas hob, such as the burner heads or the stovetop surface.
Once the soaking time is up, remove the burner caps from the soapy water and rinse them thoroughly under running water. Use a scrub brush or sponge to gently scrub away any remaining dirt or grease. If necessary, you can repeat the soaking process or use a cleaning agent specifically designed for removing stubborn stains.
After cleaning, make sure to dry the burner caps thoroughly before placing them back on the gas hob. This will prevent water spots or rust from forming.
By soaking the burner caps in hot soapy water, you can effectively remove grease and dirt, leaving them looking clean and shiny.
Scrub the Burner Caps Thoroughly
After soaking the burner caps in soapy water for a few moments, it’s time to scrub them thoroughly to remove any stubborn grease or residues. Here’s how to do it:
- Take a soft brush or sponge and dip it into the soapy water. Make sure it’s not too abrasive to avoid scratching the surface of the burner caps.
- Gently scrub the burner caps in a circular motion, applying light pressure. Start from one side and work your way around to ensure you cover the entire surface.
- Pay special attention to any built-up grease or tough stains. Use a bit more pressure and scrub in back-and-forth motions to break them down.
- If necessary, apply a small amount of baking soda or a non-abrasive cleaning agent to the brush or sponge to help remove stubborn dirt. Remember to rinse the burner caps thoroughly after using any cleaning agent.
- Continue scrubbing until the burner caps are clean and free from any residue. Rinse them under running water to remove any remaining soap or cleaning solution.
- Inspect the burner caps for any missed spots or lingering grease. If needed, repeat the scrubbing process for those areas until the burner caps are completely clean.
- Once clean, use a clean cloth or paper towel to dry the burner caps thoroughly before placing them back onto the gas hob.
Note: It’s important to clean the burner caps regularly to prevent a buildup of grease and maintain the appearance and functionality of your gas hob. Regular cleaning will also help to avoid any unpleasant odours or tastes in your cooking.
Rinse and Dry the Burner Caps

Once you have finished scrubbing the burner caps with the soapy water and brush, it is important to rinse them thoroughly. Use warm water to remove all the soap residue and any remaining dirt or grime. Ensure that you rinse both the inside and outside of the burner caps.
After rinsing, use a clean cloth or paper towel to dry the burner caps. Wipe away any excess water or moisture to prevent water spots from forming. Make sure the burner caps are completely dry before reassembling them onto the gas hob.
If there are any stubborn stains or areas that are difficult to clean, you can repeat the scrubbing and rinsing process until the burner caps are spotless. It is important to keep the burner caps clean and dry to maintain their appearance and functionality.
Remember to also clean and dry the rest of the gas hob, including the grates, knobs, and surrounding areas. This will ensure that your gas hob remains in top condition and operates efficiently.
FAQ
Why is it important to clean gas hob burner caps?
It is important to clean gas hob burner caps because over time, they can accumulate grease, food particles, and other debris which can affect their performance. Cleaning the burner caps regularly ensures that they continue to distribute heat evenly and efficiently.
What materials do I need to clean gas hob burner caps?
To clean gas hob burner caps, you will need a soft brush or sponge, dish soap or a mild cleaning solution, warm water, and a cloth or towel for drying.
How often should I clean gas hob burner caps?
It is recommended to clean gas hob burner caps once a month or as needed. If you notice any build-up or discoloration on the burner caps, it may be time to clean them.
What is the best way to clean gas hob burner caps?
The best way to clean gas hob burner caps is to remove them from the gas hob and soak them in warm, soapy water for about 15-20 minutes. After soaking, use a soft brush or sponge to scrub away any remaining residue. Rinse the burner caps with clean water and dry them thoroughly before reinstalling them.


