

A clean washing machine is essential for maintaining the cleanliness and hygiene of your laundry. Over time, detergent residue, limescale, and bacteria can build up inside your machine, leading to unpleasant odors and potential issues with your clothes. Fortunately, Zoflora, a popular household disinfectant, can help you clean and freshen up your washing machine. In this step-by-step guide, we will walk you through the process of using Zoflora to thoroughly clean your machine.
Before we begin, it’s important to note that not all washing machines can be cleaned with Zoflora. Check the manufacturer’s instructions or consult the manual to ensure that your machine is compatible. Additionally, make sure you have a bottle of Zoflora in a scent that you enjoy, as the fragrance will linger in your machine after cleaning.
First, start by emptying your washing machine. Remove any clothes or laundry from the drum and dispenser. Check the pockets of your clothes for any loose items, such as coins or tissues, and remove them. Next, wipe down the entire drum, as well as the rubber seal and door, with a damp cloth to remove any visible dirt or grime.
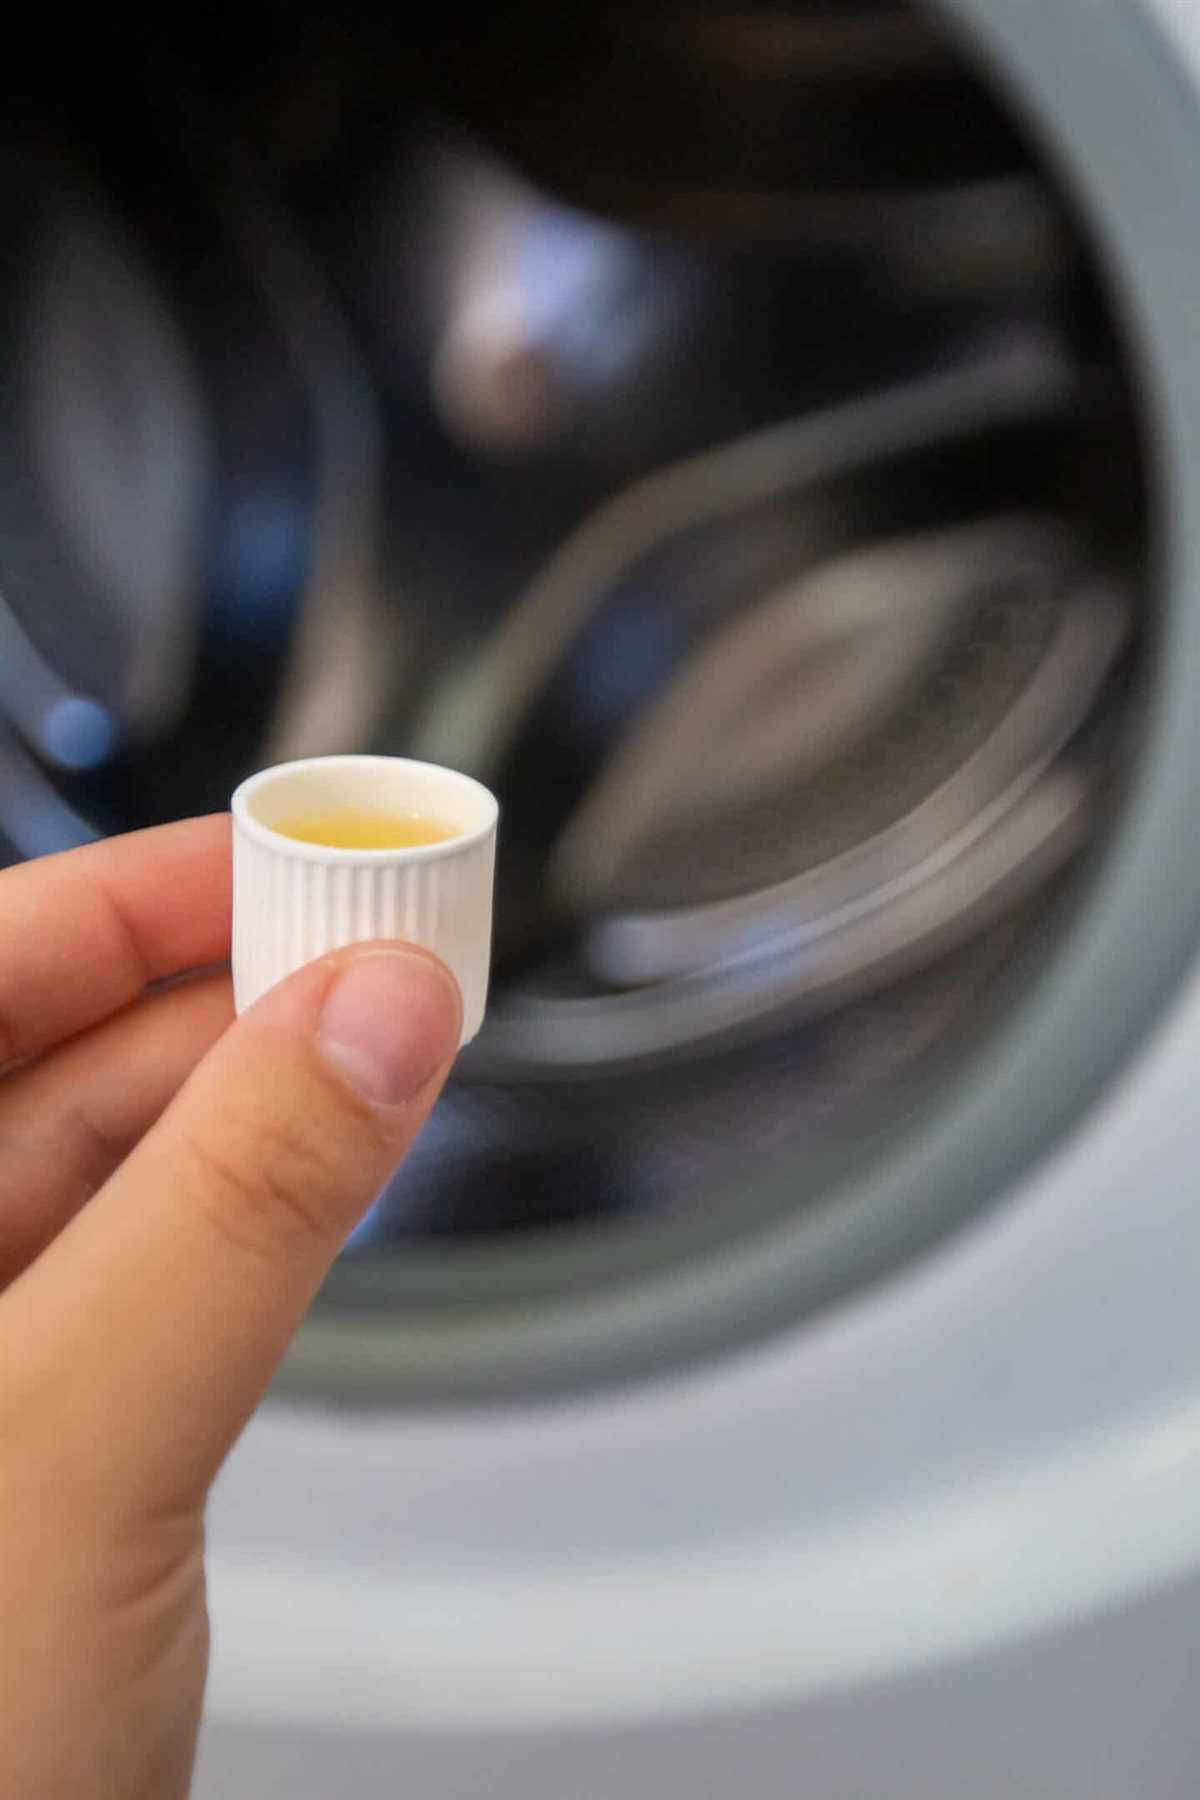
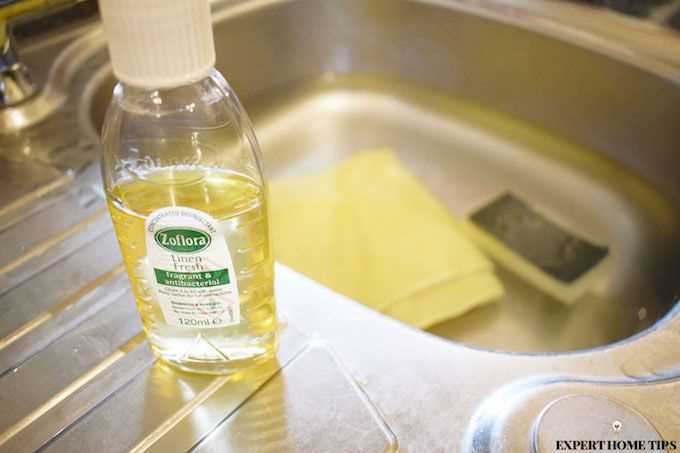
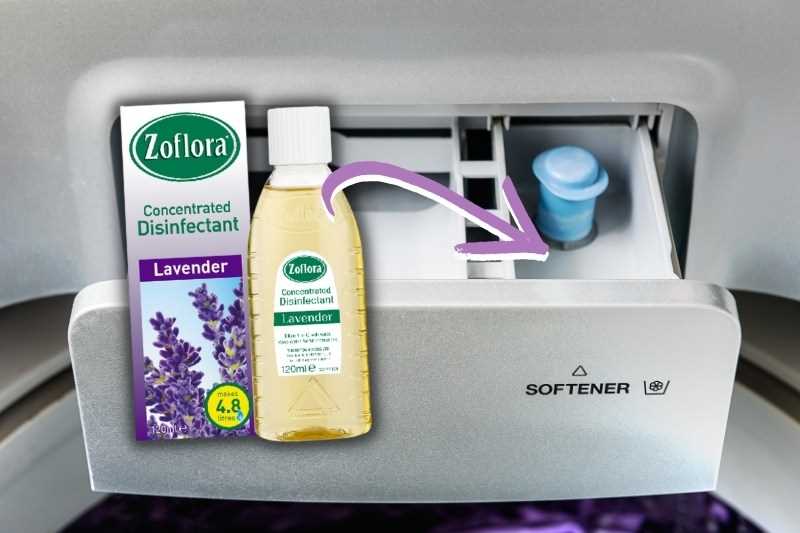
Now it’s time to prepare the Zoflora solution. Fill a bowl or sink with hot water and add the recommended amount of Zoflora, as indicated on the bottle. Stir the mixture well to ensure the Zoflora is fully dissolved. Once the solution is ready, carefully pour it into the drum of your washing machine.
Section 1: Preparing the Washing Machine for Cleaning
Before you start cleaning your washing machine with Zoflora, there are a few steps you need to take to properly prepare the machine.
Step 1: Gather Your Supplies

Before getting started, make sure you have all the necessary supplies on hand. You will need:
- Zoflora disinfectant
- A clean cloth or sponge
- A small bowl or container
- Warm water
- A scrub brush or toothbrush (optional)
Step 2: Empty the Washing Machine

Remove any items from the washing machine, including clothes, towels, and any other items that may be inside. Check all the pockets to ensure that no small objects are left behind.
Step 3: Wipe Down the Interior

Using a clean cloth or sponge, wipe down the interior of the washing machine. Pay special attention to any areas that may have residue or grime, such as the detergent dispenser and the rubber seal around the door. If there are any visible stains or build-up, you can use a scrub brush or toothbrush to scrub them away.
Step 4: Clean the Filter (If Applicable)
Check your washing machine’s user manual to see if it has a filter that needs to be cleaned. If it does, locate and remove the filter according to the manufacturer’s instructions. Rinse it under warm water to remove any debris, and then reinstall it back into the machine.
Step 5: Check the Drum
Inspect the drum of the washing machine to ensure that there are no remaining items or debris. If you notice any foreign objects, remove them carefully to prevent damage to the machine.
Once you have completed these steps, your washing machine will be properly prepared for the cleaning process.
Section 2: Mixing the Zoflora Solution
Gather the necessary supplies
Before you can mix the Zoflora solution, make sure you have all the necessary supplies on hand. Here’s what you’ll need:
- 1 bottle of Zoflora disinfectant
- A bucket or basin
- A measuring cup or spoon
- Water
- A clean cloth or sponge
Dilute the Zoflora disinfectant with water
Follow these steps to create the Zoflora solution:
- Fill your bucket or basin with warm water. The exact amount of water needed will depend on the size of your washing machine. As a general guideline, use about 1-2 liters of water.
- Add the Zoflora disinfectant to the water. Consult the product label for the recommended dilution ratio. Typically, you’ll use about 1 capful (10ml) of Zoflora per 400ml of water.
- Stir the mixture well to ensure the Zoflora disinfectant is evenly distributed in the water.
Precautionary measures
When working with Zoflora disinfectant, remember to:
- Read the product label and follow the manufacturer’s instructions for safe use.
- Wear gloves to protect your hands from the disinfectant.
- Keep the area well-ventilated to avoid inhaling the product.
Once you’ve mixed the Zoflora solution, you’re ready to move on to the next step: applying the solution to your washing machine.
Section 3: Cleaning the Drum and Dispenser
Step 1: Wipe Down the Inside of the Drum
Start by opening the door of your washing machine and wiping down the inside of the drum with a damp cloth. This will help remove any loose dirt or debris.
Step 2: Create a Cleaning Solution

Mix 1 tablespoon of Zoflora with 500ml of warm water in a spray bottle. Shake well to ensure the solution is thoroughly mixed.
Step 3: Spray the Drum and Dispenser
Next, spray the inside of the drum and the detergent dispenser with the Zoflora cleaning solution. Be sure to cover all areas, including the rubber seal and any hard-to-reach crevices.
Step 4: Leave the Solution to Soak
Allow the cleaning solution to sit in the drum and dispenser for 15-20 minutes. This will give the Zoflora time to thoroughly disinfect and remove any lingering odors.
Step 5: Wipe Down the Drum and Dispenser
After the solution has had time to soak, use a clean cloth or sponge to wipe down the drum and dispenser. Be sure to remove any residue or dirt that may have been loosened by the cleaning solution.
Step 6: Rinse the Drum and Dispenser
Once you have wiped down the drum and dispenser, rinse them thoroughly with warm water. This will help remove any remaining cleaning solution and ensure that your washing machine is ready for use.
Step 7: Clean the Detergent Drawer
Finally, remove the detergent drawer from the machine and clean it separately. Use a mixture of warm water and Zoflora to scrub away any buildup or residue. Rinse the detergent drawer thoroughly before replacing it in the machine.
By following these steps, you can ensure that your washing machine’s drum and dispenser are clean, fresh, and ready for your next load of laundry.
Section 4: Cleaning the Filter
Step 1: Before cleaning the filter, make sure that the washing machine is off and unplugged to ensure safety.
Step 2: Locate the filter, which is usually located at the bottom of the washing machine, behind a small flap or cover.
Step 3: Open the flap or cover to access the filter. You may need to use a screwdriver or coin to remove the cover.
Step 4: Place a towel or cloth underneath the filter to catch any water that may spill out during the cleaning process.
Step 5: Slowly unscrew the filter by turning it counterclockwise. Use caution as there may be residual water inside the filter that will come out once it is unscrewed.
Step 6: Once the filter is removed, carefully inspect it for any dirt, debris, or lint that may have accumulated. Use a soft brush or cloth to clean the filter thoroughly.
Step 7: If the filter is excessively dirty, you may need to rinse it under running water to remove any stubborn debris.
Step 8: Once the filter is clean, screw it back into place by turning it clockwise. Make sure it is tightly secured to prevent any leaks during the washing cycle.
Step 9: Close the flap or cover of the filter and ensure that it is securely closed.
Step 10: Once the filter is cleaned and secured back in place, you can plug in the washing machine and turn it on to resume normal operation.
Note: It is recommended to clean the filter every 2-3 months to ensure optimal performance of your washing machine.
Section 5: Finishing Touches and Regular Maintenance
5.1 Empty and wipe down the drum

Once the cleaning cycle is complete, empty the drum of any remaining water or cleaning solution. Use a clean cloth or sponge to wipe down the inside of the drum, removing any leftover residue or dirt.
5.2 Clean the detergent dispenser
Remove the detergent dispenser from the washing machine and rinse it under warm water to remove any built-up detergent or fabric softener. Use a small brush or toothbrush to scrub any stubborn residue. Dry the dispenser thoroughly before returning it to the machine.
5.3 Clean the door seal and glass
The door seal and glass of the washing machine can collect dirt and grime over time. Use a damp cloth or sponge to wipe down the seal and glass, removing any debris or stains. Pay special attention to any grooves or crevices where dirt may accumulate.
5.4 Regular maintenance tips
To keep your washing machine clean and functioning optimally, follow these maintenance tips:
- Wipe down the exterior: Regularly wipe down the outside of the washing machine with a damp cloth to remove dust and dirt.
- Check and clean the filter: Refer to your washing machine’s manual and regularly clean or replace the filter to prevent blockages.
- Leave the door open: After each use, leave the washing machine door open to allow moisture to evaporate, preventing unpleasant odours or mould growth.
- Use the right amount of detergent: Follow the manufacturer’s instructions and avoid using excessive detergent, as this can contribute to residue build-up.
- Run a maintenance cycle: Occasionally, run a hot water maintenance cycle with a cup of white vinegar to help remove any lingering odours and keep the machine clean.
5.5 Frequency of cleaning
It is recommended to clean your washing machine at least once every 1-3 months to maintain its performance and hygiene.
FAQ
Why should I clean my washing machine?
It is important to clean your washing machine regularly because over time, it can accumulate dirt, grime, and bacteria. This can lead to unpleasant odors, poor cleaning performance, and even damage to your clothes. By cleaning your washing machine, you can ensure that it is running efficiently and effectively.
What is Zoflora?
Zoflora is a concentrated disinfectant and cleaning product that can be used to clean a wide range of surfaces and appliances, including washing machines. It is known for its powerful cleaning properties and pleasant fragrances.
How often should I clean my washing machine with Zoflora?
It is recommended to clean your washing machine with Zoflora once a month to keep it fresh and free from bacteria. However, if you notice any unpleasant odors or stains, it is a good idea to clean it more frequently.
What do I need to clean my washing machine with Zoflora?
To clean your washing machine with Zoflora, you will need a bottle of Zoflora disinfectant, a clean cloth, and a small brush or toothbrush. You may also want to have some white vinegar on hand for extra cleaning power.
Can I use Zoflora in a front-loading washing machine?
Yes, you can use Zoflora to clean a front-loading washing machine. Simply follow the same steps outlined in the article, making sure to clean the rubber seal and any other accessible parts thoroughly.
Is Zoflora safe to use in a washing machine?
Zoflora is safe to use in a washing machine when used according to the instructions. However, it is important to avoid getting the disinfectant directly on your clothes, as it may cause damage or staining. Make sure to follow the recommended dilution ratios and rinse the machine thoroughly after cleaning.
Can I use Zoflora to clean other household appliances?
Yes, Zoflora can be used to clean a variety of household appliances, including dishwashers, refrigerators, and microwaves. Just make sure to follow the instructions on the bottle and use the appropriate dilution ratios.


