
Step-by-Step Guide: How to Clean a Fan-Assisted Oven


Keeping your fan-assisted oven clean is essential for maintaining its efficiency and prolonging its lifespan. Over time, food particles, grease, and spills can accumulate and affect the oven’s performance. Regular cleaning not only helps keep your oven in top condition, but it also ensures that your meals are cooked evenly and hygienically.
Before you start:
Make sure your oven is switched off and cooled down before you begin the cleaning process. It’s also a good idea to remove any oven racks or trays, as they can be cleaned separately.
Step 1: Gather your supplies
Before you begin cleaning, gather all the necessary supplies. You will need oven cleaner, gloves, a soft sponge or cloth, warm water, a small brush or toothbrush, and a microfiber cloth for drying.
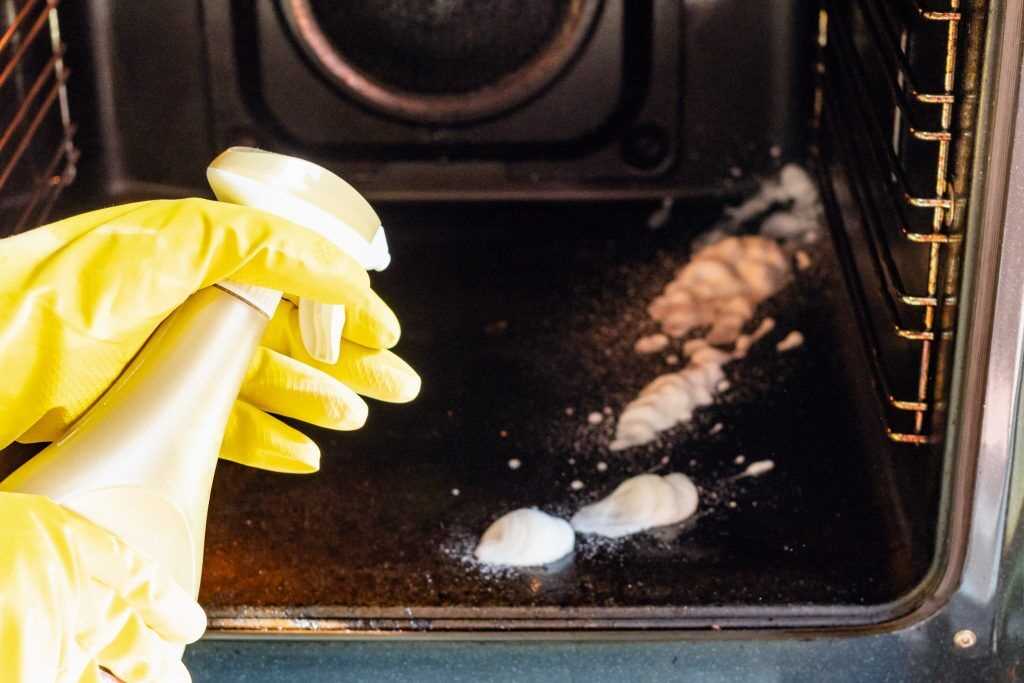
Step 2: Spray the oven cleaner
Start by spraying the oven cleaner on the internal surfaces of the oven, including the oven walls, base, and door. Be sure to follow the instructions on the cleaner’s label and cover any sensitive areas that might be damaged by the cleaner.
Step 3: Let the cleaner sit
After applying the cleaner, let it sit for the recommended amount of time. This will allow the cleaner to penetrate and dissolve any grease or grime in the oven.
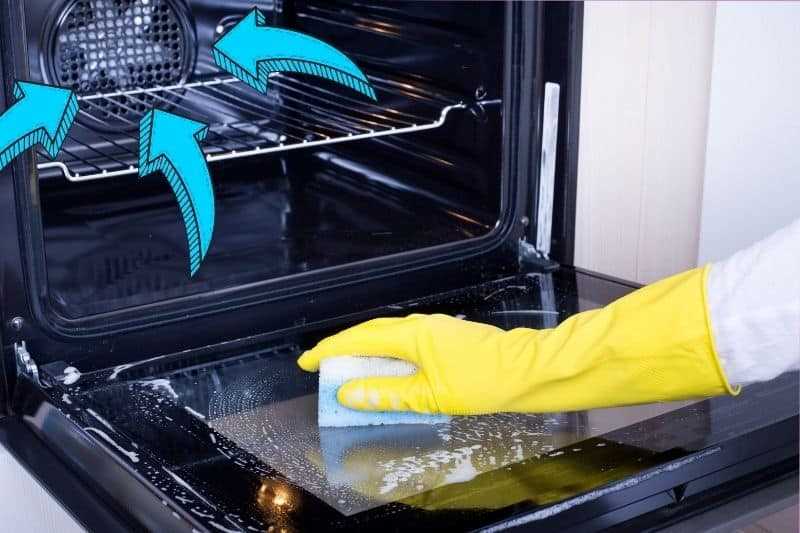
Step 4: Scrub the oven
Using a soft sponge or cloth, scrub the oven’s internal surfaces to remove the loosened dirt and grime. For stubborn stains or hard-to-reach areas, use a small brush or toothbrush.
Step 5: Rinse and dry
Once you have scrubbed the entire oven, rinse the surfaces with warm water to remove any remaining cleaner. Wipe the oven dry with a microfiber cloth.
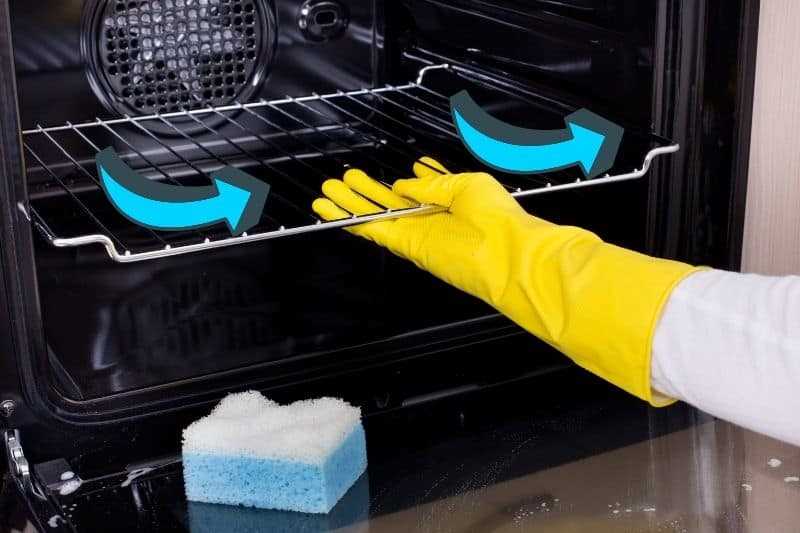
Step 6: Clean the oven racks
While the oven is drying, clean the oven racks separately. You can use warm soapy water and a sponge or even the oven cleaner if necessary. Scrub the racks gently and rinse them thoroughly before drying.
Step 7: Reassemble and finish up
Once the oven and racks are completely dry, reassemble them and place them back in the oven. Give the oven a final wipe-down with a clean cloth, and you’re done! Your fan-assisted oven is now clean and ready for your next culinary masterpiece.
By following these step-by-step instructions, you can easily clean your fan-assisted oven and ensure its optimal performance for years to come.
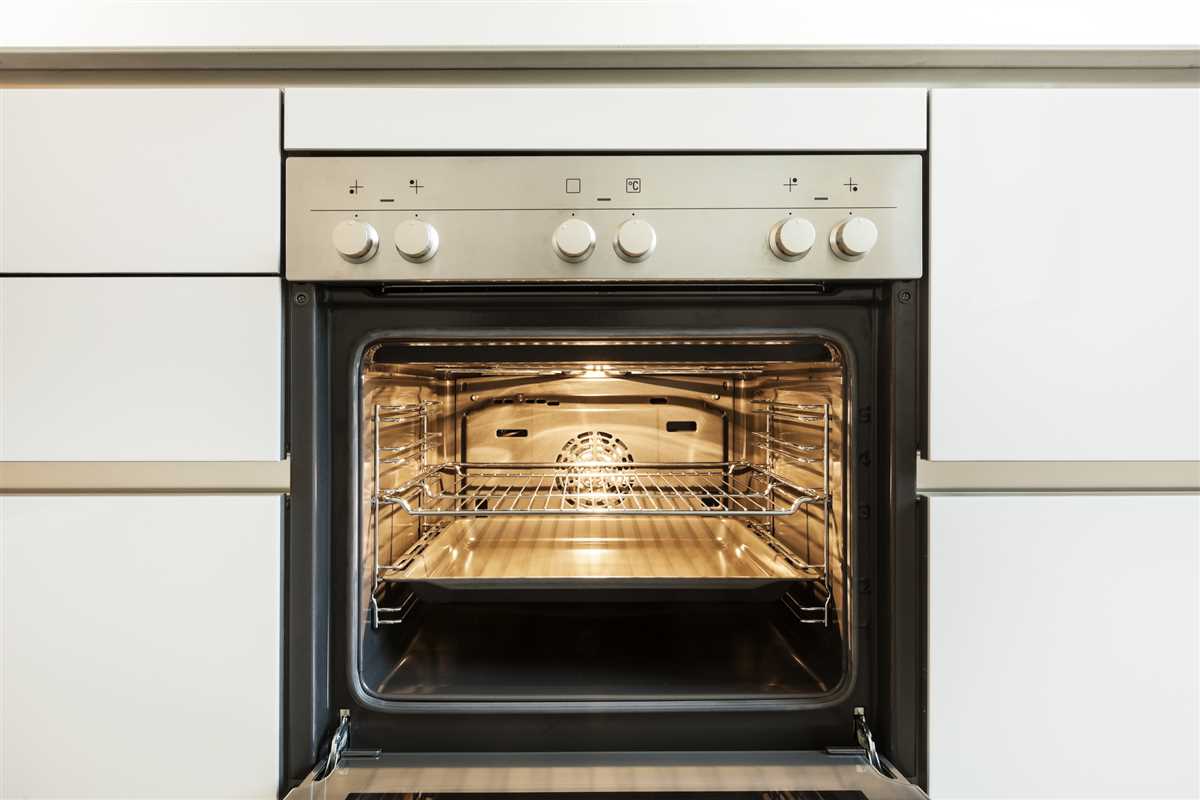
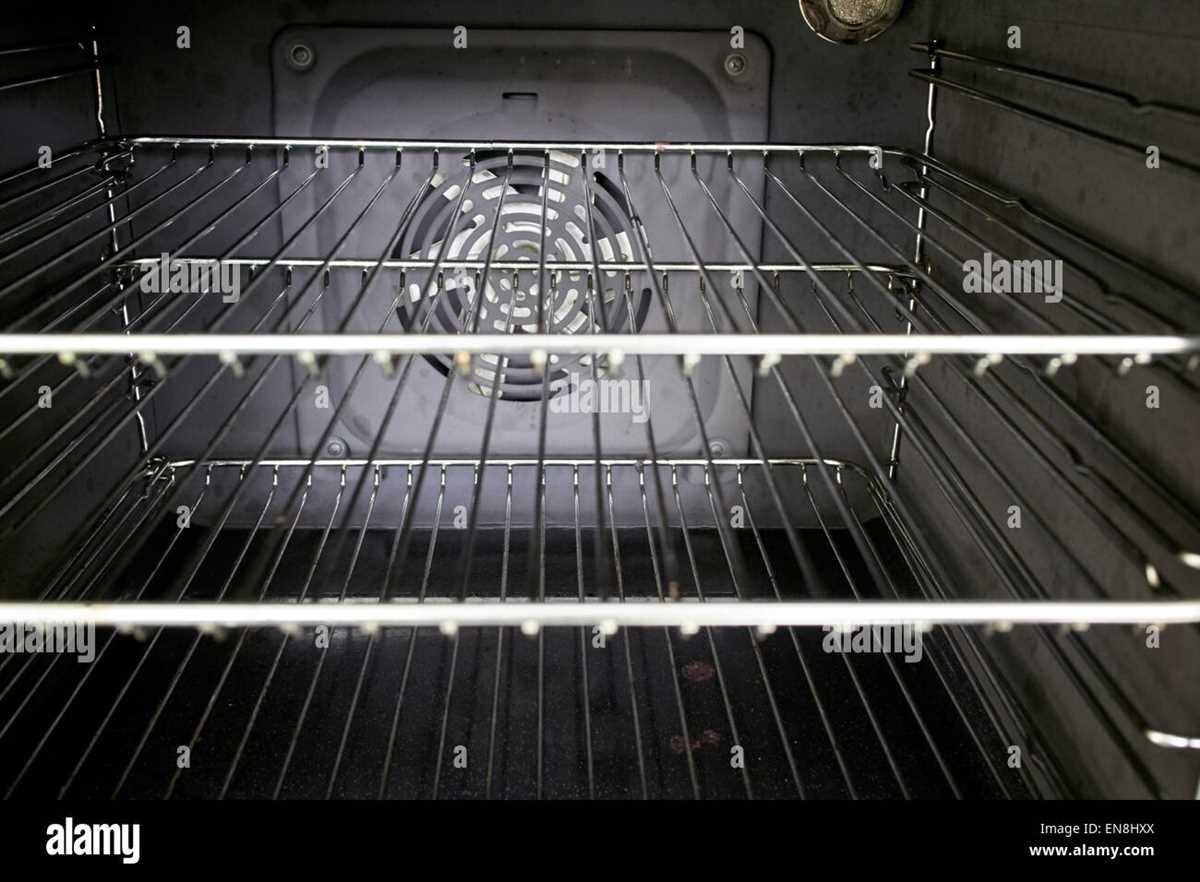
Overview of a Fan-Assisted Oven
A fan-assisted oven, also known as a convection oven, is a type of oven that utilizes a fan to circulate hot air evenly throughout the cooking chamber. This fan helps to distribute heat more efficiently and speeds up the cooking process. Compared to traditional ovens, fan-assisted ovens offer more uniform temperature distribution, resulting in more even cooking and browning of food.
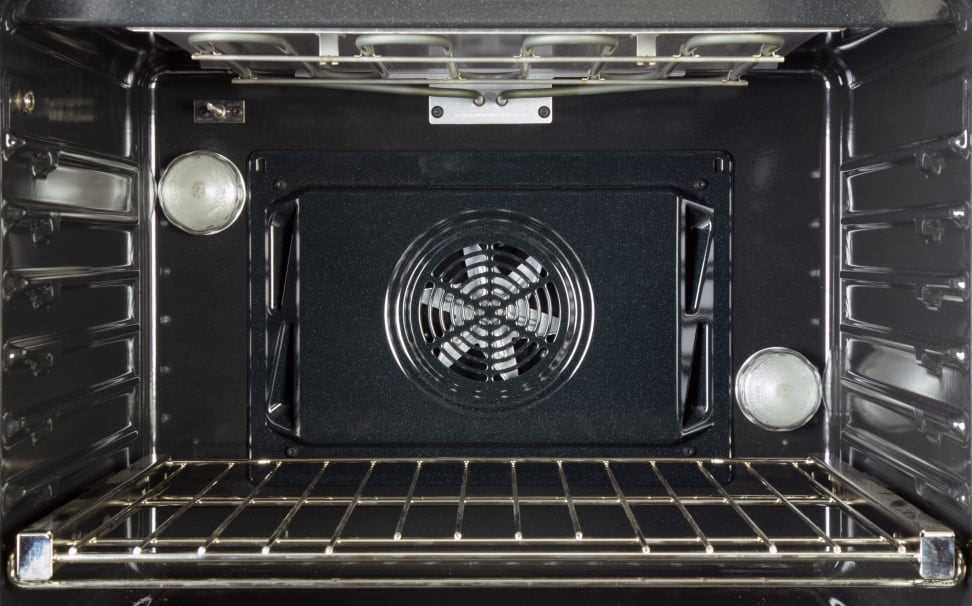
In a fan-assisted oven, the fan is typically located at the back of the cooking chamber. When the oven is turned on, the fan starts to spin and draws in air from the surrounding space. The air is then heated by the heating element, which is usually located at the bottom or top of the oven. The heated air is circulated around the oven by the fan, ensuring that the entire cooking chamber is heated evenly.
One of the key advantages of a fan-assisted oven is its ability to reduce cooking time. The circulation of hot air inside the oven helps to transfer heat more efficiently to the food, resulting in faster cooking times. This makes fan-assisted ovens ideal for baking, roasting, and other cooking methods that require precise temperature control and quick cooking times.
Additionally, fan-assisted ovens can help to reduce the need for turning or rotating food during cooking. The even distribution of heat ensures that food cooks evenly on all sides, eliminating the need for flipping or rearranging halfway through the cooking process. This convenience factor can save time and make cooking more efficient.
It’s important to note that fan-assisted ovens may require some adjustment in cooking temperatures and times compared to traditional ovens. The circulating hot air can cause food to cook faster, so it’s recommended to reduce cooking temperatures slightly or shorten cooking times when using a fan-assisted oven.
Overall, a fan-assisted oven offers excellent cooking performance and versatility. Whether you’re baking delicate pastries or roasting a succulent chicken, the even heat distribution provided by the fan ensures consistent and delicious results every time.
Step 1: Preparing the Oven
Before you begin cleaning your fan-assisted oven, it’s important to properly prepare the appliance. Follow these steps to ensure a safe and effective cleaning process:
- Turn off the oven: Make sure the oven is completely switched off and disconnected from any power source before you start cleaning.
- Remove the racks and trays: Take out any removable racks, trays, and accessories from the oven. This will make it easier to reach all the surfaces inside the oven.
- Place them in a soapy water: Fill a sink or large basin with warm soapy water and submerge the racks and trays. This will help to loosen any built-up grease or food particles.
- Let them soak: Allow the racks and trays to soak in the soapy water while you clean the interior of the oven. This will help to loosen any stubborn stains or residue.
- Prepare a cleaning solution: Depending on the severity of the oven’s dirt and stains, you can create a cleaning solution by mixing baking soda with water or using a commercial oven cleaner. Follow the instructions on the product label if using a commercial cleaner.
Once the oven is properly prepared, you can move on to the next step of the cleaning process.
Step 2: Removing Removable Parts

Before cleaning the oven, it’s important to remove any removable parts that may hinder the cleaning process. This step will ensure that you have easy access to all surfaces that need cleaning.
Here’s how you can remove the removable parts of your fan-assisted oven:
- Switch off the oven and unplug it from the power source to ensure your safety.
- Open the oven door and locate the wire racks, baking trays, and any other removable parts.
- Take out the wire racks by carefully sliding them towards yourself. Be cautious as they may be hot and use oven gloves if necessary.
- Next, remove the baking trays or any other accessories that need cleaning.
- Inspect the removable parts for any food residue or stubborn stains.
- If the parts are oven-safe, you can either scrub them in the sink with warm soapy water or place them in a dishwasher if it’s compatible.
- For stubborn stains, you may need to use a non-abrasive cleaner or a mixture of baking soda and water to get rid of them.
- Once cleaned, rinse the removable parts thoroughly and dry them completely before placing them back in the oven.
Remember to refer to your oven’s manual for specific instructions on removing and cleaning the removable parts, as different oven models may have slight variations.
Step 3: Cleaning the Interior
After removing all the removable parts from your fan-assisted oven and cleaning them thoroughly, it’s time to clean the interior of the oven.
Cleaning the Walls and Ceiling
Start by wiping down the interior walls and ceiling of the oven. Use a sponge or cloth soaked in warm water mixed with a small amount of dish soap to remove any grease or grime. Be sure to wring out the sponge or cloth well to avoid excessive water dripping into the oven.
If there are any stubborn stains or burnt-on residue on the walls and ceiling, you can make a paste using baking soda and water. Apply the paste to the stains and let it sit for a few minutes before scrubbing gently with a sponge or cloth. Rinse with clean, warm water.
Cleaning the Oven Racks
The oven racks can also accumulate grease and grime over time. Remove them from the oven and place them in a sink filled with warm water and dish soap. Let them soak for a few minutes to loosen any baked-on food particles.
After soaking, scrub the racks using a sponge or dish brush to remove any remaining residue. Rinse the racks with clean water and dry them thoroughly before placing them back into the oven.
Wiping Down the Door
Last but not least, clean the oven door. Use the same warm, soapy water mixture and a sponge or cloth to wipe down the door. Pay extra attention to any glass surfaces on the door and make sure to clean them thoroughly.
If your oven door has a vent or any small crevices, use a small brush or toothbrush to reach those areas and remove any trapped dirt or grime. Rinse the door with clean water and dry it with a cloth or paper towel.
Once you have finished cleaning the interior of your fan-assisted oven, you can move on to the next step: cleaning the exterior.
Step 4: Cleaning the Exterior
Once you have cleaned the interior of your fan-assisted oven, it is time to move on to cleaning the exterior. While the exterior of your oven may not accumulate as much grease and grime as the interior, it is still important to keep it clean to maintain the overall appearance and functionality of your oven.
Materials Needed:
- All-purpose cleaner
- Mild dish soap
- Microfiber cloth
- Soft sponge or scrub brush
- Water
Step-by-Step Instructions:
- Disconnect the power: Before you start cleaning the exterior of your oven, make sure to unplug it or turn off the power at the breaker.
- Mix a cleaning solution: For the all-purpose cleaner, follow the manufacturer’s instructions for dilution, or create a solution of mild dish soap and water.
- Dampen a microfiber cloth: Dip a microfiber cloth into the cleaning solution, wring out any excess liquid, and gently wipe down the exterior surfaces of your oven.
- Remove stubborn stains: If there are any stubborn stains or dried-on food particles on the exterior surfaces, use a soft sponge or scrub brush to gently scrub the area. Be careful not to use anything abrasive that could damage the oven’s finish.
- Rinse and dry: Wipe down the cleaned surfaces with a damp cloth to remove any remaining cleaning solution. Then, use a dry microfiber cloth to thoroughly dry the oven and prevent water spots.
Remember to always follow the manufacturer’s instructions for cleaning your specific oven model. Some ovens may have special finishes or coatings that require specific cleaning products or techniques. Regularly cleaning the exterior of your fan-assisted oven will help keep it looking like new and ensure its longevity.
Step 5: Reassembling and Final Steps
1. Replace the racks and accessories
Before you reassemble your oven, make sure the racks and accessories are dry and clean. Position them in their original placements inside the oven.
2. Reattach the oven door
Line up the slots on the oven door with the hinges on the oven and slide the door into place. Once aligned, push the door downward until you hear a click, indicating that it is securely attached.
3. Restore power and settings
Plug in your oven’s power cord back into the outlet and switch on the power. Reset any settings or time adjustments you may have made before beginning the cleaning process. You can refer to your oven’s manual for specific instructions on resetting your oven’s settings.
4. Perform a test run
Before cooking any food, it’s a good idea to perform a test run to ensure that everything is working properly. Preheat your oven to a low temperature and let it run for a few minutes. Check that the oven heats up and that the fan is functioning correctly.
5. Wipe down the exterior
Finally, wipe down the exterior of your oven with a damp cloth to remove any remaining residue or dirt. Pay attention to any control knobs and displays, making sure they are also clean and dry.
By following these steps, you can successfully reassemble your fan-assisted oven and have it ready for use. Remember to always consult your oven’s manual for specific instructions and safety precautions.
FAQ
Why is it important to clean a fan-assisted oven?
Regularly cleaning a fan-assisted oven is important to maintain its efficiency and prevent the buildup of dirt, grease, and food residues. This can improve the oven’s performance and ensure that your food cooks evenly.
How often should I clean my fan-assisted oven?
It is recommended to clean your fan-assisted oven at least once every three months. However, if you use your oven frequently or notice a significant amount of dirt and grease buildup, it is best to clean it more often.
What supplies do I need to clean a fan-assisted oven?
You will need a few basic supplies to clean a fan-assisted oven, including a soft cloth, mild detergent or oven cleaner, hot water, a sponge or scrub brush, and gloves to protect your hands.
Can I use store-bought oven cleaners to clean my fan-assisted oven?
Yes, you can use store-bought oven cleaners to clean your fan-assisted oven. However, it is important to read the instructions carefully and ensure that the cleaner is safe to use on your specific oven model.
What is the best method to clean the fan in a fan-assisted oven?
The best method to clean the fan in a fan-assisted oven is to first switch off the oven and let it cool down completely. Then, remove the fan cover and wipe away any dirt or grease using a cloth or sponge. Be careful not to damage the fan blades. If necessary, you can use a mild detergent or oven cleaner to remove stubborn stains.
How do I clean the oven door in a fan-assisted oven?
To clean the oven door in a fan-assisted oven, you can mix a small amount of detergent with hot water and use a sponge or cloth to wipe away any dirt or grease. If the door has tough stains or baked-on food, you can use a non-abrasive scrub brush or a mild oven cleaner to remove them.
What precautions should I take when cleaning a fan-assisted oven?
When cleaning a fan-assisted oven, it is important to take a few precautions. Make sure the oven is switched off and completely cooled down before cleaning. Wear gloves to protect your hands from hot surfaces and chemicals. Read the instructions of any cleaning products you use and follow them carefully. If you are unsure about how to clean your specific oven model, consult the manufacturer’s guidelines or consider hiring a professional.


