How to Wash Clothes in the Sink: A Step-By-Step Guide


Washing clothes in the sink can be a convenient and cost-effective way to keep your wardrobe fresh and clean. Whether you’re traveling, don’t have access to a washing machine, or simply want to save money on laundry bills, washing your clothes in the sink is a practical solution. In this step-by-step guide, we’ll walk you through the process of hand washing your clothes, ensuring that they come out clean and ready to wear.
Step 1: Sort your clothes
Before you begin washing your clothes in the sink, it’s important to sort them according to their fabric type and color. Separate light-colored garments from dark-colored ones to prevent color bleeding and fading. Additionally, delicate fabrics such as silk or wool should be washed separately to avoid damage. By sorting your clothes beforehand, you’ll ensure that each garment receives the appropriate care during the washing process.
Step 2: Fill the sink with water
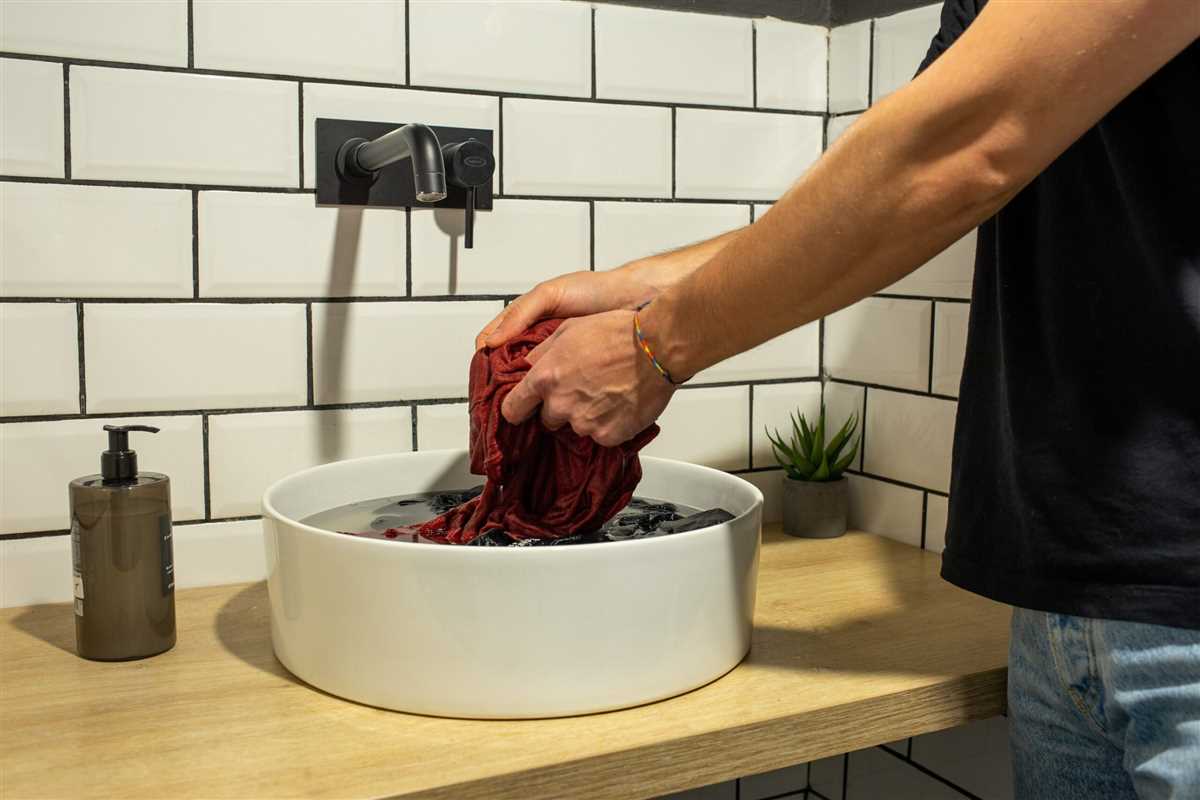
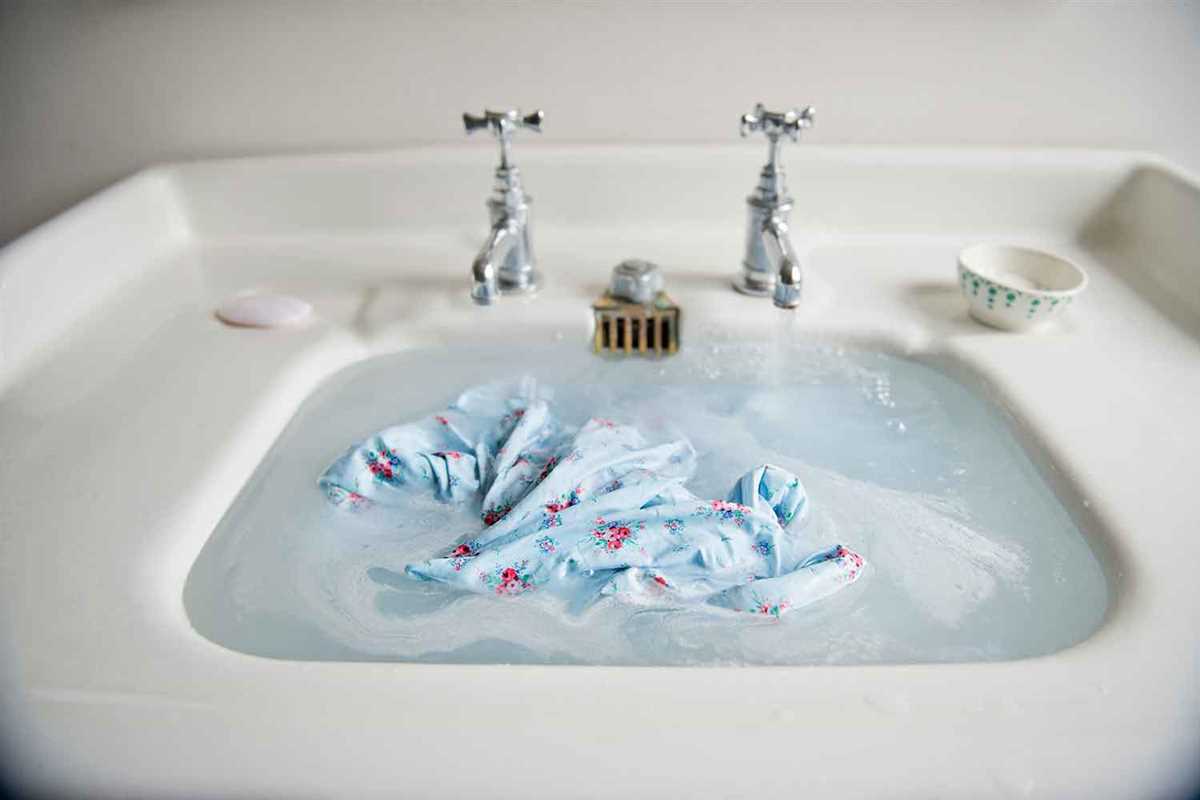
Fill the sink with lukewarm water, ensuring that there’s enough water to fully submerge your clothes. Avoid using hot water, as it can cause colors to fade and shrink delicate fabrics. Add a small amount of laundry detergent to the water and gently stir to create a soapy solution.
Step 3: Soak and agitate
Place your sorted clothes into the soapy water and gently agitate them to ensure that each garment is thoroughly cleaned. Allow the clothes to soak for 5-10 minutes, depending on how dirty they are. For heavily soiled items, you may need to soak them for longer. During this step, you can gently rub any stains or areas that need extra attention.

Step 4: Rinse and wring
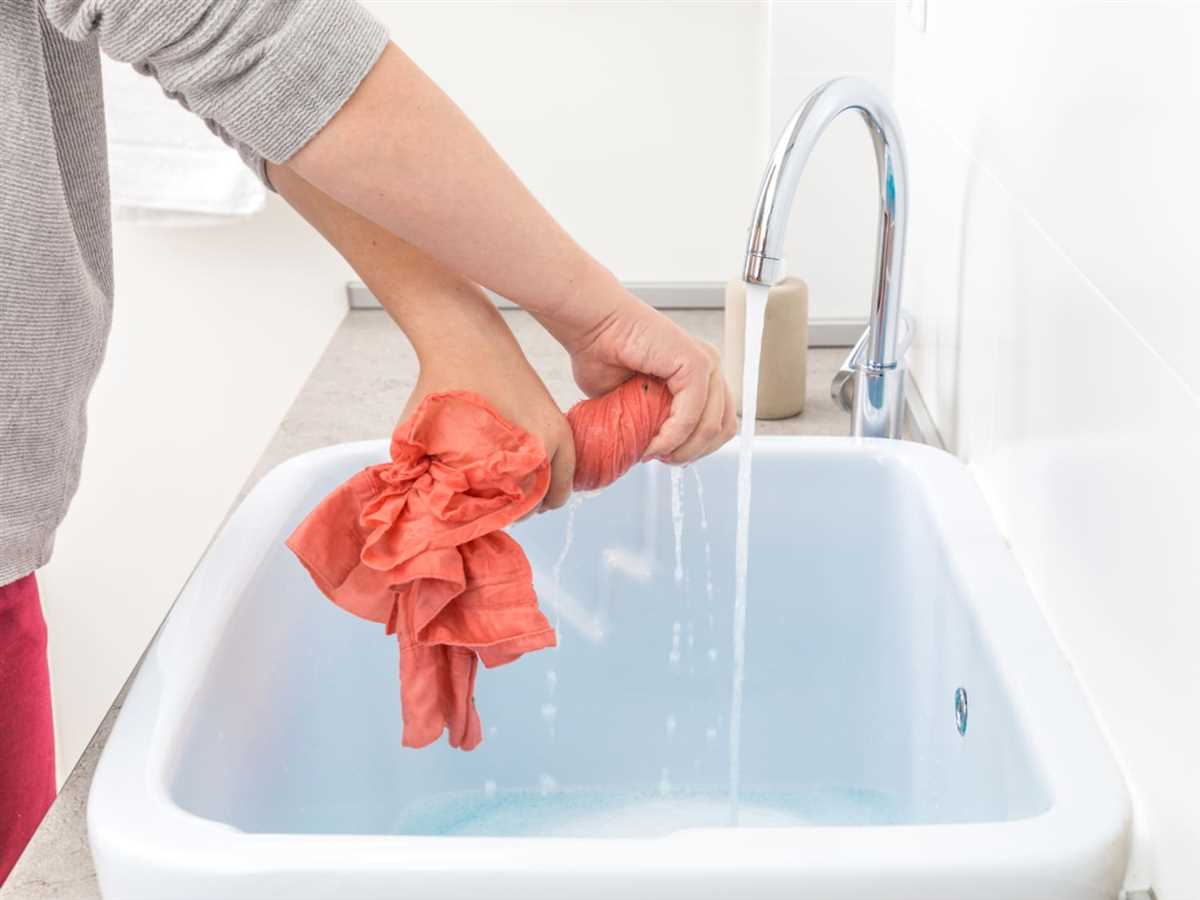
Once your clothes have soaked, drain the soapy water from the sink. Refill the sink with clean, lukewarm water and rinse each garment individually until the water runs clear. Gently squeeze out excess water from each piece of clothing, being careful not to wring or twist them too forcefully.
Step 5: Dry your clothes
After rinsing, you can either air dry your clothes or use a towel to remove excess moisture. To air dry, lay your garments flat on a clean surface or hang them on a drying rack. If you choose to use a towel, place your garment on a towel and roll it up, pressing gently to absorb water. Repeat this process for each garment and then hang them up to finish drying.
Hand washing your clothes in the sink is a great alternative to using a washing machine. It allows you to save time, money, and water while still ensuring that your clothes are clean and well-maintained. By following this step-by-step guide, you’ll be able to effectively wash your clothes in the sink, no matter where you are.
Step 1: Preparing the Sink
To begin washing your clothes in the sink, you will need to prepare the sink area properly. This will ensure that you have a clean and organized space for the laundry process.
1. Gather your supplies
Before you start, gather all the necessary supplies for washing clothes in the sink. This includes:
- Laundry detergent
- Stain remover (optional)
- Handwashing detergent (optional)
- Clothesline or drying rack
- Clothespins
- Lint roller
- Towels or drying mat
2. Clear the sink
Remove any items that are currently in the sink, such as dishes or utensils. You want to start with a clean sink that is free from any debris or residue.
3. Clean the sink
Thoroughly clean the sink before using it for laundry. Use a mild soap or dish detergent and scrub the sink with a sponge or cloth. Rinse it well to ensure no soap residue remains.
4. Plug the sink
If your sink has a plug, secure it in place. If not, you can use a large, clean towel or stopper to seal the drain. This will allow you to fill the sink with water without any leakage.
5. Adjust the water temperature
Set the water temperature to the desired level. Most clothes can be washed in lukewarm water, but check the care label on your clothing items for specific instructions.
6. Test the water
Before adding your clothes, test the water to make sure it’s not too hot or too cold. You can do this by dipping your hand or a thermometer into the water. Adjust the temperature if necessary.
7. Prepare the workspace
Clear a nearby area for the washing process. This can be a countertop, table, or drying rack. Lay towels or a drying mat on the surface to protect it from any water splashes or spills.
8. Get ready to wash

Now that your sink is prepared, you’re ready to start washing your clothes. Gather the dirty clothes you want to wash and move on to the next step: Sorting the clothes.
Clearing the Sink and Gathering Supplies
Before starting to wash your clothes in the sink, it’s important to make sure you have a clean and clear space to work with. Here are the steps to clear the sink and gather the necessary supplies:
Step 1: Empty the sink
Remove any items that may be in the sink, such as dishes or utensils. Place them aside or wash them separately.
Step 2: Clean the sink
Give the sink a quick rinse and wipe down to ensure it’s clean and free of any dirt or residue.
Step 3: Gather supplies
Collect all the supplies you’ll need for washing your clothes in the sink. Here’s a list of essential items:
- Detergent: Choose a gentle detergent suitable for handwashing.
- Bucket or basin: Use a plastic or metal container large enough to hold your clothes.
- Water: Make sure you have access to warm water.
- Towels: Keep some towels nearby to absorb excess water after washing.
- Hangers or clothesline: Prepare a space to hang your clothes to dry.
Step 4: Check garment care labels
Take a moment to read the care labels on your clothes. This will help you determine the appropriate water temperature and any special instructions for washing.
Step 5: Sort your clothes
Separate your clothes into different piles based on color and fabric type. This will prevent color bleeding and ensure proper care for each garment.
By following these steps, you’ll have a clean and organized space to wash your clothes in the sink. This will make the process more efficient and help to protect your clothing items.
Step 2: Sorting the Clothes
Before you begin washing your clothes in the sink, it’s important to sort them into different categories. This will help ensure that each item receives the appropriate treatment.
Here are some guidelines for sorting your clothes:
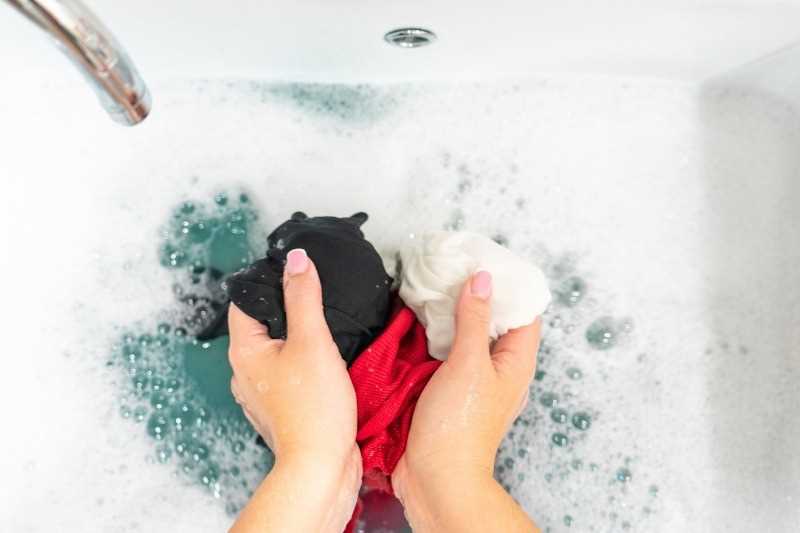
- Separate by color: Sort your clothes into light and dark colors. Washing light-colored clothes separately from dark-colored clothes helps prevent color bleeding.
- Sort by fabric: Group clothes with similar fabrics together. Delicate fabrics like silk and lace should be washed separately from sturdier fabrics like denim and cotton to avoid damage.
- Check clothing labels: Look at the care labels on your clothes to determine if any specific washing instructions are provided. Some items may require special treatment, such as hand-washing or dry cleaning.
| Category | Examples |
|---|---|
| Light Colors | T-shirts, socks, underwear |
| Dark Colors | Jeans, sweaters, hoodies |
| Delicate Fabrics | Silk blouse, lace underwear, cashmere sweater |
| Sturdy Fabrics | Cotton shirts, denim pants, linen dresses |
By sorting your clothes, you can maximize the efficiency of your washing process and ensure that each item is cleaned effectively without any damage or color transfer. Take the time to organize your laundry before moving on to the next step.
Separating Clothes by Color and Fabric Type
Separating your clothes before washing them is an essential step to ensure optimal cleaning and prevent damage. By organizing your laundry by color and fabric type, you can avoid colors bleeding into each other and minimize the risk of certain fabrics shrinking or becoming damaged. Here are some guidelines on how to separate your clothes effectively.
Separating by Color
Sorting your laundry by color helps to prevent colors from bleeding and staining other garments. Keep the following color categories in mind when separating:
- Whites: This category includes any light or white-colored garments, such as white shirts, socks, or underwear.
- Colors: Sort your clothing items by dark, medium, and light colors. Dark colors like black, navy, and dark gray should be washed separately from lighter colors like pastels or neutrals.
- Delicates: Some delicate garments, regardless of color, may require special attention and should be washed separately.
Separating by Fabric Type
Separating your clothes by fabric type helps prevent certain materials from rubbing against each other and causing damage. Here are some common fabric categories to consider:
- Cotton: This category includes most everyday clothing items like t-shirts, jeans, and towels.
- Synthetic Fabrics: These include polyester, nylon, and spandex fabrics commonly found in activewear and athleisure clothing.
- Delicate Fabrics: Silks, satins, lace, and other delicate fabrics should be washed separately to prevent damage.
- Wool: Wool garments, including sweaters and scarves, should be washed separately to prevent shrinking or felting.
Additional Tips
Here are some additional tips to keep in mind when separating your clothes:

- Check the garment care labels for any specific washing instructions or recommendations.
- When in doubt, separate your clothes into smaller, more specific categories to prevent color bleeding or fabric damage.
- Consider using laundry bags or mesh laundry hampers to keep delicate items separate.
- Remember to clean your washing sink thoroughly between different loads to prevent any color transfer.
By taking the time to separate your clothes by color and fabric type, you can ensure that each load receives the proper care it needs, resulting in cleaner and better-maintained garments.
Step 3: Pre-Treating Stains

Pre-treating stains before washing your clothes in the sink can help to remove stubborn spots and prevent them from setting in during the washing process. Here’s how to pre-treat stains effectively:
- Identify the stain: Check your garment for any visible stains and identify the type of stain you’re dealing with. This will help you determine the best pre-treatment method to use.
- Pre-treatment options: There are different pre-treatment methods for different types of stains:
- For grease or oil stains: Apply a small amount of dishwashing liquid directly onto the stain. Gently rub the fabric together to work in the soap.
- For protein-based stains (blood, sweat, etc.): Soak the stained area in cold water for about 30 minutes. Then, apply a small amount of enzyme-based laundry detergent directly onto the stain and gently rub it in.
- For dye-based stains (coffee, wine, etc.): Mix equal parts white vinegar and water. Apply the solution onto the stain and let it sit for a few minutes. Gently rub the fabric together to work in the vinegar mixture.
- For other stains: Consult a stain removal guide or follow the instructions on the product label of a stain remover.
- Gently agitate the stain: After applying the pre-treatment method, use your fingers or a soft brush to gently agitate the stained area. This will help to loosen the stain and allow the pre-treatment product to penetrate the fabric.
- Let it sit: Allow the pre-treatment product to sit on the stain for at least 10-15 minutes, or according to the instructions provided with the product.
- Rinse: Rinse the pre-treated area with cold water to remove the pre-treatment product and any loosened stain particles.
Pre-treating stains before washing your clothes in the sink can significantly improve the chances of removing stubborn stains. However, it’s essential to always check the garment’s care label and follow any specific instructions provided by the manufacturer.
Identifying and Treating Stains before Washing
Before washing your clothes in the sink, it is important to identify and treat any stains to ensure they are properly removed during the washing process. Follow these steps to effectively handle stains:
1. Identify the stain:
Examine the garment and determine the type of stain you are dealing with. Common stains include oil/grease, food, ink, blood, and sweat. Understanding the nature of the stain will help you select the appropriate treatment method.
2. Act quickly:
The sooner you treat a stain, the higher the chances of successful removal. Try to treat the stain as soon as possible after it occurs, before it has a chance to set into the fabric.
3. Blot the stain:
If the stain is liquid or semi-liquid, gently blot the excess with a clean cloth or paper towel. Avoid rubbing the stain, as this can push it deeper into the fabric.
4. Test the treatment:
Before applying any treatment, especially on delicate fabrics, test it on a small, inconspicuous area of the garment to ensure it does not cause any damage or discoloration.
5. Use appropriate stain remover:
Based on the type of stain, select an appropriate stain remover. There are various stain removers available in the market, such as liquid detergents, stain sticks, or specialized products for specific types of stains.
6. Apply the treatment:
Apply the stain remover directly to the stained area. Gently work the treatment into the fabric using a clean cloth, sponge, or your fingers. Follow the instructions provided by the manufacturer for best results.
7. Soak the garment if necessary:
If the stain is particularly stubborn, you may need to soak the garment in a solution of warm water and mild detergent. Follow the garment’s care label instructions for soaking time and temperature.
8. Rinse the treated area:

Rinse the treated area with cool water to remove the stain remover and any loosened particles. Ensure that the water runs clear before proceeding to the washing step.

9. Check the stain:
After rinsing, check the treated area to see if the stain has been completely removed. If not, repeat the treatment process or try an alternative method.
10. Proceed with washing:
Once the stain has been successfully treated, proceed with washing the garment in the sink following the appropriate steps for hand washing. Pay attention to the garment’s fabric and care instructions to avoid any damage.
By properly identifying and treating stains before washing, you can increase the chances of successfully removing them, ensuring your clothes come out clean and fresh.
Step 4: Washing the Clothes
After preparing the sink and your clothes, it’s time to start washing them. Follow these steps to ensure clean and fresh-smelling clothes:
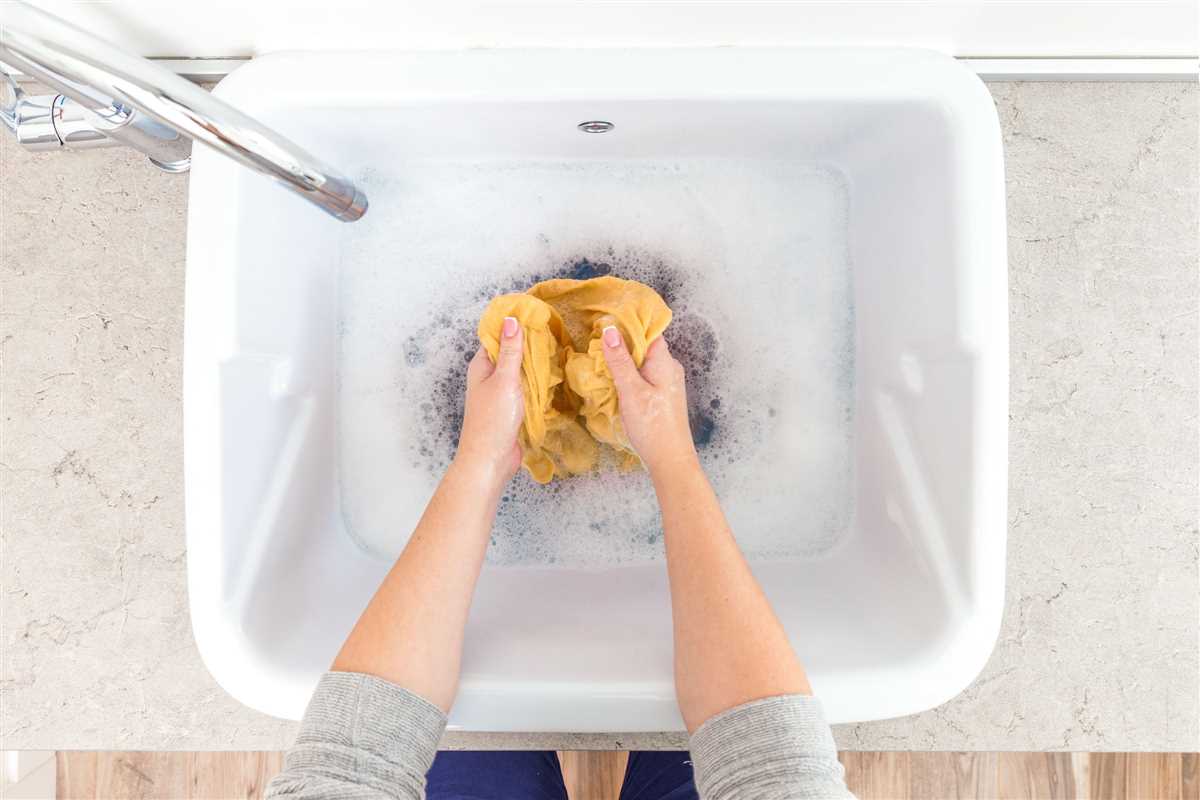
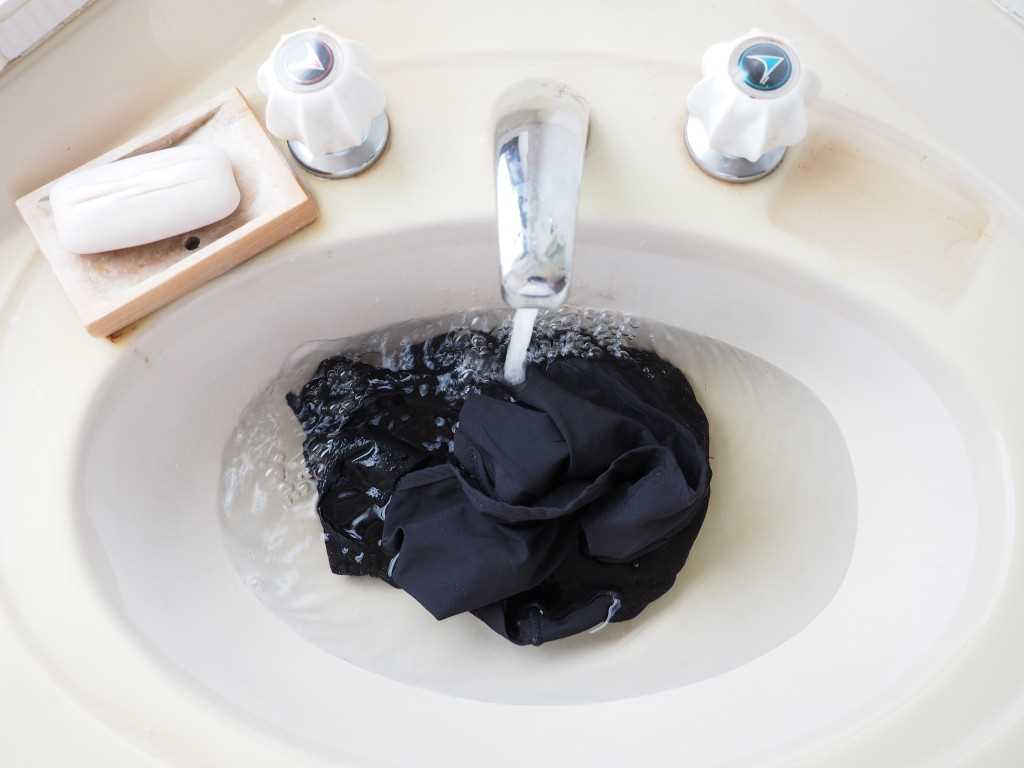
- Fill the sink: Fill the sink with warm water. Make sure there is enough water to completely submerge the clothes.
- Add detergent: Add a small amount of gentle detergent to the water. Use a detergent specifically designed for hand-washing or a mild laundry detergent.
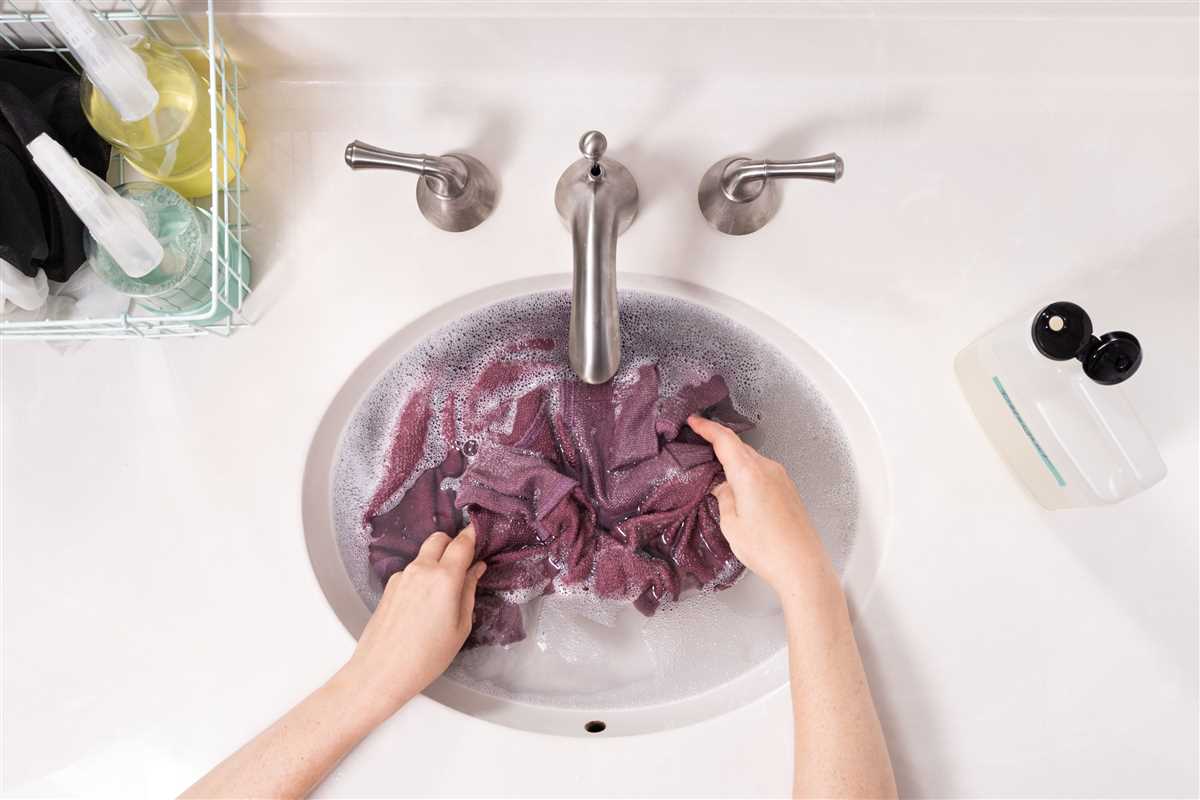
- Submerge the clothes: Immerse the clothes into the soapy water. Use your hands to gently agitate the clothes and ensure that all areas are soaked.
- Scrub gently: Pay close attention to any stains or soiled areas. Use a soft brush or your fingers to gently scrub the fabric and remove dirt or grime.
- Let soak: Allow the clothes to soak in the soapy water for about 10-15 minutes. This will help loosen any dirt or stains and allow the detergent to penetrate the fabric.
- Drain the sink: After the clothes have soaked, drain the soapy water from the sink. Make sure to remove any residue or excess detergent from the sink.
- Rinse: Refill the sink with clean, warm water. Submerge the clothes once again and swish them around to remove any remaining soap.
- Repeat if necessary: If your clothes are particularly dirty or stained, you may need to repeat the washing and rinsing process.
- Wring out excess water: Gently squeeze the clothes to remove excess water. Avoid twisting or wringing the fabric, as this can stretch or damage it.
- Hang to dry: Hang your clothes on a clothesline or drying rack to air dry. Make sure to hang them in a well-ventilated area to prevent mildew or odors.
Following these steps will ensure that your clothes are clean and ready to wear again. Hand-washing clothes in the sink can be a convenient and effective way to do laundry, especially when traveling or in a small living space.

FAQ
Is it possible to wash clothes in the sink?
Yes, it is possible to wash clothes in the sink.
What materials do I need to wash clothes in the sink?
To wash clothes in the sink, you will need laundry detergent, a sink, water, and a drying rack or clothesline.
Can I use regular hand soap instead of laundry detergent to wash clothes in the sink?
No, it is not recommended to use regular hand soap instead of laundry detergent as it may not clean the clothes properly and could potentially damage the fabric.
How long should I let the clothes soak in the sink?
The length of time you should let the clothes soak in the sink will depend on how dirty they are. As a general guideline, 15-30 minutes should be sufficient for most clothes.
Do I need to rinse the clothes after washing them in the sink?
Yes, it is important to rinse the clothes after washing them in the sink to remove any remaining detergent. You can rinse them under running water or by filling the sink with clean water and agitating the clothes to remove the detergent.
Can I wash all types of clothes in the sink?
No, not all types of clothes can be washed in the sink. Delicate fabrics like silk or wool may require special handling and should be dry cleaned.
What kind of detergent should I use when washing clothes in the sink?
You can use a gentle detergent like baby shampoo or a mild soap. Avoid using bleach or harsh chemicals as they can damage the fabric.