
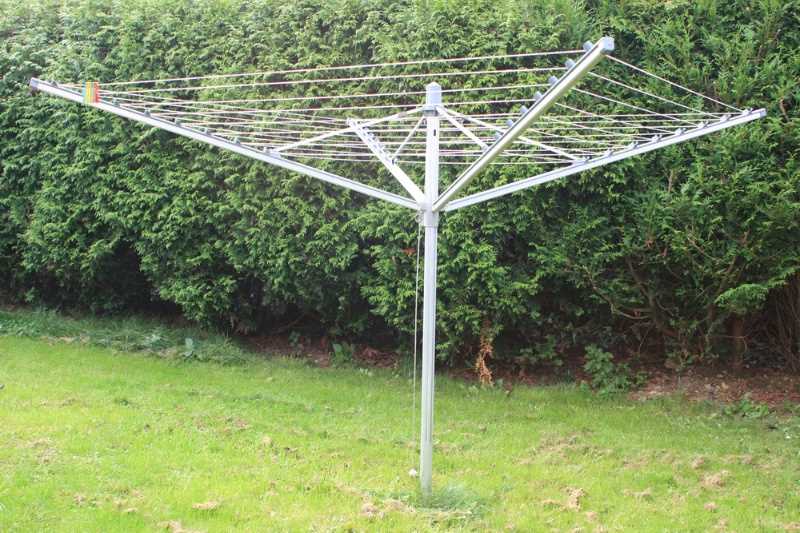
How to Install a Ground Spike for a Rotary Dryer Without Concrete – Step-by-Step Guide


Do you want to install a rotary dryer in your backyard but don’t want to deal with the hassle of pouring concrete? Luckily, there is an alternative solution that allows you to securely install a ground spike without the need for concrete. In this step-by-step guide, we will walk you through the process of installing a ground spike for your rotary dryer without using concrete.
Step 1: Choose the Right Location
The first step in installing a ground spike for a rotary dryer is finding the perfect location for it. Look for an area in your backyard that is flat and easily accessible. Make sure there are no underground utility lines or pipes in the chosen location to avoid any accidents or damage.
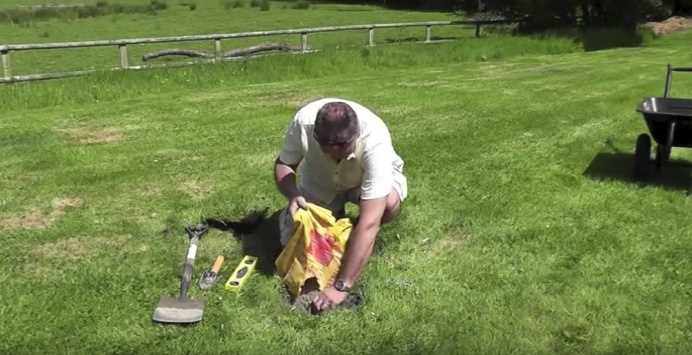
Step 2: Dig a Hole
Using a shovel or a post hole digger, dig a hole in the chosen location for the ground spike. The hole should be deep enough to accommodate the length of the ground spike. It is recommended to dig a hole that is approximately 2-3 feet deep to provide enough stability for the ground spike.
Step 3: Insert the Ground Spike

Once the hole is dug, insert the ground spike into the hole. Make sure it is securely positioned and level. You can use a level to ensure that the ground spike is perfectly vertical. This will help to prevent any wobbling or instability when the rotary dryer is installed.
Step 4: Fill the Hole
After inserting the ground spike, fill the hole with soil or gravel. This will provide additional stability and support for the ground spike. Make sure to pack the soil or gravel tightly around the ground spike to ensure it is firmly held in place.
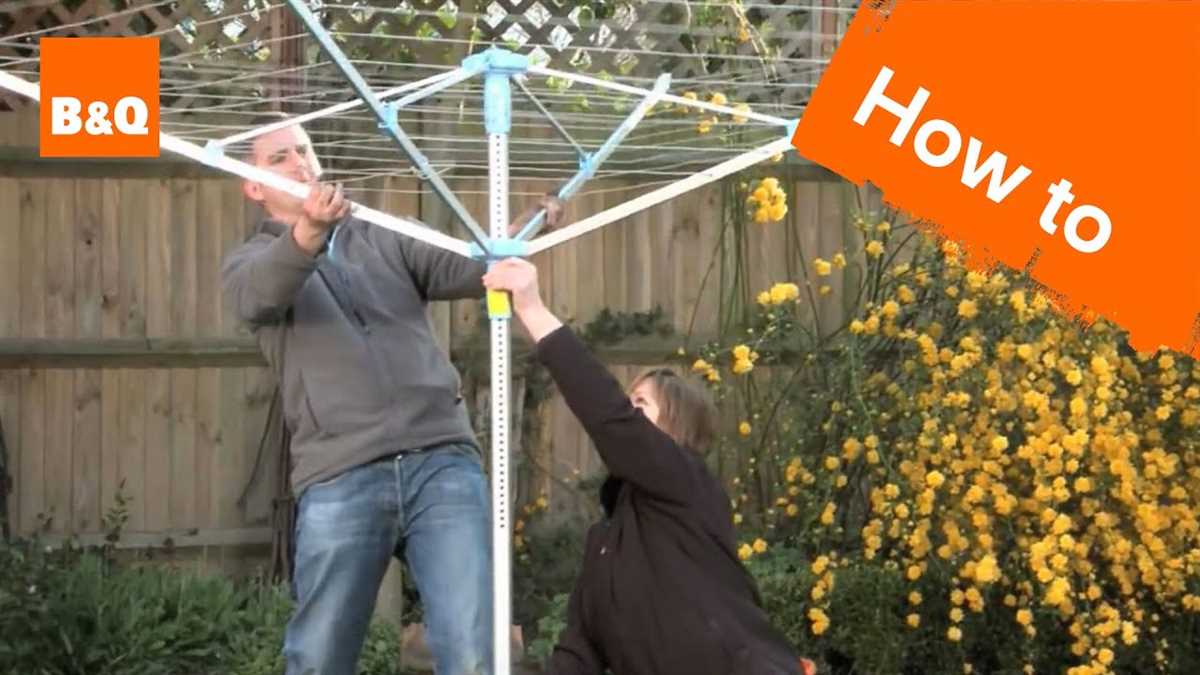
Step 5: Attach the Rotary Dryer
Once the ground spike is securely installed, you can attach the rotary dryer to it. Follow the manufacturer’s instructions for attaching the dryer to the ground spike. Make sure to tighten all screws and bolts to ensure the dryer is safely and securely attached.
By following these steps, you can easily install a ground spike for a rotary dryer without using concrete. This alternative method provides a secure and stable foundation for your dryer, allowing you to enjoy the benefits of line-drying your clothes without the hassle of pouring concrete. Happy drying!
Choosing the Right Location
Before you start installing a ground spike for your rotary dryer, it’s important to choose the right location. Here are a few factors to consider:
- Sunlight: Find an area in your yard that receives plenty of sunlight throughout the day. The sun will help dry your clothes more quickly and efficiently.
- Accessibility: Make sure the location is easily accessible from your house. You don’t want to have to walk a long distance carrying a basket full of wet clothes.
- Distance from Obstacles: Keep your rotary dryer away from any obstacles such as trees, buildings, or fences. This will prevent the clothesline from getting tangled and ensure proper airflow.
- Level Ground: Choose a spot that has level ground. This will ensure that your rotary dryer remains stable and doesn’t wobble or topple over during use.
Consider these factors and take a walk around your yard to find the perfect location for your rotary dryer. Once you’ve chosen the right spot, you can move on to the next step of installing the ground spike.
Gathering the Necessary Tools and Materials
Before you can install a ground spike for a rotary dryer without concrete, it’s important to gather all the necessary tools and materials. This will ensure that you have everything you need to complete the installation process smoothly.
Tools
- Measuring tape
- Spade or shovel
- Level
- Rubber mallet or hammer
- Adjustable wrench or pliers
Materials
- Ground spike or soil anchor
- Sand or gravel
- Rotary dryer
Choosing the Right Ground Spike or Soil Anchor

When selecting a ground spike or soil anchor for your rotary dryer, make sure to choose one that is compatible with the size and weight of your dryer. It’s important to consider the specific requirements of your dryer, as different models may have different installation needs.
Preparation
- First, measure the area where you plan to install the ground spike. Make sure it is large enough to accommodate the spike and provide stability for the dryer.
- Using a spade or shovel, remove any grass or vegetation from the installation area. Clear away any rocks or debris that could interfere with the installation process.
- Using a level, check the ground to ensure it is even and flat. This will help ensure the stability of the ground spike once it is installed.
Gathering all the necessary tools and materials and preparing the installation area will make the process of installing a ground spike for a rotary dryer without concrete much easier. With everything ready, you’ll be able to move on to the next step with confidence.
Preparing the Ground
Before installing a ground spike for your rotary dryer, you need to properly prepare the ground to ensure stability and longevity for your dryer.
1. Choose a suitable location
Select an area in your yard that is flat and level. Make sure there are no obstructions such as trees or buildings that could interfere with the spinning motion of the rotary dryer.
2. Remove any existing vegetation
Clear the chosen area of any grass, weeds, or other vegetation. Use a lawnmower, a weed trimmer, or a shovel to remove the vegetation and create a clean surface for installation.
3. Dig a hole
Use a shovel or a post hole digger to dig a hole in the ground. The depth of the hole should be approximately 2 feet (60 cm), and the diameter should be at least 6 inches (15 cm) wider than the diameter of the ground spike.
4. Level the hole
Ensure that the bottom of the hole is level. Use a level or a straight edge to check the flatness of the surface. If necessary, remove or add soil to achieve a level base.
5. Create a drainage layer
To prevent water buildup around the ground spike, create a drainage layer at the bottom of the hole. Fill the hole with small rocks or gravel, leaving about 2 inches (5 cm) of space at the top.
6. Secure the ground spike
Place the ground spike in the center of the hole, making sure it is level. Fill the hole with concrete-free post mix, compacting it firmly around the ground spike. Follow the manufacturer’s instructions for the specific post mix you are using.
7. Check the stability
Once the post mix has set, check the stability of the ground spike by giving it a gentle tug. It should be firmly anchored in the ground without any wobbling. If necessary, add more post mix and allow it to set again.
8. Let it cure
Allow the post mix to cure according to the manufacturer’s instructions. This usually takes around 24 hours. Avoid placing any weight or strain on the ground spike during this time.
9. Test the stability
After the post mix has fully cured, test the stability of the ground spike by attaching your rotary dryer. Make sure it is secure and can handle the weight of your dryer.
By properly preparing the ground and installing the ground spike correctly, you can ensure that your rotary dryer will be stable and secure for years to come.
Installing the Ground Spike
Once you have chosen the ideal location for your rotary dryer, you can begin the process of installing the ground spike. Follow these steps to ensure a secure and stable installation:
- Start by digging a hole in the ground where you want to place the ground spike. The hole should be deep enough to accommodate the entire length of the ground spike.
- Remove any loose soil or debris from the hole, ensuring that the bottom is clear and level.
- Place the ground spike into the hole, making sure it is centered and level.
- Use a spirit level to ensure that the ground spike is perfectly vertical. Adjust the position as necessary.
- Fill the hole with a mixture of soil and gravel, firmly packing it around the ground spike. This will provide added stability and support.
- Continue adding the soil and gravel mixture until the hole is completely filled, ensuring that the ground spike remains in a vertical position.
- Once the hole is filled, use a tamper or a piece of wood to compact the soil and gravel mixture around the ground spike. This will further enhance the stability.
- Check the ground spike with a spirit level again to ensure that it has not shifted during the filling and compacting process. Make any adjustments if necessary.
- Finally, attach the rotary dryer to the ground spike according to the manufacturer’s instructions. Ensure that it is securely fastened and test its stability before using it.
By following these steps, you will be able to install a ground spike for your rotary dryer without concrete, providing a secure and stable foundation for your drying needs.
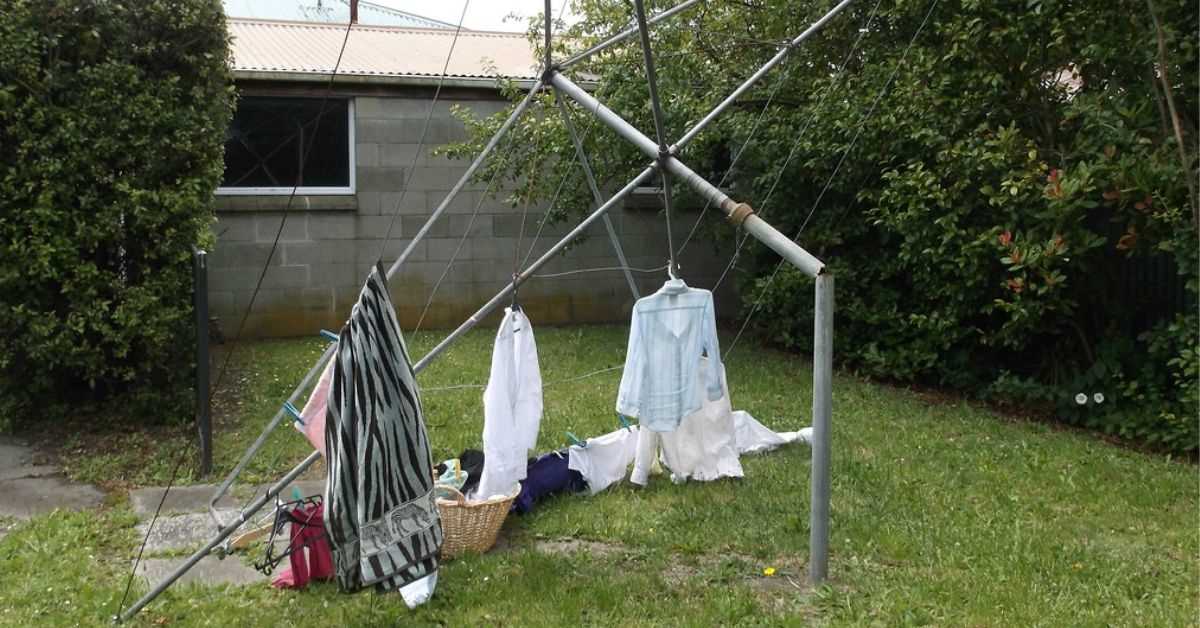
Securing the Rotary Dryer
Securing the rotary dryer is an important step to ensure stability and prevent accidents. There are several methods you can use to secure the ground spike and the dryer itself:
Anchoring the Ground Spike
- Start by placing the ground spike in the desired location for your rotary dryer.
- Use a mallet or hammer to drive the ground spike into the ground until only the top part is visible.
- Ensure that the ground spike is level and straight.
- If you are installing the ground spike in an area with soft soil, you may need to use a wooden block or a piece of scrap wood to prevent the ground spike from sinking further into the ground.
Securing the Dryer to the Ground Spike

- Once the ground spike is in place, slide the metal bracket or pipe of the rotary dryer over the top part of the ground spike.
- Secure the metal bracket or pipe in place by tightening the screws or bolts provided with the rotary dryer.
- Make sure the dryer is level and secure.
Additional Safety Measures
To further secure the rotary dryer and ensure safety, you can take the following measures:
- Attach guy ropes or wires to the rotary dryer and anchor them to the ground using stakes or pegs. This will provide additional stability, especially in windy conditions.
- Consider using a ground anchor kit specifically designed for rotary dryers. These kits include metal straps or brackets that securely anchor the dryer to the ground and provide extra stability.
- Regularly inspect and maintain the ground spike and the rotary dryer to ensure they are in proper working condition. Tighten any loose screws or bolts and replace any damaged parts immediately.
Conclusion
Securing the ground spike and rotary dryer is essential to ensure stability and prevent accidents. By following the steps outlined above and taking additional safety measures, you can enjoy the convenience of a rotary dryer without the need for concrete installation.
FAQ
Can I install a ground spike for a rotary dryer without using concrete?
Yes, you can install a ground spike for a rotary dryer without using concrete. Follow the step-by-step guide mentioned in the article.
What materials do I need to install a ground spike for a rotary dryer?
To install a ground spike for a rotary dryer without concrete, you will need a ground spike, a hammer, a spirit level, and a rubber mallet.
How deep should I dig the hole for the ground spike?
When installing a ground spike for a rotary dryer without concrete, you should dig a hole that is approximately 20-25 centimeters deep. This depth will provide enough stability for the spike.
Is it necessary to use concrete to secure a ground spike for a rotary dryer?
No, it is not necessary to use concrete to secure a ground spike for a rotary dryer. Follow the step-by-step guide in the article to install the ground spike without concrete.


