Have you ever experienced the frustration of trying to sleep on a lumpy pillow? A flat, shapeless pillow can ruin your sleep and leave you feeling tired and restless. While the common solution to this problem is to throw your pillow in the dryer with some tennis balls, not everyone has access to a dryer or wants to go through the hassle of using one.
Fortunately, there are quick and easy solutions to fix a lumpy pillow without a dryer. First, you can try manually redistributing the filling inside the pillow. This can be done by gently patting and pressing the pillow to move the filling around. You can also knead and squeeze the pillow to break up any clumps. Be sure to give the pillow a good fluffing afterward to restore its shape.
If manually redistributing the filling doesn’t do the trick, you can try using a hairdryer to fluff up your pillow. Simply set your hairdryer to a cool or low heat setting and blow air into the pillow, focusing on the areas where the filling is clumped. This will help to loosen up the clumps and make the pillow more comfortable to sleep on.
Another method to fix a lumpy pillow without a dryer is to place it out in the sun for a few hours. The heat from the sun will help to expand and fluff up the filling, making the pillow more plump and comfortable. Just make sure to turn the pillow over every so often to ensure that it dries evenly.
By following these quick and easy solutions, you can have a comfortable and lumpy-free pillow without the need for a dryer. Say goodbye to restless nights and hello to a good night’s sleep!
Easy Ways to Fix a Lumpy Pillow
If you have a lumpy pillow, it can be uncomfortable and affect the quality of your sleep. Luckily, there are several easy ways to fix a lumpy pillow without using a dryer. Try these simple solutions to restore your pillow’s shape and comfort:
1. Fluffing and Shaking
Start by fluffing your pillow to distribute the filling evenly. Gently grab the edges of the pillow and shake it to loosen the fill. This will help to break up any clumps and redistribute the filling.
2. Adjusting the Fill
If your pillow has a zippered cover, you can adjust the amount of filling to make it more comfortable. Open the cover and remove some of the filling if the pillow feels too firm or lumpy. On the other hand, if the pillow feels too flat, you can add more fill until it reaches your desired level of comfort.
3. Kneading and Squeezing
Use your hands to knead and squeeze the pillow to break up any clumps and redistribute the fill. Start at one end of the pillow and work your way to the other, applying gentle pressure as you go. This will help to reshape the fill and eliminate any lumps.
4. Sunning and Airing Out
If your pillow is not machine washable, you can try sunning and airing it out. Place the pillow in direct sunlight for a few hours, allowing the heat and fresh air to help fluff up the fill. Be sure to protect the pillow from any moisture or rain that may occur during the airing process.
5. Using a Pillow Protector
To prevent your pillow from becoming lumpy in the future, consider using a pillow protector. These covers can help protect your pillow from sweat, oils, and other substances that can cause clumping and lumpiness over time. They are usually washable and easy to clean, keeping your pillow fresh and comfortable.
With these easy solutions, you can quickly fix a lumpy pillow without using a dryer. Remember to regularly fluff and adjust your pillow to maintain its shape and comfort for a good night’s sleep.
Fluffing and Shaking
If your pillow feels lumpy and uneven, fluffing and shaking it can help redistribute the filling and create a more comfortable sleeping surface.
To fluff your pillow:
- Hold the pillow by opposite corners and give it a few good shakes. This will help to loosen up the filling and redistribute it more evenly throughout the pillow.
- Next, grab the pillow and give it a couple of firm punches, as if you were punching the air. This can help to break up any clumps or lumps in the filling.
- After punching the pillow, give it another shake to further distribute the filling.
Repeat these steps a few times until the pillow feels more even and fluffy.
Additionally, you can also try:
- Grabbing handfuls of the pillow and pulling the filling apart. This method can help separate clumps and redistribute the filling more evenly.
- Gently kneading the pillow with your hands. This can help to soften the filling and make it more pliable, resulting in a more comfortable pillow.
Remember to perform these actions gently to avoid damaging the pillow or causing the filling to clump together even more.
Fluffing and shaking your pillow regularly can help maintain its shape and support, preventing it from becoming lumpy in the first place. It is recommended to fluff your pillow every few weeks or as needed.
Manual Tugging and Pulling
If you don’t have access to a dryer or prefer a more hands-on approach, you can try manually tugging and pulling at the lumps in your pillow to redistribute the filling. This method requires a bit more effort, but it is effective in fixing lumpy pillows without the need for a machine.
Here’s how you can manually fix a lumpy pillow:
- Start by locating the lumps in your pillow. These areas will typically feel denser and less fluffy than the rest of the pillow.
- Using your hands, gently separate the filling around the lumps. Try to break up any clumps or compacted areas in the pillow.
- Once you have loosened the filling around the lumps, start tugging and pulling at the pillow to redistribute the filling more evenly. Pulling the pillow in different directions will help loosen any trapped air and fluff up the filling.
- Continue tugging and pulling until the lumps are less noticeable and the pillow feels more even and comfortable.
- If you find any particularly stubborn lumps, consider using your fingers or the edge of a table to press and break up the clumps.
- After you have finished tugging and pulling, give the pillow a few good shakes to help further distribute the filling.
Manual tugging and pulling can be a time-consuming process, especially if your pillow has large lumps or clumps. However, with patience and persistence, you can effectively fix a lumpy pillow without the need for a dryer.
Breaking Up Lumps with Hands
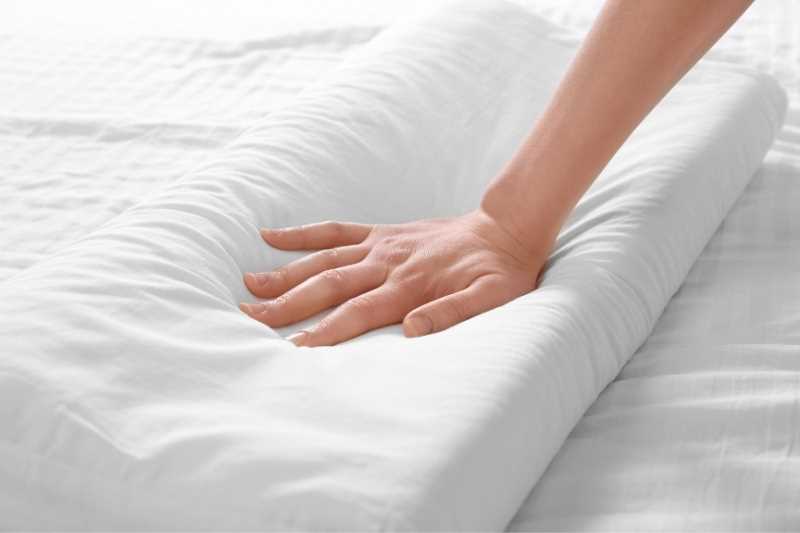
One of the easiest ways to fix a lumpy pillow without a dryer is to break up the lumps with your hands. This method requires no additional tools and can be done quickly and easily.
Step 1: Locate the Lumps
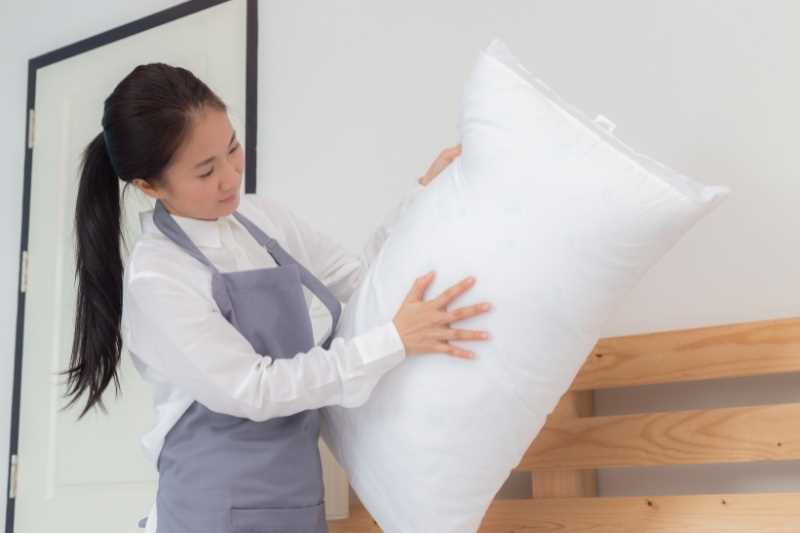
Before you begin, identify the areas of your pillow that have lumps. Gently squeeze and press on the pillow to get a sense of where the clumps are located.
Step 2: Separate the Lumps
Using your hands, try to separate the lumps of filling within the pillow. Gently pull apart and fluff the clumps to distribute the filling more evenly. This will help to break up the lumps and restore the pillow’s shape.
Step 3: Flatten and Fluff
Once the lumps are broken up, flatten the pillow with your hands and give it a good shake to redistribute the filling. Fluff the pillow by grabbing it and quickly pulling it apart, allowing air to enter and the filling to expand.
Step 4: Repeat as Necessary
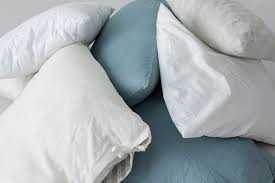
If necessary, repeat steps 2 and 3 until the lumps are fully broken up and the pillow feels evenly distributed. Take your time and be thorough with each step to ensure the best result.
By breaking up the lumps with your hands, you can quickly and easily fix a lumpy pillow without the need for a dryer. This method gives you control over the process and allows you to customize the fluffiness and shape of your pillow to your liking.
Sun Drying the Pillow
One way to fix a lumpy pillow without a dryer is to sun dry it. Sun drying not only helps to fluff the pillow but also eliminates any moisture or odor that may be present. Here are the steps to sun dry your pillow:
- Step 1: Choose a sunny and dry day to sun dry your pillow. Avoid days with high humidity as it may prolong the drying process.
- Step 2: Find a spot in your outdoor space where there is direct sunlight.
- Step 3: Lay a clean and dry towel on a flat surface in the sunny area. This will act as a cushion and prevent the pillow from getting dirty.
- Step 4: Take the lumpy pillow and place it on top of the towel. Ensure it is evenly spread out without any folds or lumps.
- Step 5: Flip the pillow every few hours to ensure both sides receive equal sunlight exposure.
- Step 6: Leave the pillow under the sun for a full day or until it is completely dry. The drying time may vary depending on the thickness and material of the pillow.
- Step 7: Once the pillow is dry, give it a gentle shake to fluff it up and eliminate any remaining lumps.
- Step 8: Test the pillow by pressing on it with your hands. If it feels evenly distributed and lump-free, it is ready to use.
Remember, sun drying may not be suitable for all types of pillows, especially those made of sensitive materials. Always check the care instructions provided by the manufacturer before attempting to sun dry your pillow.
Rolling and Kneading the Pillow
If your lumpy pillow doesn’t have a removable cover or if you don’t have access to a dryer, another method you can try is rolling and kneading the pillow.
Here are the steps to follow:
- Step 1: Start by laying the lumpy pillow on a flat surface, such as a table or countertop.
- Step 2: With both hands, grab one end of the pillow and roll it tightly towards the other end. Apply gentle pressure as you roll to compress the filling inside the pillow.
- Step 3: Once you’ve rolled the pillow into a tight cylinder shape, hold it firmly with one hand to keep it secure.
- Step 4: With your free hand, use your fingers or the palms of your hands to knead the rolled pillow. Apply pressure and squeeze the pillow gently to redistribute the filling and break up any lumps.
- Step 5: Continue kneading the pillow for a few minutes, focusing on areas that feel particularly lumpy or uneven. Use a combination of gentle squeezing and rolling motions to help reshape the pillow and distribute the filling more evenly.
- Step 6: Once you’ve finished kneading the pillow, unroll it slowly and lay it flat to allow the filling to settle.
- Step 7: Give the pillow a final fluff by gently shaking it and lightly patting it with your hands to restore its shape.
By rolling and kneading the pillow, you can help redistribute the filling and break up any clumps, resulting in a more comfortable and evenly shaped pillow.
FAQ
How do I fix a lumpy pillow without a dryer?
Fixing a lumpy pillow without a dryer is actually quite simple. One method is to manually redistribute the filling inside the pillow by fluffing it up and kneading it with your hands. Another method is to place the pillow in the sun for a few hours, as the heat can help the filling regain its shape.
What can I use instead of a dryer to fix my lumpy pillow?
If you don’t have a dryer, there are other ways to fix a lumpy pillow. One option is to use a hair dryer on a low heat setting to blow warm air onto the pillow and help fluff up the filling. Another option is to place the pillow in the oven on a low heat setting for a few minutes, making sure to monitor it closely to avoid any damage.
Will putting my lumpy pillow in the freezer help fix it?
No, putting your lumpy pillow in the freezer will not help fix it. The cold temperature can temporarily stiffen the filling, but it will not solve the underlying issue of the lumpiness. It’s best to try other methods, such as manual redistribution or using heat to reshape the pillow.
How long does it take to fix a lumpy pillow without a dryer?
The time it takes to fix a lumpy pillow without a dryer will vary depending on the method you choose and the severity of the lumpiness. If you choose to manually redistribute the filling, it may only take a few minutes of fluffing and kneading. If you opt for heat, it may take a couple of hours of exposure to the sun or a few minutes in the oven.
Can I use a steam iron to fix my lumpy pillow?
Using a steam iron to fix a lumpy pillow is not recommended. The high heat and steam can damage the fabric and filling of the pillow. It’s best to stick to other methods, such as manual redistribution or using alternative heat sources like a hair dryer or oven on a low setting.


