
How to Clean a Kitchen Bin – Expert Tips and Tricks


Keeping a clean and hygienic kitchen is essential for maintaining a healthy living environment. One often overlooked area that requires regular cleaning is the kitchen bin. As we dispose of food scraps and waste on a daily basis, the bin can quickly accumulate dirt, grime, and unpleasant odours. In this article, we will share expert tips and tricks on how to effectively clean your kitchen bin and keep it smelling fresh.
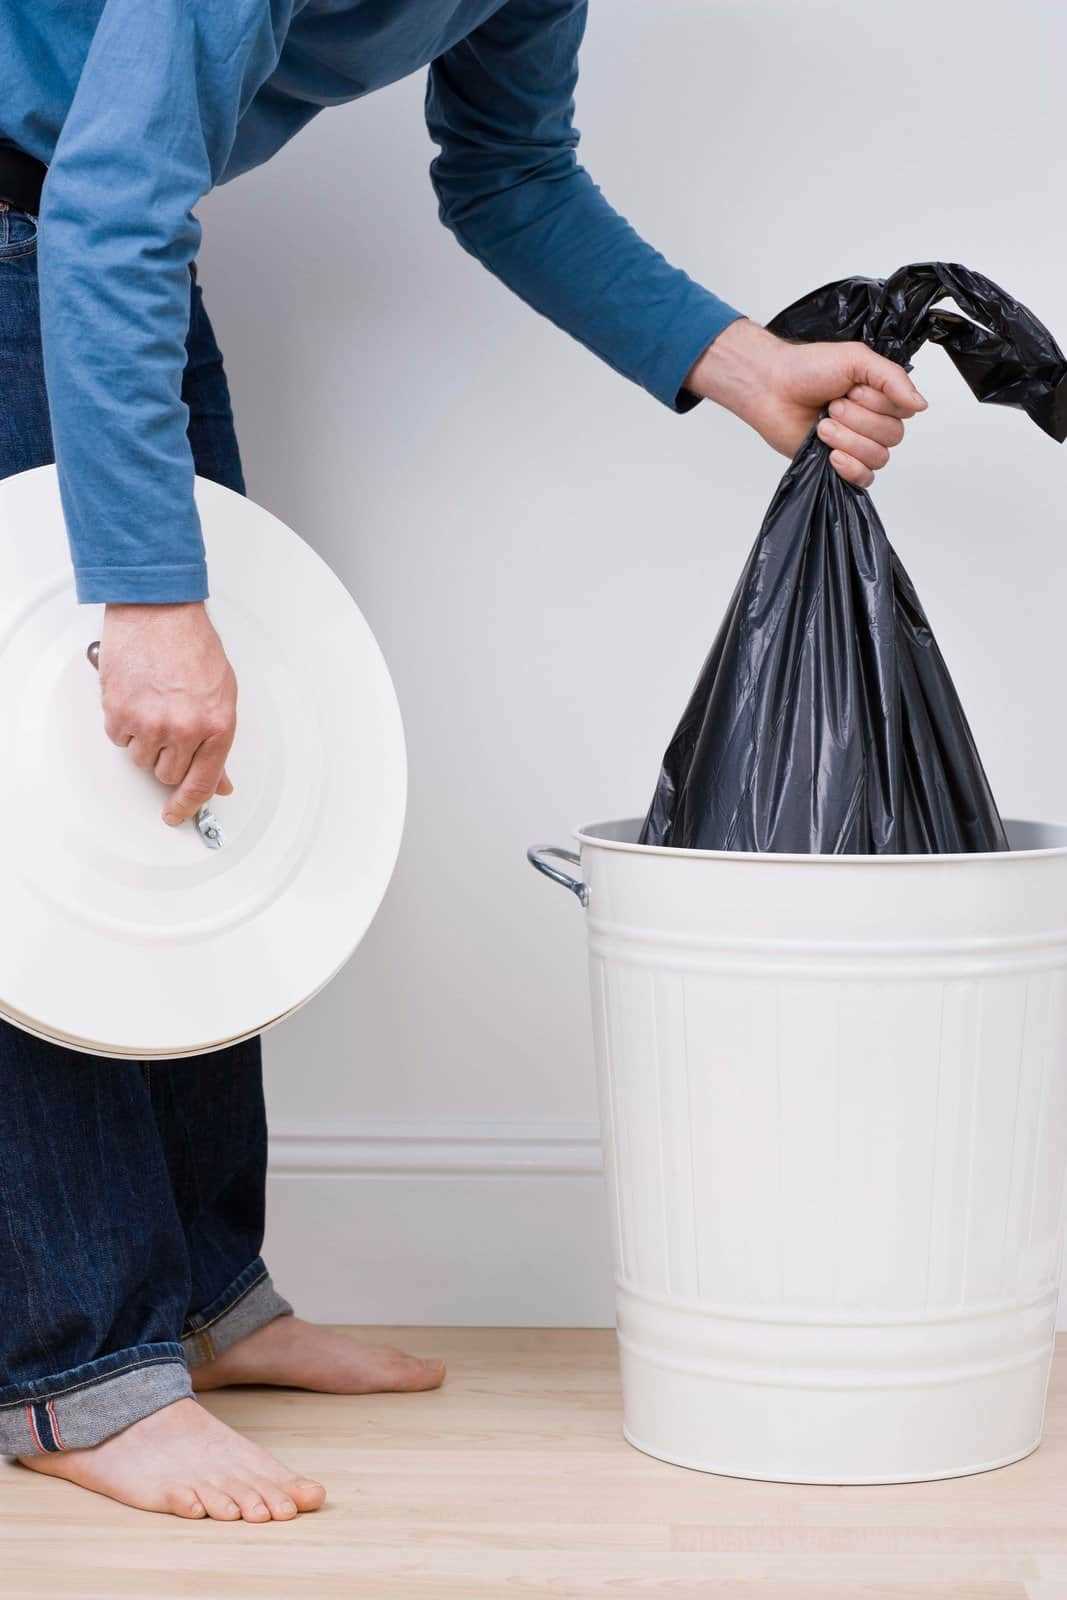
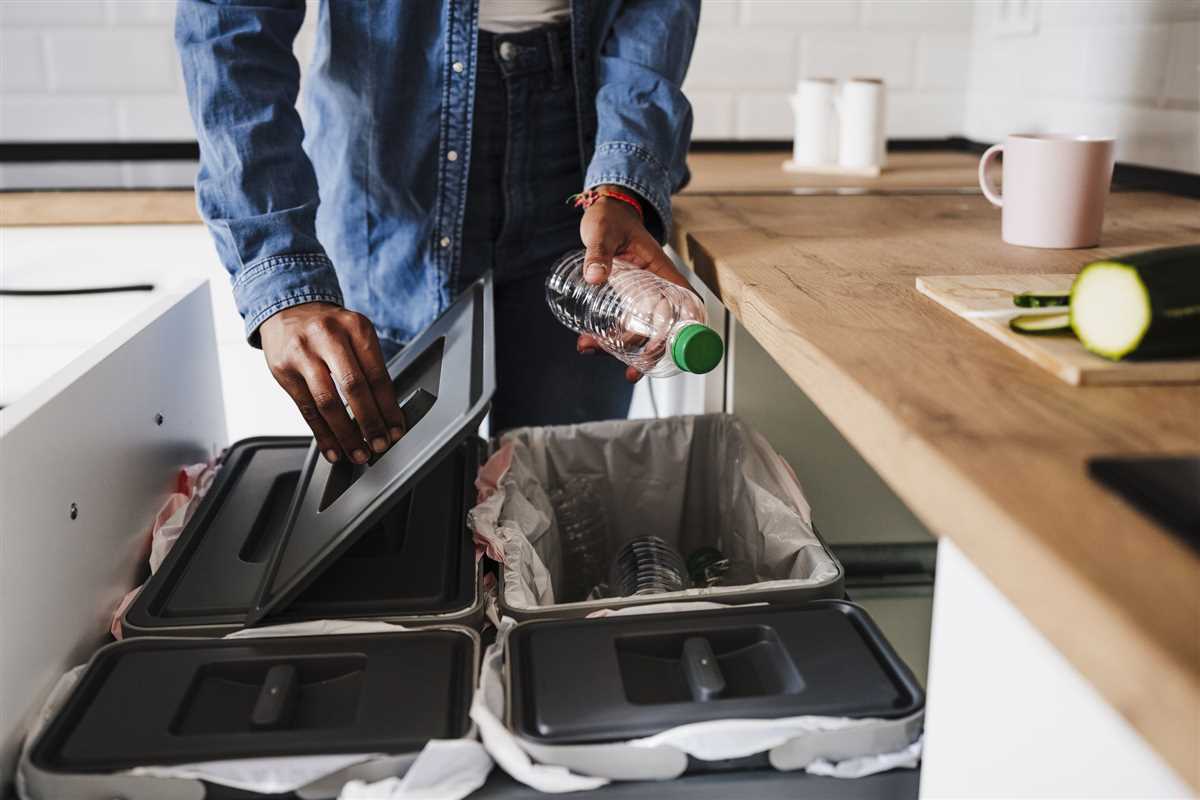
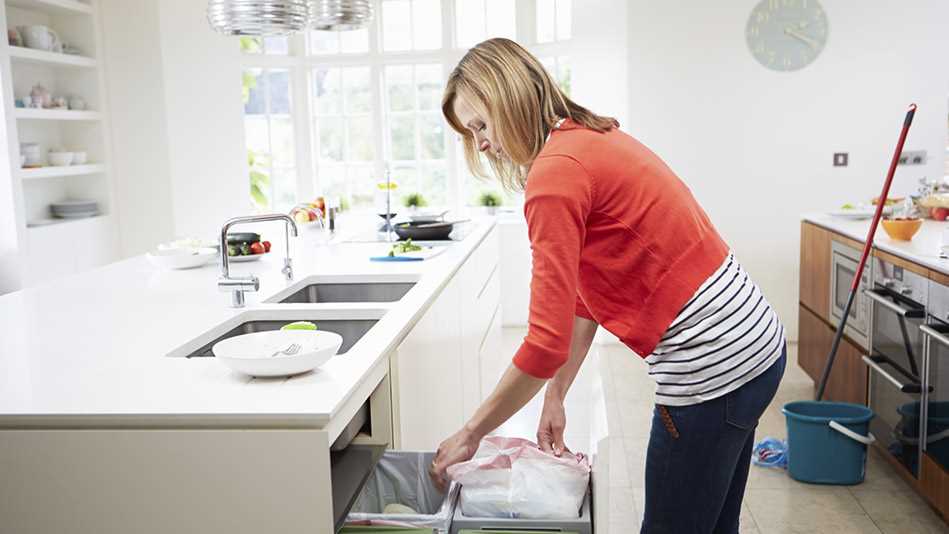
The first step in cleaning your kitchen bin is to empty it and remove any remaining waste. It’s important to wear rubber gloves during this process to protect your hands from coming into contact with any bacteria or germs. Use a plastic bag or bin liner to dispose of the waste, and tie it securely to prevent any leaks or spills.
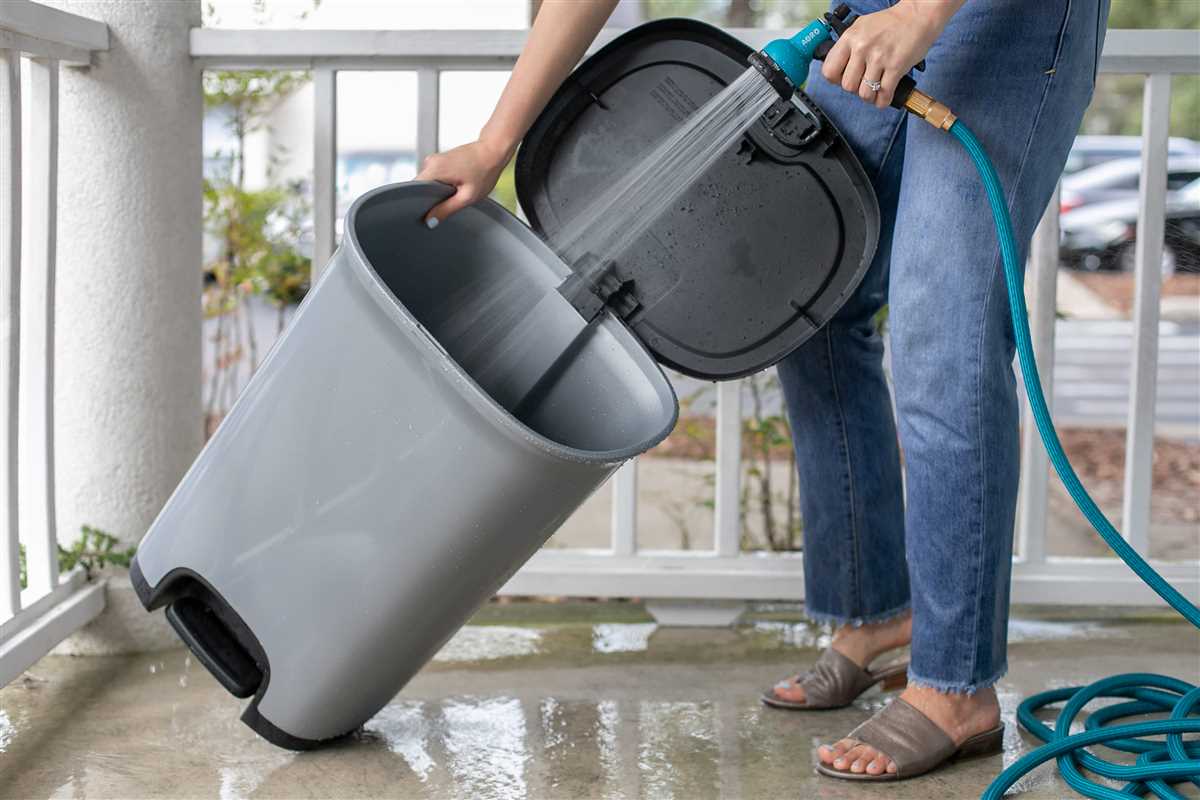
Next, it’s time to tackle the dirt and grime that has built up inside the bin. Start by rinsing the bin with hot water to loosen any stuck-on debris. Then, apply a mixture of mild detergent and water to the interior surfaces of the bin. Use a scrub brush or sponge to scrub away any stubborn stains or residue. For extra cleaning power, you can add a few drops of lemon juice or vinegar to the soapy water mixture.

Once you have thoroughly cleaned the inside of the bin, it’s time to focus on eliminating any lingering odours.
Baking soda is a natural odor neutralizer that can help eliminate unpleasant smells. Sprinkle a generous amount of baking soda inside the bin and let it sit for a few hours or overnight. Afterward, rinse the bin thoroughly to remove any residue. You can also use a mixture of water and white vinegar as a natural deodorizer.
In conclusion, a clean and fresh-smelling kitchen bin is essential for maintaining a sanitary kitchen environment. By following these expert tips and tricks, you can effectively clean your bin and prevent the buildup of dirt, grime, and odours. Regularly cleaning your kitchen bin will not only improve the overall cleanliness of your kitchen but also contribute to a healthier and more pleasant living space.
Ultimate Guide: How to Clean a Kitchen Bin
Introduction

Keeping your kitchen bin clean is essential for maintaining a hygienic and pleasant cooking environment. A dirty bin can attract pests, cause unpleasant odors, and contaminate your kitchen surfaces. In this ultimate guide, we will provide you with expert tips and tricks on how to effectively clean your kitchen bin.
Materials You’ll Need
- Gloves
- Hot water
- Dish soap or disinfectant
- Scrub brush or sponge
- Paper towels or cloth
- Baking soda (optional)
- Vinegar (optional)
Step-by-Step Guide
- Prepare yourself by wearing gloves to protect your hands from coming into direct contact with any dirt or bacteria in the bin.
- Empty the bin and remove any trash bags or liners. Take the opportunity to dispose of any food scraps or debris stuck to the bottom of the bin.
- For plastic bins, fill up your sink or a large basin with hot water and add a small amount of dish soap or disinfectant. If your bin is made of a different material, check the manufacturer’s recommendations for cleaning.
- Place the bin in the water and let it soak for a few minutes. This will help loosen any stubborn residue.
- Scrub the inside and outside of the bin using a scrub brush or sponge. Pay extra attention to the areas with visible dirt or stains.
- Rinse the bin thoroughly with hot water to remove any soap or disinfectant residue.
- Dry the bin with paper towels or a cloth. Make sure it is completely dry before placing a new trash bag or liner inside.
- If your bin still has lingering odors, you can try sprinkling baking soda or spraying vinegar inside. Let it sit for a few minutes before rinsing and drying the bin again.
Maintenance Tips
To keep your kitchen bin clean for longer periods, here are some maintenance tips:
- Always use trash bags or liners to prevent spills and stains.
- Regularly wipe down the exterior of the bin with a damp cloth to remove any dirt or dust.
- Consider using odor-neutralizing products, such as scented bin liners or deodorizing tablets, to keep your bin smelling fresh.
- Empty and clean your bin at least once a week, or more frequently if needed.
Conclusion
By following these expert tips and tricks, you can effectively clean and maintain your kitchen bin, ensuring a clean and hygienic environment for your cooking needs. Remember to always prioritize safety by wearing gloves and following any manufacturer’s instructions for cleaning.
Importance of Regular Cleaning
Regular cleaning is essential to maintain a clean and hygienic kitchen environment. Here are some reasons why it is important to clean your kitchen bin regularly:
- Prevention of Bad Odors: Regular cleaning helps to prevent the buildup of food waste and other organic matter that can cause foul odors. By removing the garbage and thoroughly cleaning the bin, you can eliminate unpleasant smells and create a fresher atmosphere in your kitchen.
- Prevention of Bacterial Growth: Kitchen bins can harbor bacteria and germs, especially if they contain organic waste. Regular cleaning helps to remove these potentially harmful microorganisms, reducing the risk of contamination and the spread of diseases.
- Improvement of Air Quality: A dirty and unclean kitchen bin can release unpleasant odors into the air, affecting the overall air quality in your kitchen. By keeping your bin clean, you can improve the air quality and create a more pleasant and healthier environment for cooking and dining.
- Prolonging the Life of the Bin: Proper and regular cleaning can help to extend the lifespan of your kitchen bin. By removing the buildup of dirt, grime, and food residues, you can prevent damage to the bin and ensure it remains in good condition for longer.
- Maintaining a Clean Kitchen: A clean kitchen bin is a reflection of a clean kitchen. Regularly cleaning your bin is an important part of maintaining an overall clean and tidy kitchen space. It contributes to the overall cleanliness and hygiene of the kitchen, making it a more pleasant and inviting place to cook and spend time in.
By understanding the importance of regular cleaning, you can ensure that your kitchen bin remains clean and free from bacteria, odors, and other undesirable elements. Remember to follow proper cleaning techniques and use appropriate cleaning products to achieve the best results.
Gather Required Cleaning Supplies
Before you begin cleaning your kitchen bin, it’s important to gather all the necessary cleaning supplies. Having everything prepared and within reach will make the cleaning process more efficient and less time-consuming.
Here’s a list of the essential cleaning supplies you’ll need:
- Rubber gloves
- Disposable wipes or paper towels
- All-purpose cleaner or vinegar
- Baking soda
- Hot water
- Dish soap
- Scrub brush or sponge
- Trash bags
Make sure to wear rubber gloves to protect your hands from bacteria and odors. Disposable wipes or paper towels can be used to wipe down the bin’s surfaces. An all-purpose cleaner or vinegar will help disinfect and remove any stubborn stains.
Baking soda is a natural deodorizer that can help eliminate odors in the kitchen bin. Hot water and dish soap will be used for scrubbing and washing the inside and outside of the bin. A scrub brush or sponge will be handy for scrubbing away any dirt or grime.
Lastly, be prepared with extra trash bags to replace the current one in case it needs to be replaced during the cleaning process.
Having all these cleaning supplies in one place will ensure that you have everything you need to effectively clean your kitchen bin.
Step-by-Step Cleaning Process
Gather Your Materials
Before you begin cleaning your kitchen bin, gather all the necessary materials:
- Gloves
- Bucket
- Warm water
- Mild dish soap
- Microfiber cloth
- Scrub brush
- Vinegar or disinfectant spray
Empty the Bin
Start by emptying the contents of the bin into a garbage bag. Make sure to tie the bag securely to avoid any spills or odors.
Remove Removable Parts
If your kitchen bin has any removable parts, such as a lid or inner bucket, take them out and set them aside for cleaning separately.
Prepare a Cleaning Solution
Fill a bucket with warm water and add a small amount of mild dish soap. Mix the solution well until it creates a soapy mixture.
Clean the Bin’s Exterior
Using a microfiber cloth or sponge, dip it into the cleaning solution and wring out any excess liquid. Wipe down the exterior surfaces of the bin, including the lid, handles, and any other areas that may have accumulated dirt or grime. Rinse the cloth or sponge as needed and continue cleaning until all surfaces are clean.
Scrub the Interior
Pour some of the cleaning solution into the bin, ensuring it covers the bottom and sides. Use a scrub brush to scrub the interior surfaces, paying special attention to any stubborn stains or residue. Rinse the bin thoroughly with warm water to remove any soap residue.
Clean Removable Parts
For any removable parts, such as the lid or inner bucket, soak them in the cleaning solution or wash them separately with warm soapy water. Use a scrub brush or sponge to remove any dirt or residue. Rinse the parts thoroughly before reassembling them back into the bin.
Disinfect
To disinfect the bin and eliminate any potential odors, you can use vinegar or a disinfectant spray. Spray or wipe down the interior and exterior surfaces with the disinfectant and let it sit for a few minutes. Wipe away any excess with a clean cloth or paper towel.
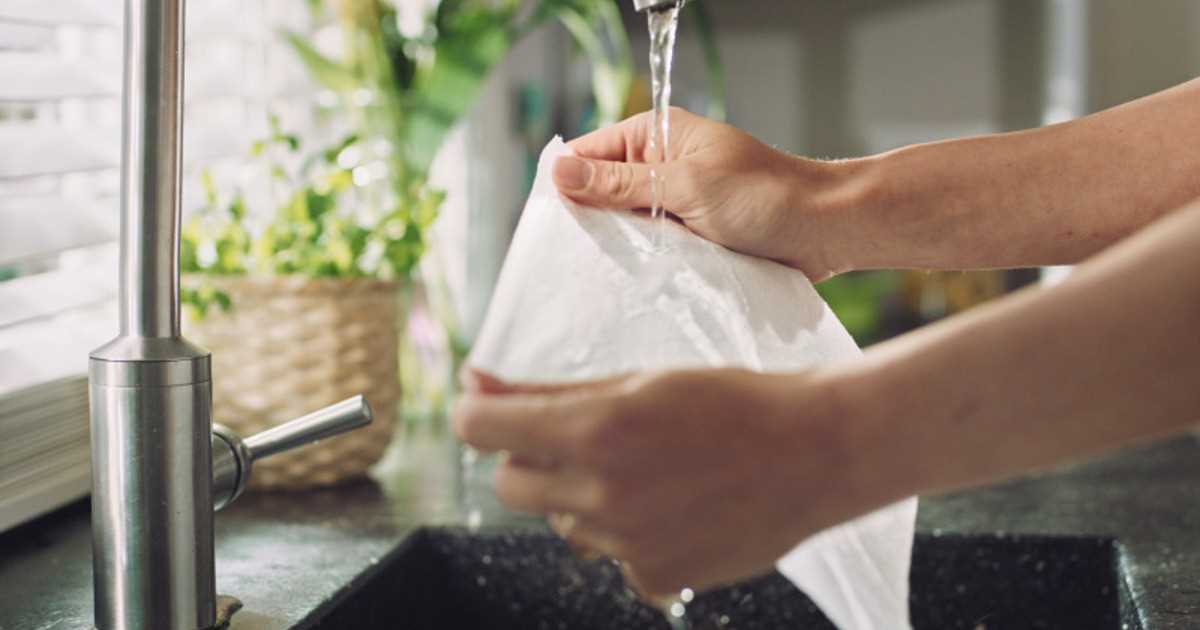
Dry the Bin
After cleaning and disinfecting the bin, make sure to dry it thoroughly. Wipe away any excess moisture with a dry cloth or paper towel. Leave the bin to air dry completely before using it again.
Maintain Regular Cleaning
To avoid buildup and keep your kitchen bin clean, make sure to clean it regularly. Empty the bin as needed, wipe down the surfaces with a damp cloth, and disinfect periodically to maintain a fresh and hygienic kitchen environment.
Tips for Preventing Odors
- Remove trash regularly: It is important to empty your kitchen bin frequently to prevent odors from building up. Try to empty it at least once a day, especially if you are disposing of food waste.
- Use bin liners: Line your kitchen bin with a bag or liner to help contain any odors. Make sure to choose a durable bag that is leak-proof and can effectively trap odors.
- Avoid disposing of wet or liquid waste: Liquids can seep through bags and liners, leading to unpleasant odors. If possible, try to drain any liquid from your waste before disposing of it in the bin.
- Double bag for extra protection: If you are dealing with particularly strong odors, consider using two bags for added protection. This can help prevent odors from escaping and spreading in your kitchen.
- Keep the bin closed: Make sure to always keep the lid of your kitchen bin closed when it is not in use. This will help contain any odors and prevent them from spreading throughout your kitchen.
- Clean the bin regularly: In addition to emptying the bin, it is important to clean it regularly to remove any residual odors. Use a disinfectant or a mixture of vinegar and water to clean the bin thoroughly.
- Avoid storing strong-smelling waste: Try to avoid storing strong-smelling waste, such as raw meat or fish, in your kitchen bin for a long period of time. If possible, dispose of these types of waste immediately to prevent odors.
- Use odor absorbers: Consider placing odor-absorbing materials in your kitchen bin to help neutralize any odors. Baking soda, coffee grounds, or activated charcoal can all help absorb and eliminate unwanted smells.
Maintenance and Longevity
Cleaning Schedule
Regular cleaning is essential to maintain the cleanliness and longevity of your kitchen bin. Establish a cleaning schedule that fits your needs, but aim to clean it at least once a week. However, if you notice any foul odors or visible dirt, it’s best to clean it right away.
Basic Cleaning Steps

To clean your kitchen bin, follow these basic steps:
- Empty the bin and remove any trash bags or liners.
- Rinse out the bin with warm water to remove any loose debris.
- Mix a solution of warm water and mild dish soap.
- Using a scrub brush or sponge, apply the soapy solution to the inside and outside of the bin, scrubbing away any stains or residue.
- Rinse the bin thoroughly with warm water to remove the soap.
- Dry the bin completely before adding a new liner or trash bag.
Ongoing Maintenance
In addition to regular cleaning, there are a few simple steps you can take to maintain the longevity of your kitchen bin:
- Avoid overfilling the bin, as this can lead to spills and make it more difficult to clean.
- Place a small liner or bag at the bottom of the bin to prevent liquids from leaking onto the bin itself.
- Consider using odor-absorbing products, such as baking soda or activated charcoal, to help eliminate unpleasant smells.
- Regularly check and clean the bin’s lid and pedal, as these areas can accumulate dirt and grime.
Long-lasting Materials
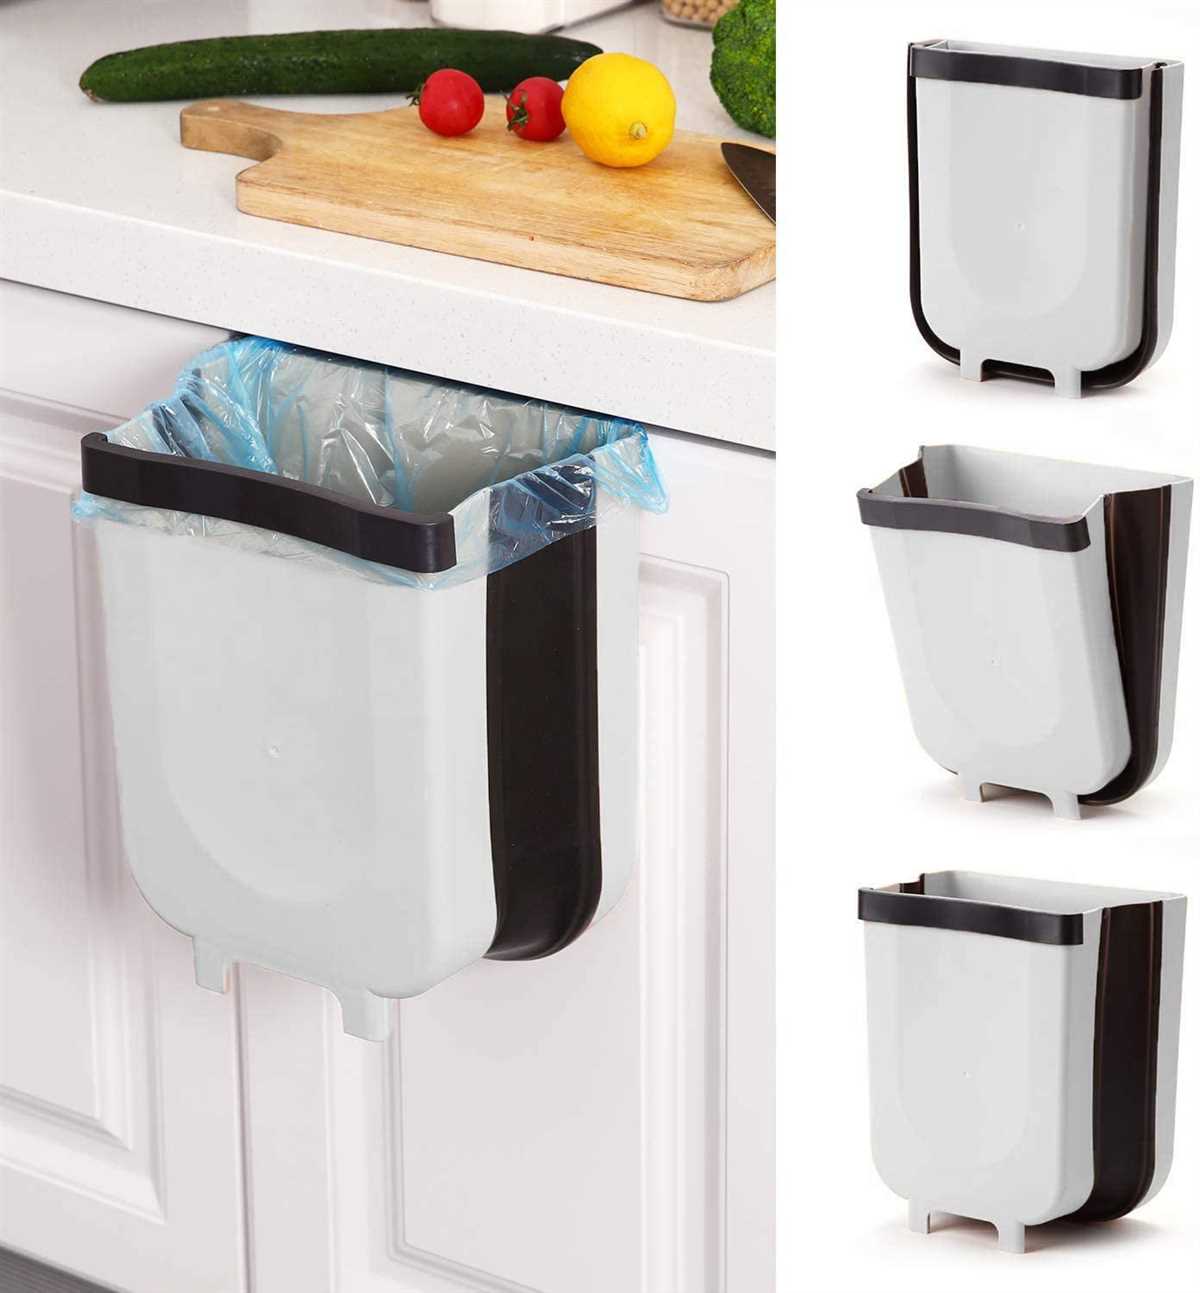
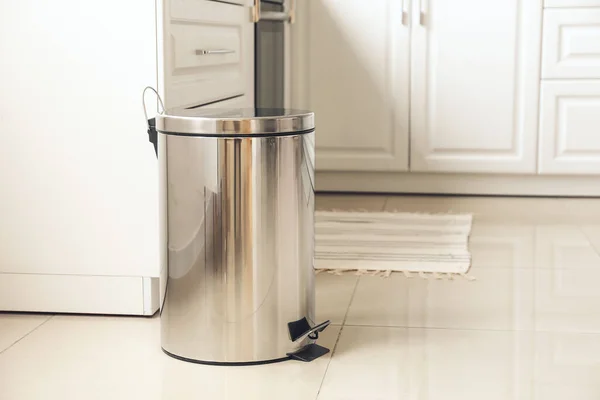
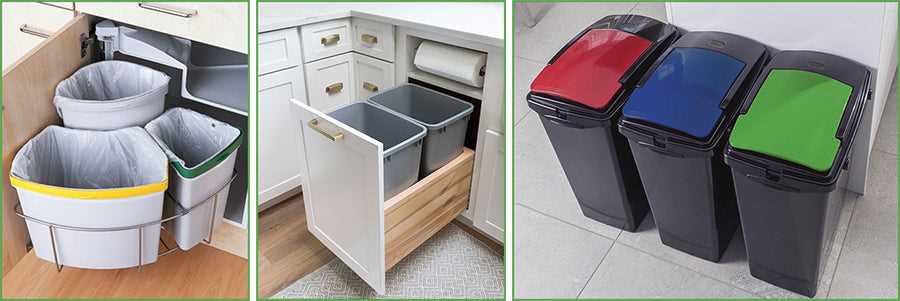
Choosing a kitchen bin made from durable and easy-to-clean materials can also contribute to its longevity. Stainless steel and plastic bins are popular options due to their resistance to stains and odors. Additionally, look for bins with removable inner buckets or liners, as these make it easier to empty and clean.
Proper Odor Control
Odors are a common problem in kitchen bins, but there are several ways to combat them:

- Regularly empty the bin, especially if you are disposing of food waste.
- Use scented trash bags or liners to help mask odors.
- Avoid throwing wet or damp garbage directly into the bin, as this can cause unpleasant smells to develop.
- Consider using a deodorizing spray or placing odor-absorbing materials, such as coffee grounds or lemon peels, at the bottom of the bin.
| Step | Task |
|---|---|
| 1 | Empty the bin |
| 2 | Rinse with warm water |
| 3 | Apply soapy solution |
| 4 | Scrub with brush or sponge |
| 5 | Rinse with warm water |
| 6 | Dry completely |
FAQ
What are some expert tips and tricks for cleaning a kitchen bin?
There are several expert tips and tricks for cleaning a kitchen bin. Firstly, you can start by emptying the bin and removing any rubbish or debris. Then, use a mixture of warm water and antibacterial soap to clean the inside and outside of the bin. Scrub the surfaces with a sponge or brush, paying extra attention to any stained or sticky areas. Rinse the bin thoroughly and dry it with a clean cloth or paper towels before putting the liner back in. You can also sprinkle baking soda inside the bin to absorb any unpleasant odours. Another tip is to clean the bin regularly, at least once a week, to prevent the buildup of bacteria and odours.
Can I use bleach to clean a kitchen bin?
Yes, you can use bleach to clean a kitchen bin. However, it is important to use it properly and in the right concentration. Mix one part bleach with nine parts water to create a bleach solution. Empty the bin and scrub it with the bleach solution, focusing on any dirty or stained areas. Rinse the bin thoroughly with water and let it air dry before using it again. Be cautious when using bleach, as it can be harmful if ingested or if it comes into contact with your skin or eyes. Always wear gloves and work in a well-ventilated area when using bleach.
What is the best way to remove odours from a kitchen bin?
The best way to remove odours from a kitchen bin is to start by emptying the bin and removing any rubbish. Then, sprinkle baking soda inside the bin and let it sit for at least 30 minutes. Baking soda is a natural deodorizer and will help absorb any unpleasant smells. Afterward, you can scrub the bin with warm water and antibacterial soap to remove any remaining odours. Rinse the bin thoroughly and let it air dry before putting the liner back in. Additionally, you can place a few drops of essential oil on a cotton ball and place it at the bottom of the bin to add a pleasant fragrance.
How often should I clean my kitchen bin?
You should clean your kitchen bin at least once a week to prevent the buildup of bacteria and odours. Regular cleaning will help maintain a clean and hygienic environment in your kitchen. However, if you notice any spills, stains, or strong odours, it is recommended to clean the bin immediately. Additionally, if you use your bin for disposing of food waste or other organic matter, it is advisable to clean it more frequently to avoid attracting pests or causing a foul smell.