


Dye transfer stains can be a frustrating and unsightly problem when they happen to your clothes. Whether it’s from accidental contact with a leaking pen or from washing different colored garments together, these stains can be difficult to remove. However, with the right techniques and products, you can effectively remove dye transfer stains and restore your clothes to their original condition.
One of the most important tips for removing dye transfer stains is to act quickly. The sooner you treat the stain, the better chance you have of completely removing it. Start by blotting the stained area with a clean cloth or paper towel to absorb as much of the dye as possible. Avoid rubbing the stain, as this can cause it to spread and become more difficult to remove.
Once you have blotted the stain, it’s important to select the appropriate stain removal method based on the type of fabric. For white or colorfast fabrics, you can try using a stain remover or pre-treating the stain with a mixture of detergent and water. Gently work the solution into the stain and let it sit for a few minutes before laundering as usual.
If the stained garment is made of delicate or non-colorfast fabric, such as silk or wool, it’s best to consult a professional cleaner for advice. These fabrics may require special treatment to prevent further damage or color loss. In some cases, it may be necessary to use a color-safe bleach or take the garment to a dry cleaner for professional stain removal.
By following these effective tips for removing dye transfer stains, you can save your clothes from permanent discoloration and keep them looking fresh and stain-free. Remember to act quickly, choose the appropriate stain removal method, and seek professional help if needed. With a little time and effort, you can restore your clothes to their original beauty and enjoy wearing them once again.
Preparing to Remove Dye Transfer Stains

Before attempting to remove dye transfer stains from your clothes, it is important to take the following steps:
- Act promptly: As soon as you notice a dye transfer stain on your clothes, it is important to take action. The longer the stain sits, the harder it will be to remove.
- Check the care label: Before using any stain removal methods or products, check the care label on your clothing to ensure that you are not using anything that could damage the fabric.
- Test on a small, hidden area: To avoid causing further damage, test any stain removal methods or products on a small, inconspicuous area of the garment first. This will help ensure that the fabric can withstand the treatment without fading or becoming discolored.
- Gather necessary supplies: Before you begin the stain removal process, gather all the necessary supplies. This may include a clean, white cloth, mild laundry detergent, stain remover, hydrogen peroxide, white vinegar, and a laundry brush.
By following these preparatory steps, you can increase your chances of successfully removing dye transfer stains from your clothes without causing further damage.
Testing the Fabric for Colour Fastness

Before attempting to remove a dye transfer stain from clothes, it is important to test the fabric for colour fastness. This step is crucial because certain fabrics may be more sensitive to certain cleaning methods, and testing for colour fastness will help ensure that the fabric does not get damaged further.
To test for colour fastness, follow these steps:
- Choose an inconspicuous area: Select a small, hidden area of the fabric that is not easily noticeable. This could be inside a seam or along the hemline.
- Apply the cleaning solution: Apply a small amount of the chosen cleaning solution to a clean white cloth or cotton swab.
- Dab the fabric: Gently dab the cleaning solution onto the chosen area of the fabric. Avoid rubbing, as this can cause damage.
- Check for colour transfer: Inspect the fabric and the white cloth or cotton swab for any signs of colour transfer. If the cloth or swab remains white and there is no colour transfer, the fabric is likely colour fast.
- Observe any changes: If there are any changes in the colour of the fabric or if colour transfers onto the cloth or swab, do not proceed with the cleaning solution. Alternatively, it may be necessary to use a milder cleaning method or consult a professional cleaner.
Remember, testing for colour fastness is an important step to ensure that the fabric is not further damaged during the stain removal process. Take the time to test before proceeding with any cleaning solution or method.
Treating Dye Transfer Stains with Vinegar
If you have a dye transfer stain on your clothes, vinegar can be a useful and effective solution for removing it. Vinegar is a natural and environmentally friendly ingredient that can help break down the dye and lift it from the fabric.
Steps for using vinegar to remove dye transfer stains:
- Prepare a solution of vinegar and water by mixing equal parts of both in a bowl or bucket. For example, you can mix 1 cup of vinegar with 1 cup of water.
- Soak the stained clothing item in the vinegar solution for at least 30 minutes. This will allow the vinegar to penetrate the fabric and work on breaking down the dye.
- After soaking, gently scrub the stain with a soft brush or cloth. This can help further loosen the dye from the fabric.
- Rinse the clothing item with cold water to remove any leftover vinegar and dye.
Tips and precautions:
- Test the vinegar solution on a small, inconspicuous area of the clothing item before applying it to the stain. This will help ensure that the vinegar does not damage or bleach the fabric.
- If the vinegar solution does not completely remove the dye transfer stain, you can repeat the process or try using a different stain removal method.
- For stubborn dye transfer stains, you may need to consult a professional cleaner or laundry service for assistance.
- Always follow the care instructions on your clothing item and check if vinegar is safe to use on the specific fabric.
By using vinegar to treat dye transfer stains, you can effectively remove the stain and restore the appearance of your clothing. It is a budget-friendly and readily available solution that can be used in combination with other stain removal methods.
Using Oxygen Bleach to Remove Dye Stains
If you are dealing with stubborn dye transfer stains on your clothes, oxygen bleach can be a highly effective solution. This type of bleach is chlorine-free and safe for most fabrics, making it well-suited for removing tough stains without damaging the garment.
1. Choose a suitable oxygen bleach product

There are various oxygen bleach products available in the market. Look for a product specifically designed for laundry use that contains oxygen bleach as its active ingredient. Read the instructions and make sure it is safe for the fabric you are treating.
2. Pre-treat the stain
Prior to washing the stained garment, it is important to pre-treat the dye stain using the oxygen bleach. Following the instructions on the product label, mix the bleach with water as directed. Apply the mixture directly onto the stained area, ensuring it is fully saturated.
3. Let it soak
Allow the garment to soak in the oxygen bleach solution for the recommended amount of time. This will give the bleach time to break down the dye molecules and lift the stain from the fabric.
4. Wash the garment
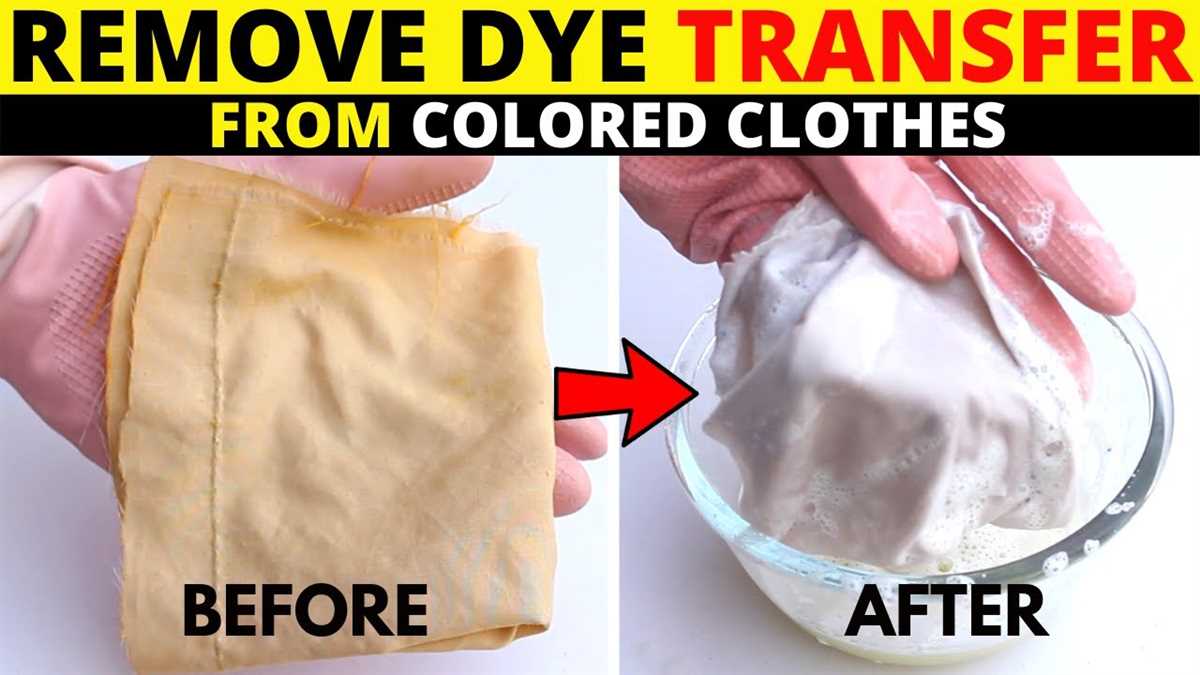
After the soaking period, wash the garment as you normally would. Use the appropriate water temperature and select a washing cycle suitable for the fabric. Follow the care instructions on the garment’s label.
5. Check for stain removal
Once the garment is washed, check if the stain has been completely removed. If the stain persists, repeat the oxygen bleach treatment and washing process until the stain is no longer visible.
6. Air dry the garment
After the stain has been successfully removed, air dry the garment. Avoid using a dryer, as high heat can set any remaining stains and make them more difficult to remove in the future.
Using oxygen bleach is an effective way to remove dye transfer stains from clothes. However, it is always recommended to test the product on a small, inconspicuous area of the fabric before treating the entire stain to ensure it does not cause any damage or color fading.
Removing Stubborn Dye Transfer Stains with Stain Removers
Occasionally, dye transfer stains can be stubborn and difficult to remove. In such cases, using a stain remover can help effectively tackle the problem. Here are a few tips on how to remove stubborn dye transfer stains from clothes using stain removers:
1. Choose a Suitable Stain Remover
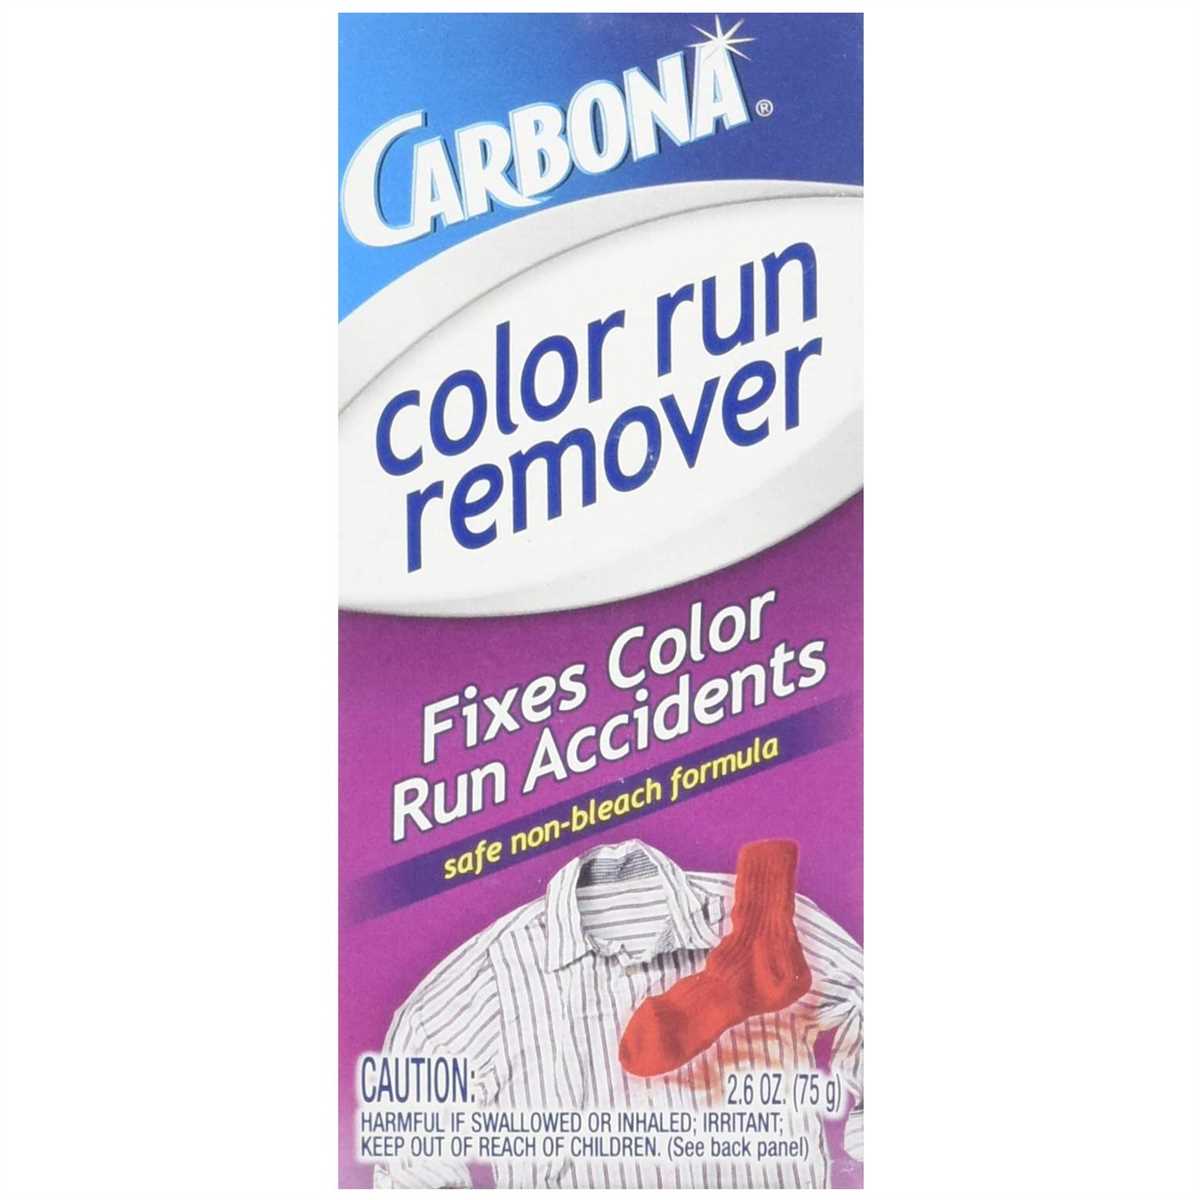
Not all stain removers are created equal, so it’s important to choose one that is suitable for removing dye transfer stains. Look for stain removers specifically designed for color removal or those that claim to remove tough stains. Read the product label and follow the instructions carefully.
2. Pre-Treat the Stain
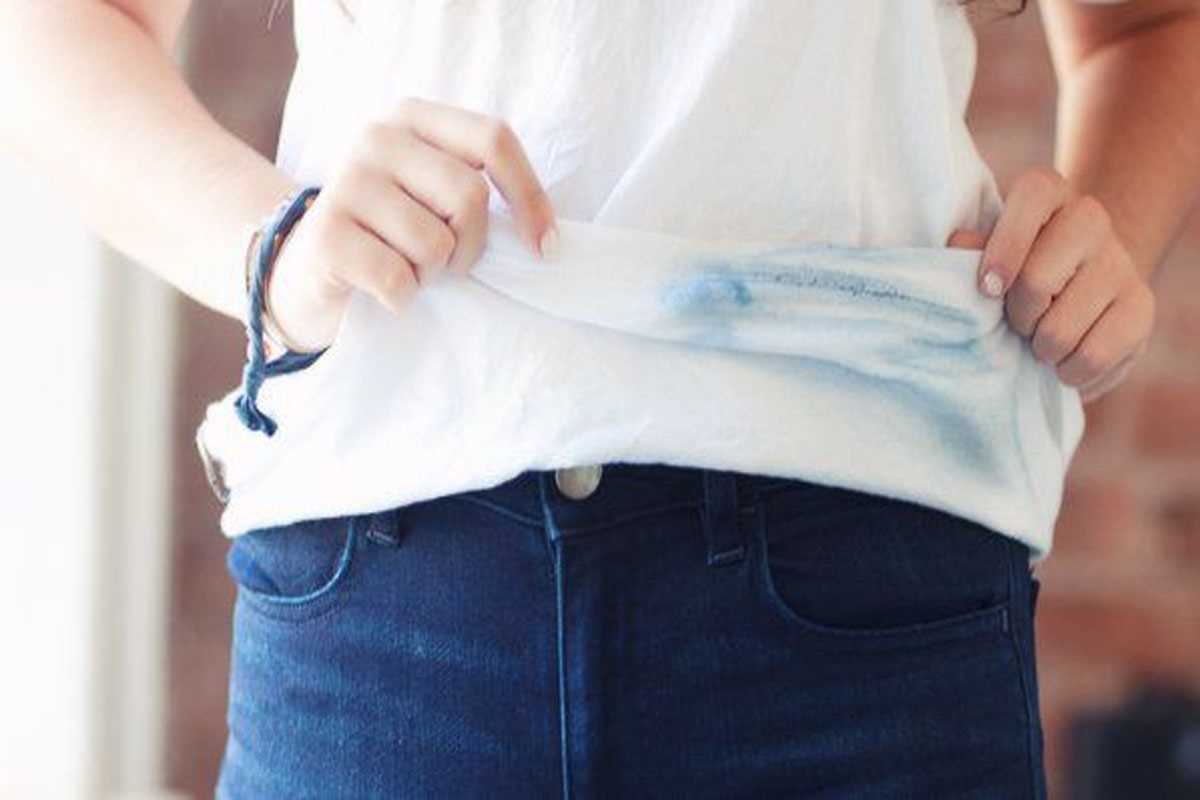
Before applying the stain remover, pre-treat the stain by rinsing it with cold water. This can help dilute the dye and prevent it from setting deeper into the fabric. Avoid using hot water as it can cause the dye to set further.
3. Apply the Stain Remover
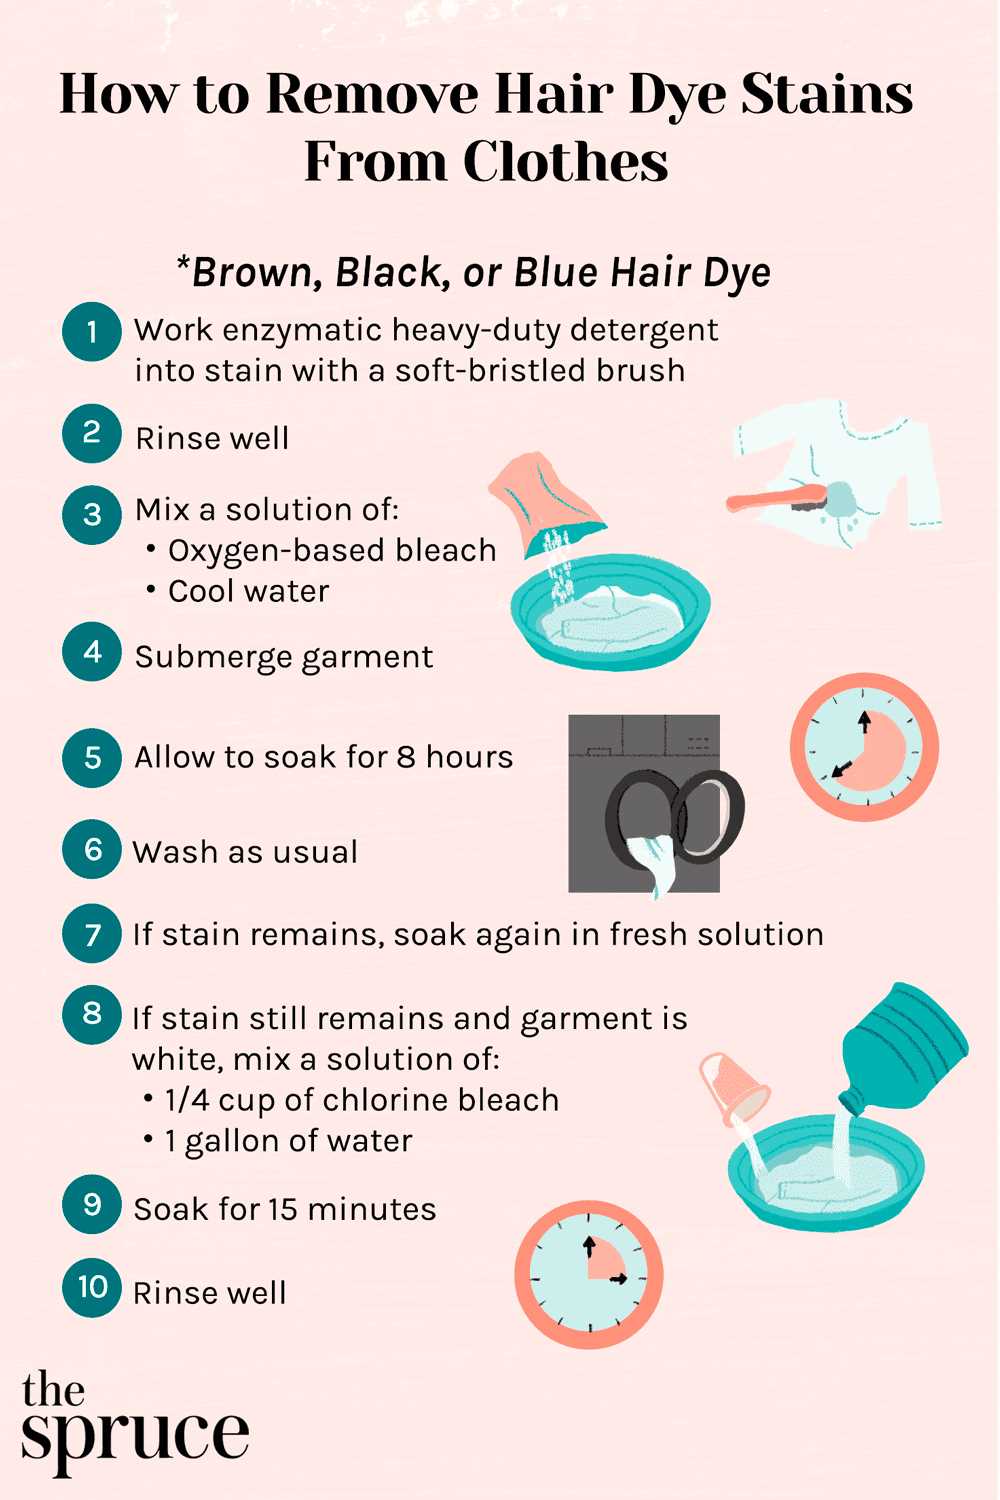
Follow the instructions on the stain remover packaging to apply the product to the stain. Make sure to cover the entire affected area and let the stain remover penetrate the fabric for the recommended amount of time. It’s advisable to perform a patch test on a small, inconspicuous area of the fabric first to ensure it doesn’t cause any adverse effects.
4. Rinse and Launder
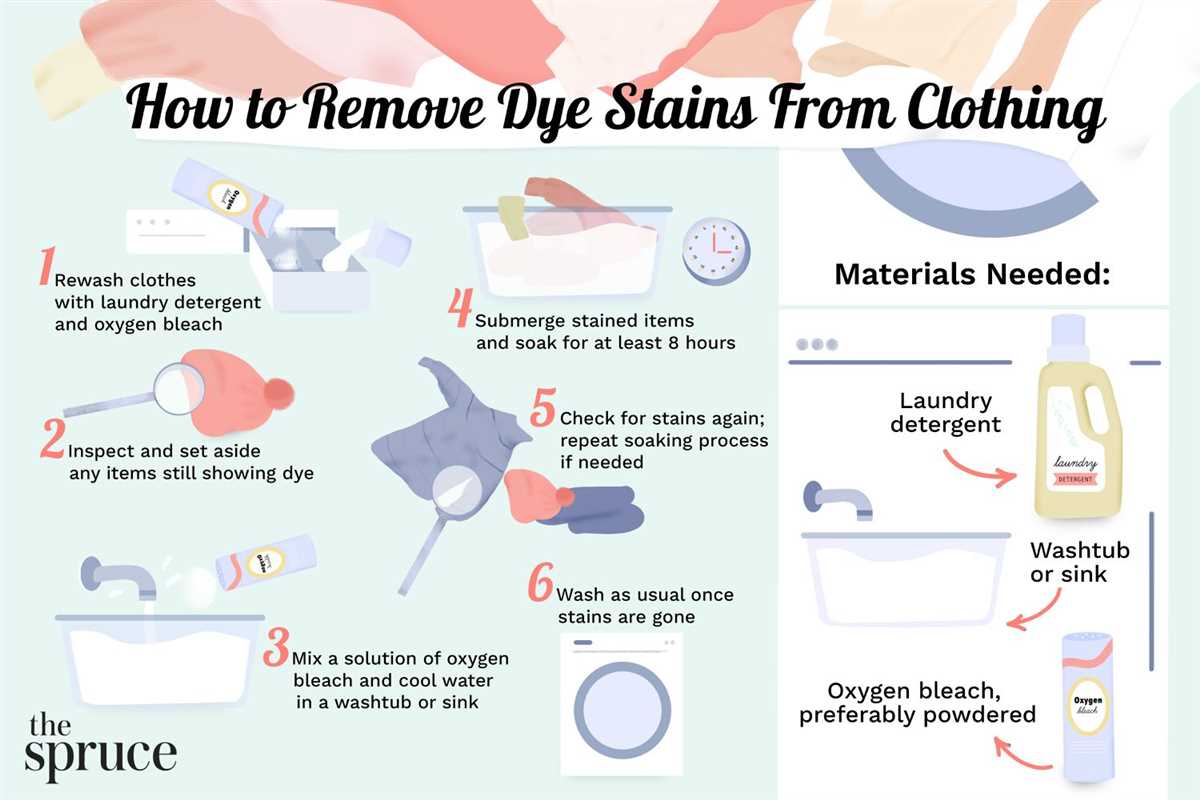
After the recommended time has passed, rinse the treated area with cold water to remove the stain remover and the loosened dye particles. Then, launder the garment as you normally would, following the care instructions on the clothing label. If the stain persists after washing, repeat the process or consider using a different stain remover.
Note: It’s essential to act quickly when dealing with dye transfer stains to prevent them from setting permanently. The longer the stain remains on the fabric, the more difficult it becomes to remove.
In conclusion, stubborn dye transfer stains can be effectively removed from clothes with the use of stain removers. By choosing a suitable stain remover, pre-treating the stain, applying the product correctly, and rinsing and laundering the garment, you can significantly improve your chances of removing the stubborn dye transfer stains successfully.
FAQ
What is dye transfer stain?
A dye transfer stain occurs when the color from one fabric transfers onto another fabric, leaving a stain. It is common when washing clothes of different colors together.
How can I remove dye transfer stains from clothes?
There are several effective methods to remove dye transfer stains. You can try using color-safe bleach, stain remover, or vinegar. It is important to test the method on a small, hidden area of the fabric before using it on the entire stain.
Can I use home remedies to remove dye transfer stains?
Yes, there are a few home remedies that can help remove dye transfer stains. One popular method is to mix equal parts of baking soda and water to form a paste, then apply it to the stain and gently rub it in. Another option is to soak the stained clothes in a mixture of vinegar and water overnight before washing them.
Is it possible to prevent dye transfer stains?
Yes, there are a few steps you can take to prevent dye transfer stains. Firstly, always sort your laundry by color and wash clothes of similar colors together. Secondly, consider using color-catching sheets or laundry detergents specifically designed to prevent dye transfer. Lastly, be cautious when washing new, brightly-colored clothes for the first time, as they are more likely to bleed dye.


