

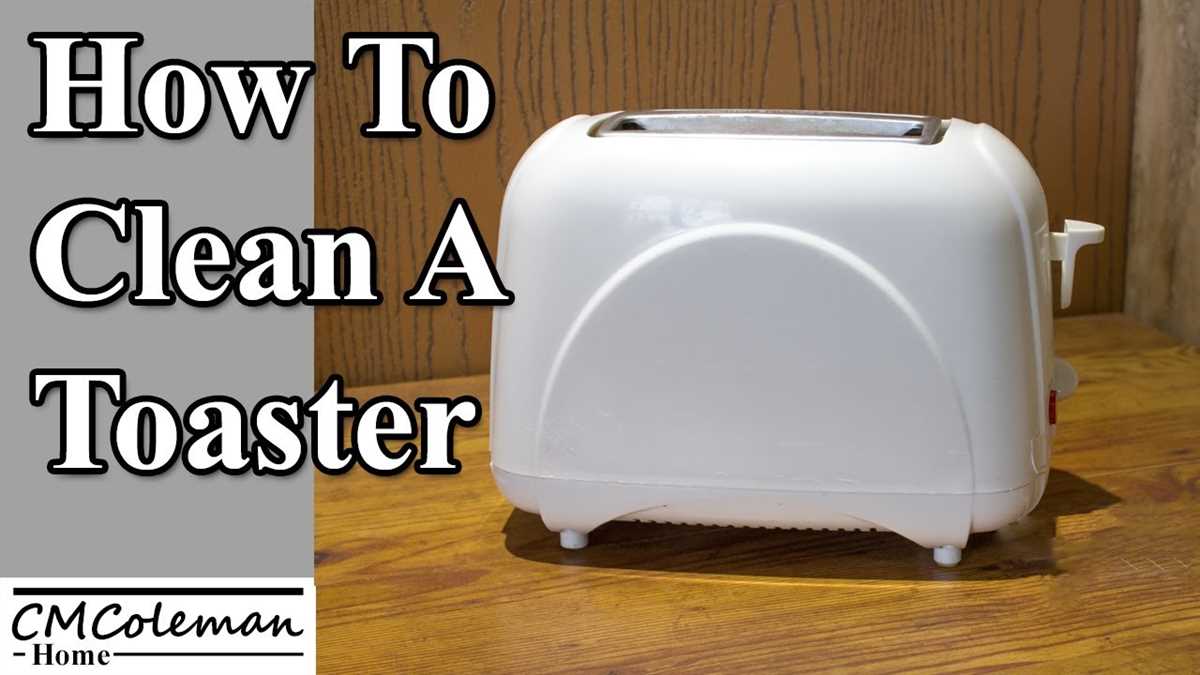
Cleaning a toaster may seem like a daunting task, but with the right approach and a little bit of time, you can achieve sparkling results. Over time, crumbs, grease, and other debris can accumulate inside your toaster, not only affecting its performance but also posing a fire hazard. Regularly cleaning your toaster not only improves its efficiency but also extends its lifespan.
Before you begin, make sure your toaster is unplugged and cooled down to avoid any risk of electrical shock. Start by removing the crumb tray, if your toaster has one. This tray collects the crumbs that fall from the bread during toasting. Empty the tray and wash it with warm, soapy water. Allow it to dry completely before placing it back into the toaster.
Next, turn your attention to the exterior of the toaster. Use a mild cleaning solution, such as a mixture of equal parts water and vinegar, to wipe down the outside of your toaster. For stubborn stains or grease, you can use a small amount of baking soda mixed with water to create a paste. Apply the paste to the stain and gently scrub with a soft cloth. Rinse with clean water and dry thoroughly.
Now it’s time to tackle the inside of your toaster. Start by gently shaking the toaster over a sink or garbage can to remove any loose crumbs. Be careful not to shake too vigorously, as this can damage the delicate heating elements. If there are any stubborn crumbs stuck inside, use a clean, dry toothbrush to gently dislodge them.
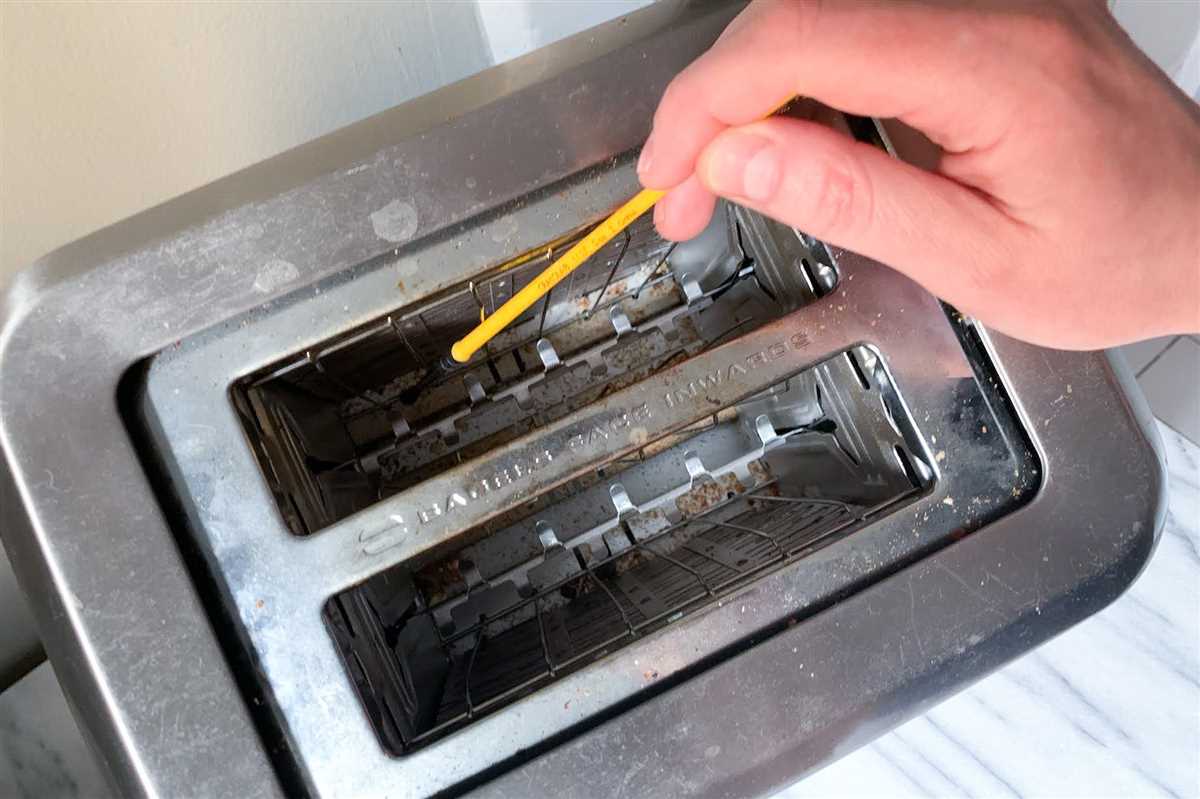
Finally, it’s important to clean the toaster slots where the bread goes. For this, you can use a wooden skewer or a clean, dry toothbrush. Gently insert the skewer or toothbrush into each slot and carefully remove any remaining crumbs. Be gentle to avoid damaging the heating elements or other sensitive parts of your toaster.
By following these simple steps, you can keep your toaster in top condition and ensure it continues to produce perfectly toasted bread for years to come.
Gathering the Necessary Supplies
Before you begin the cleaning process, it’s important to gather all the necessary supplies. Having everything you need on hand will help make the task more efficient and save you time.
Here are the supplies you’ll need:
- A mild dish soap
- A sponge or soft cloth
- A small brush, such as an old toothbrush
- Vinegar or lemon juice
- Water
- A clean, dry cloth or paper towels
Optional supplies that may be helpful:
- A vacuum cleaner with a brush attachment
- Cotton swabs
- A wire brush
- Baking soda
Having these supplies ready will ensure you can thoroughly clean your toaster and achieve sparkling results.
Preparing the Toaster for Cleaning
Gather Supplies
Before you begin cleaning your toaster, make sure you have the necessary supplies on hand. Here’s what you will need:
- Mild dish soap or vinegar
- Warm water
- Soft sponge or cloth
- Old toothbrush
- Microfiber cloth or towel
Unplug and Cool Down
For your safety, always unplug the toaster from the power source before cleaning it. Let it cool down completely before you start cleaning to avoid any risk of burns.
Remove Crumbs
To remove any loose crumbs from the toaster, turn it upside down and gently shake it over a sink or trash can. You can also use a soft brush or the crevice tool of a vacuum cleaner to remove the crumbs from the interior.
Detach Removable Parts
If your toaster has removable crumb trays or other parts, detach them carefully according to the manufacturer’s instructions. This will make it easier to clean these parts separately.
Refer to the Manual
While cleaning, it’s always a good idea to refer to the toaster’s manual for specific instructions and safety guidelines provided by the manufacturer. This will ensure you clean the toaster properly without causing any damage.
Removing Crumbs and Debris
One of the primary issues with a dirty toaster is the accumulation of crumbs and debris. These can not only affect the taste of your toast but also pose a fire hazard if left unattended for too long. Follow the steps below to effectively remove crumbs and debris from your toaster:
- Unplug the toaster: Before doing any cleaning, always make sure the toaster is unplugged to avoid any risk of electric shock.
- Remove the crumb tray: Most toasters have a removable crumb tray located at the bottom. Slide it out gently and dump any crumbs or debris into the trash.
- Empty the crumb tray: After removing the crumb tray, use your hand or a small brush to remove any remaining crumbs or debris. It’s important to keep the area clean and free of particles.
- Clean the crumb tray: Wash the crumb tray with warm soapy water. Use a sponge or brush to scrub away any stubborn residues. Rinse well and let it dry completely before putting it back into the toaster.
- Inspect the interior: Carefully look inside the toaster to check for any crumbs or debris that may have gotten stuck. Use a small brush or a can of compressed air to remove them.
- Clean the exterior: Wipe down the outer surface of the toaster with a damp cloth or sponge. Make sure to remove any smudges, fingerprints, or stains.
By regularly removing crumbs and debris, you can ensure that your toaster functions properly and remains clean and hygienic.
Cleaning the Interior and Exterior of the Toaster
Interior Cleaning
To start cleaning the interior of your toaster, you will need to unplug it and let it cool down completely. Once it’s cool, remove the crumb tray if your toaster has one. Most toasters have a removable crumb tray that collects crumbs and debris from toasting.
Take the crumb tray to your sink and gently shake it to remove any loose crumbs. Wash it with warm soapy water and a soft sponge or cloth. Make sure to thoroughly rinse off any soap residue and allow the tray to dry completely before placing it back in the toaster.
Next, you’ll need to clean the interior of the toaster where the bread goes. Start by turning the toaster upside down over a trash can to remove any loose crumbs. You can also use a soft-bristle brush or a toothbrush to loosen any stubborn crumbs. Be gentle to avoid damaging the heating elements.
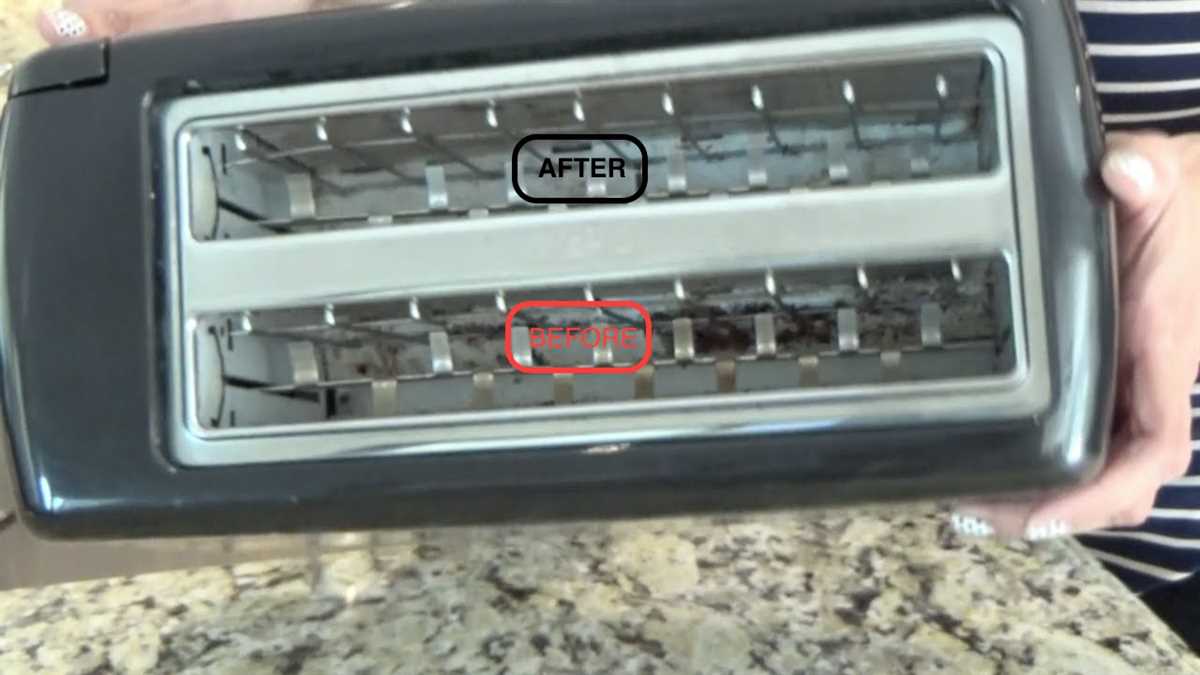
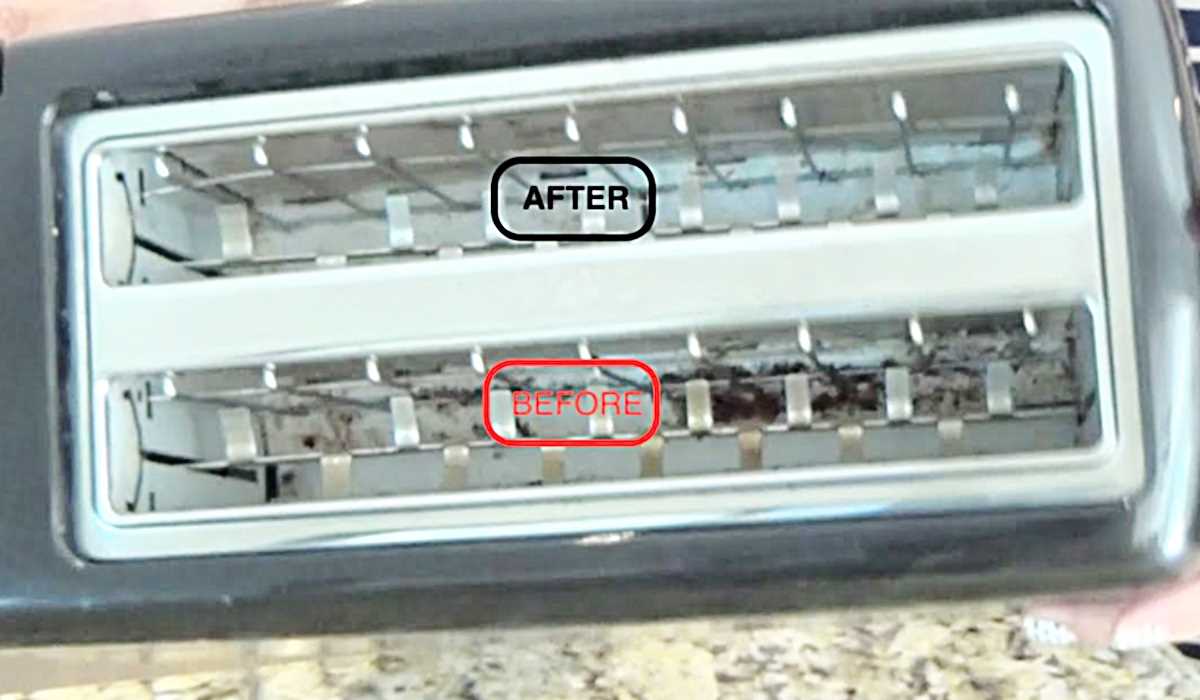
If there are any visible burnt food deposits inside the toaster, you can use a damp cloth or sponge to scrub them away. For tough stains, you can make a paste using baking soda and water and apply it to the stains. Let it sit for a few minutes and then scrub the stains using a cloth or sponge. Wipe away any residue with a damp cloth and allow the toaster to dry before using it again.
Exterior Cleaning

Before cleaning the exterior of your toaster, make sure it’s unplugged and cooled down. Wipe the outside of the toaster with a damp cloth or sponge dipped in warm soapy water. Gently scrub away any stains or residue.
If your toaster has a stainless steel or chrome finish, you can use a mild stainless steel cleaner or vinegar solution to remove any fingerprints or smudges. Simply spray the cleaner on a cloth and wipe the surface of the toaster. Be sure to follow the manufacturer’s instructions for cleaning stainless steel or chrome finishes.
For plastic or painted surfaces, avoid using abrasive cleaners or scrub brushes that could scratch the surface. Stick to a mild dish soap and water solution and gently wipe the toaster clean. Dry the exterior with a soft cloth to prevent any water spots.
Once the interior and exterior of your toaster are clean and dry, you can plug it back in and start enjoying perfectly toasted bread again!
Final Steps for a Sparkling Toaster
1. Wipe Down the Exterior
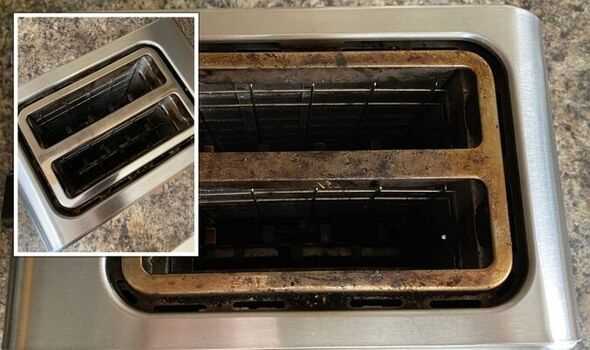
After cleaning the inside of your toaster, it’s essential to give the exterior a good wipe down as well. Use a damp cloth or sponge to remove any remaining dirt, dust, or crumbs from the outside of the toaster. Pay special attention to any buttons, knobs, or other crevices where grime may accumulate.
2. Dry the Toaster
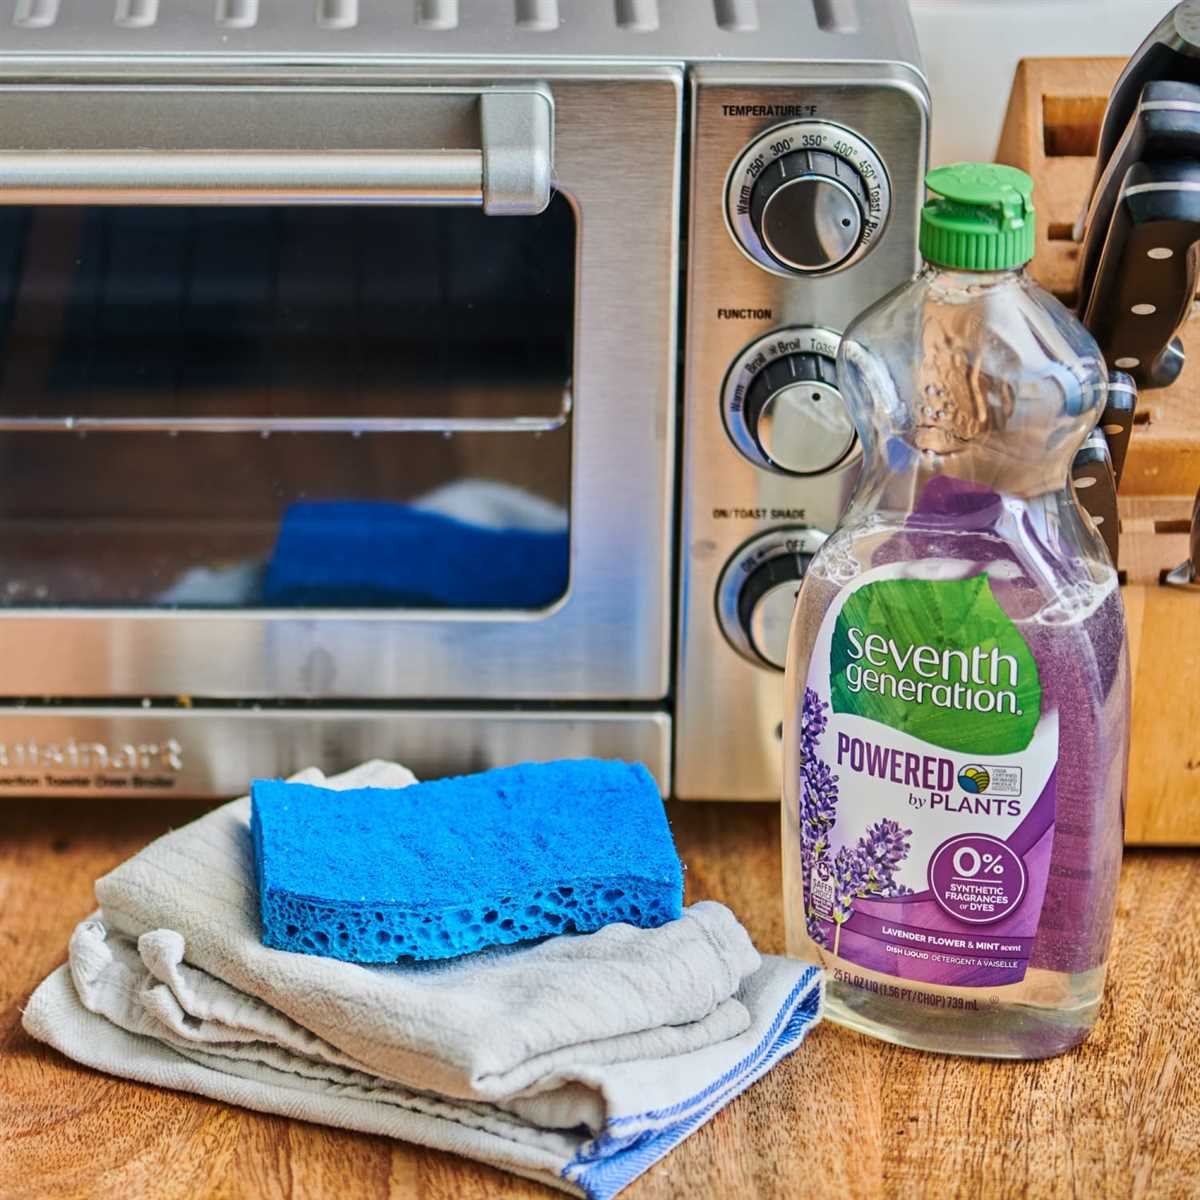
After wiping down the exterior, take a clean, dry cloth and thoroughly dry the toaster. Make sure that no moisture remains on the surface, as this could lead to rust or other damage. Pay attention to any nooks or crannies where water may have pooled during cleaning.
3. Reassemble the Toaster
If you disassembled any removable parts, now is the time to put them back in place. Follow the manufacturer’s instructions for reassembling your specific toaster model. Make sure everything is securely in place before moving on to the next step.
4. Plug in the Toaster and Test
Once the toaster is completely dry and reassembled, plug it back in and test it to ensure everything is working correctly. Toast a slice of bread or run the toaster on a short cycle to make sure it’s operating as it should.
5. Maintain Regular Cleaning
To keep your toaster in sparkling condition, it’s essential to maintain regular cleaning habits. Make it a habit to clean out the crumbs tray, wipe down the inside and outside, and remove any excess dirt or grime that may accumulate over time. Regular maintenance will not only keep your toaster looking great but also ensure its longevity and efficiency.
6. Enjoy Your Sparkling Toaster!
With these final steps, you’ve achieved a sparkling toaster that is ready to make delicious toast and other treats. Enjoy the clean and fresh appearance of your toaster while savoring the perfectly toasted slices.
FAQ
What is the best way to clean a toaster?
The best way to clean a toaster is to start by unplugging it and removing the crumb tray. Then, use a soft brush or cloth to gently scrub the inside and outside of the toaster. Finally, wipe down the toaster with a damp cloth and let it air dry before plugging it back in.
Can I clean the inside of the toaster?
Yes, you can clean the inside of the toaster. To do so, start by unplugging it and removing the crumb tray. Then, use a soft brush or cloth to gently scrub the inside of the toaster, being careful not to damage the heating elements. After cleaning, wipe the inside with a damp cloth and let it air dry before plugging it back in.
What should I clean the crumb tray with?
You can clean the crumb tray with warm soapy water. Simply remove the tray from the toaster, wash it in the sink with warm water and dish soap, and then rinse it clean. Make sure the tray is completely dry before putting it back into the toaster.
How often should I clean my toaster?
It is recommended to clean your toaster at least once a month. However, if you use your toaster frequently, it may be a good idea to clean it more often to prevent build-up of crumbs and grease. Regular cleaning will help prolong the life of your toaster and ensure it functions properly.
Can I use a cleaning solution to clean my toaster?
No, it is not recommended to use a cleaning solution to clean your toaster. The best way to clean a toaster is to use a soft brush or cloth and warm soapy water. Using a cleaning solution may leave residue on the toaster or damage the heating elements. Stick to mild cleaning methods to ensure the longevity of your toaster.


